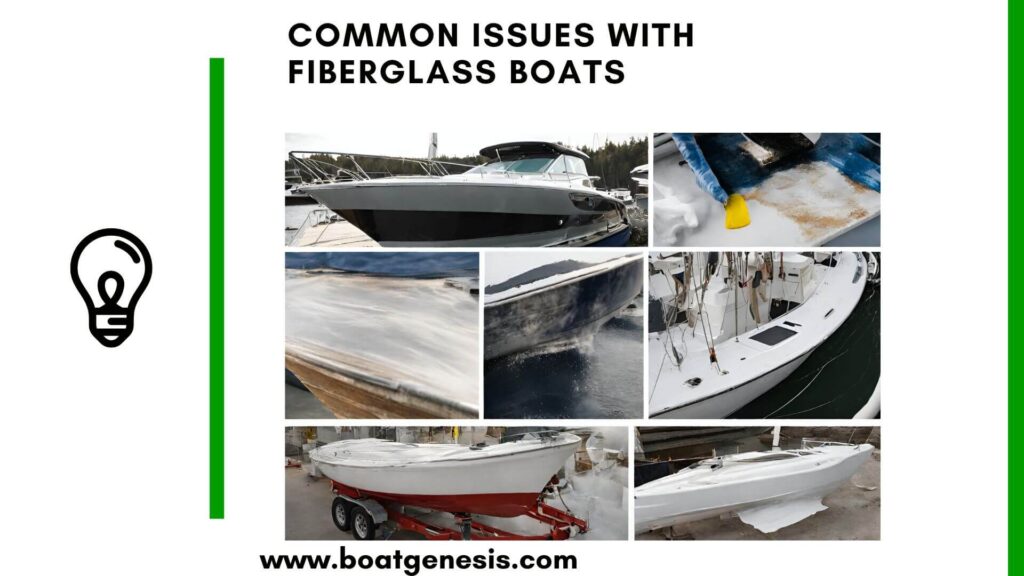
Fiberglass boats are built to last, but one bad repair can compromise your vessel’s strength and safety.
Many boat owners make the same preventable errors when fixing cracks, holes, or scratches.
The most damaging mistakes include rushing surface preparation, mixing resin incorrectly, using the wrong materials, and skipping essential curing time between layers.
Understanding what different types of fiberglass damage actually mean helps you avoid repair errors that lead to thousands of dollars in additional damage.
Whether you’re dealing with surface gelcoat scratches or deep structural cracks, each problem requires specific techniques.
When you skip steps or use cosmetic fixes on structural issues, you create weak spots that grow worse over time.
Small errors in preparation, material selection, or application can turn a simple fix into a major problem.
Key Takeaways
- Poor surface preparation and rushing through steps causes most fiberglass repair failures
- Using cosmetic fixes on structural damage creates dangerous weak spots in your boat hull
- Following proper curing times and material ratios ensures repairs last for years
- Key Takeaways
- Understanding Fiberglass Construction
- Key Differences Between Cosmetic and Structural Repairs
- Types of Resins and Their Applications
- Inadequate Surface Preparation
- Incorrect Resin Mixing and Application
- Improper Fiberglass Patch Techniques
- Neglecting Curing Conditions
- Misjudging Structural Damage
- Mishandling Spider Cracks and Gelcoat Repairs
- Blistering, Water Intrusion, and Core Issues
- Ignoring UV Damage and Surface Protection
- Choosing the Right Materials and Tools
- Ensuring Safety Throughout the Repair Process
- Preventing Future Damage With Regular Maintenance
- 1. What are the common errors to avoid when patching a hole in a fiberglass boat?
- 2. How can incorrect fiberglass resin application affect boat hull repairs?
- 3. What steps are often overlooked when repairing a small fiberglass boat hull breach?
- 4. What are the typical mistakes made when trying to fix a large hole in a fiberglass boat?
- 5. In what ways can DIY fiberglass repairs lead to further damage on a boat?
- 6. What should be avoided to prevent compromising a fiberglass kayak repair?
Essential Fiberglass Repair Principles
Successful repairs on fiberglass boats depend on understanding how the material is built.
You need to recognize the difference between surface damage and serious structural problems and select the right resin for your specific repair needs.
Understanding Fiberglass Construction
Fiberglass boats are made by layering reinforcement materials with resin to create a strong composite structure.
The most common reinforcement materials are fiberglass cloth and fiberglass mat.
Fiberglass cloth consists of woven glass fibers that provide strength in multiple directions.
It works well for repairs where you need flexibility and a smooth finish.
Chopped strand mat contains randomly oriented short glass fibers held together with a binder.
Mat adds thickness and bulk to repairs quickly.
The hull of your boat typically has multiple layers of these materials.
The outer surface has a gel coat that protects the layers underneath from water and UV damage.
Below that sit alternating layers of cloth and mat saturated in resin.
Understanding this layered construction helps you repair damage correctly.
When you patch a damaged area, you need to rebuild these layers in the proper order to restore the boat’s original strength.
Key Differences Between Cosmetic and Structural Repairs
Cosmetic damage only affects the gel coat or the outermost fiberglass layer.
You’ll see scratches, chips, or surface cracks that don’t go all the way through.
These repairs focus on appearance and preventing water from reaching deeper layers.
Structural repairs involve damage that compromises the boat’s strength.
Cracks that flex when you press them, holes that go through the hull, or areas with delamination need structural fixes.
These repairs require multiple layers of fiberglass cloth or mat to rebuild strength.
Structural damage needs immediate attention because it can worsen quickly and affect your boat’s safety.
Cosmetic damage can wait but should still be fixed to prevent long-term problems.
The repair process differs significantly between the two types, with structural work requiring more layers and longer curing time.
Types of Resins and Their Applications
Three main resins work for fiberglass boat repairs: polyester, epoxy, and vinyl ester.
Each has specific uses and compatibility requirements.
Polyester resin is the most common and affordable option.
Most production boats use polyester, making it the natural choice for repairs.
Want to avoid costly fiberglass boat repair mistakes?
Learn how to inspect damage properly, decide when to DIY, and prevent expensive fiberglass problems before they start.
It works with both fiberglass cloth and chopped strand mat.
You can apply gel coat over polyester repairs.
Epoxy resin creates the strongest bond and resists water better than polyester.
It bonds to both polyester and epoxy surfaces.
However, epoxy resin doesn’t work with chopped strand mat because it can’t break down the mat’s binder.
You cannot apply standard gel coat over epoxy.
Vinyl ester resin falls between polyester and epoxy in cost and performance.
It offers better water resistance than polyester and works with all fiberglass reinforcement types.
You can apply gel coat over vinyl ester repairs.
Choose your resin based on what your boat was originally built with and whether you plan to apply gel coat over the repair.
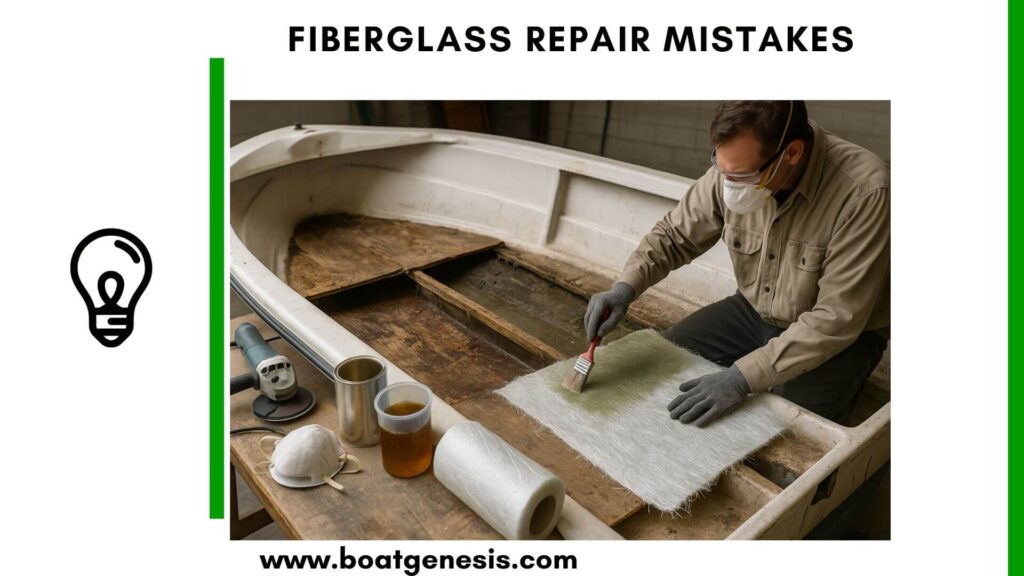
Critical Mistakes in Fiberglass Repair
Poor surface preparation prevents proper bonding.
Incorrect resin ratios weaken repairs, and rushed curing compromises structural integrity.
These errors turn what should be permanent fixes into temporary patches that fail under stress.
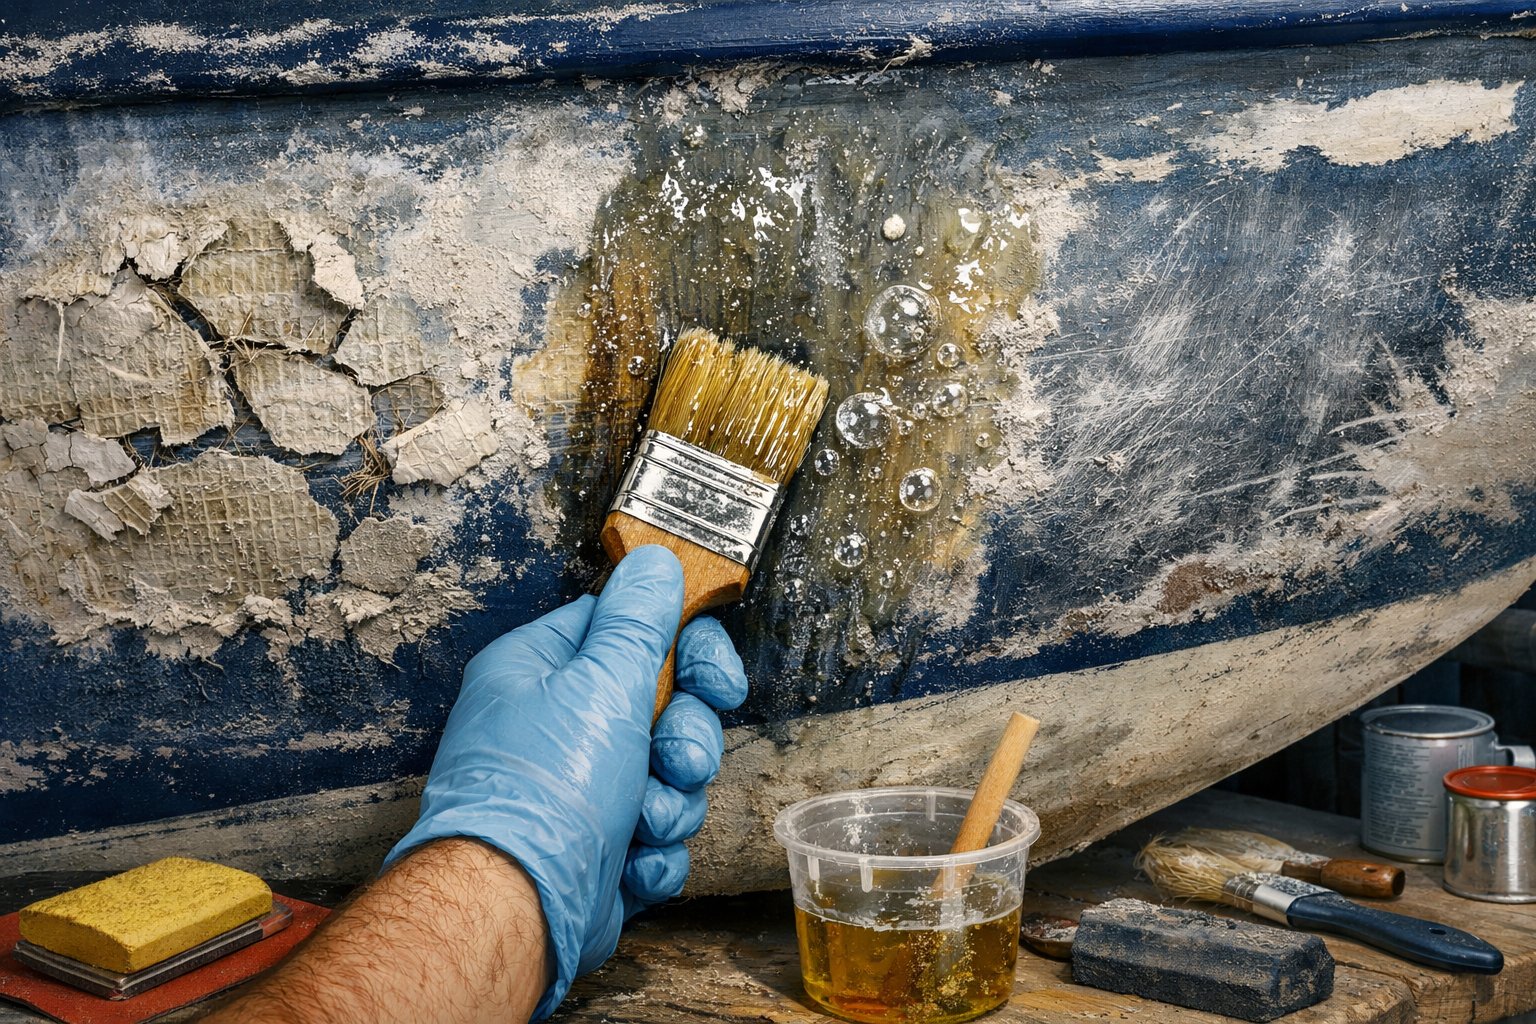
Inadequate Surface Preparation
Surface preparation determines whether your fiberglass repair will last or fail within months.
You need to remove all dirt, grease, and wax using acetone before starting any repair work.
Sand the damaged area with 80-grit sandpaper to create a rough surface.
Smooth or glossy surfaces won’t allow proper mechanical bonding.
Remove at least two inches of material around the damage to ensure a solid foundation.
Clean away all loose fiberglass fibers and dust after sanding.
Even small particles will prevent your resin from adhering correctly.
Proper surface preparation creates the mechanical bond your repair needs to succeed.
Wear nitrile gloves during this process to protect your hands from chemicals and sharp fibers.
The time you spend on preparation directly affects how long your repair will last.
Incorrect Resin Mixing and Application
Fiberglass resin requires exact mixing ratios to cure properly.
Too much hardener causes the resin to cure too fast and crack.
Too little hardener leaves the repair sticky and weak.
Measure your resin and hardener carefully using the manufacturer’s instructions.
Mix thoroughly for at least two minutes to ensure even distribution.
Pour in a figure-eight pattern to eliminate unmixed spots.
Apply resin in thin, even coats to avoid air bubbles.
Work the resin into the fiberglass cloth using a brush or roller.
Trapped air bubbles create weak points that compromise your repair’s strength.
Different fiberglass repairs require different resins.
Polyester resin won’t bond well to epoxy, but epoxy can bond over polyester.
Choose your resin based on what material you’re repairing.
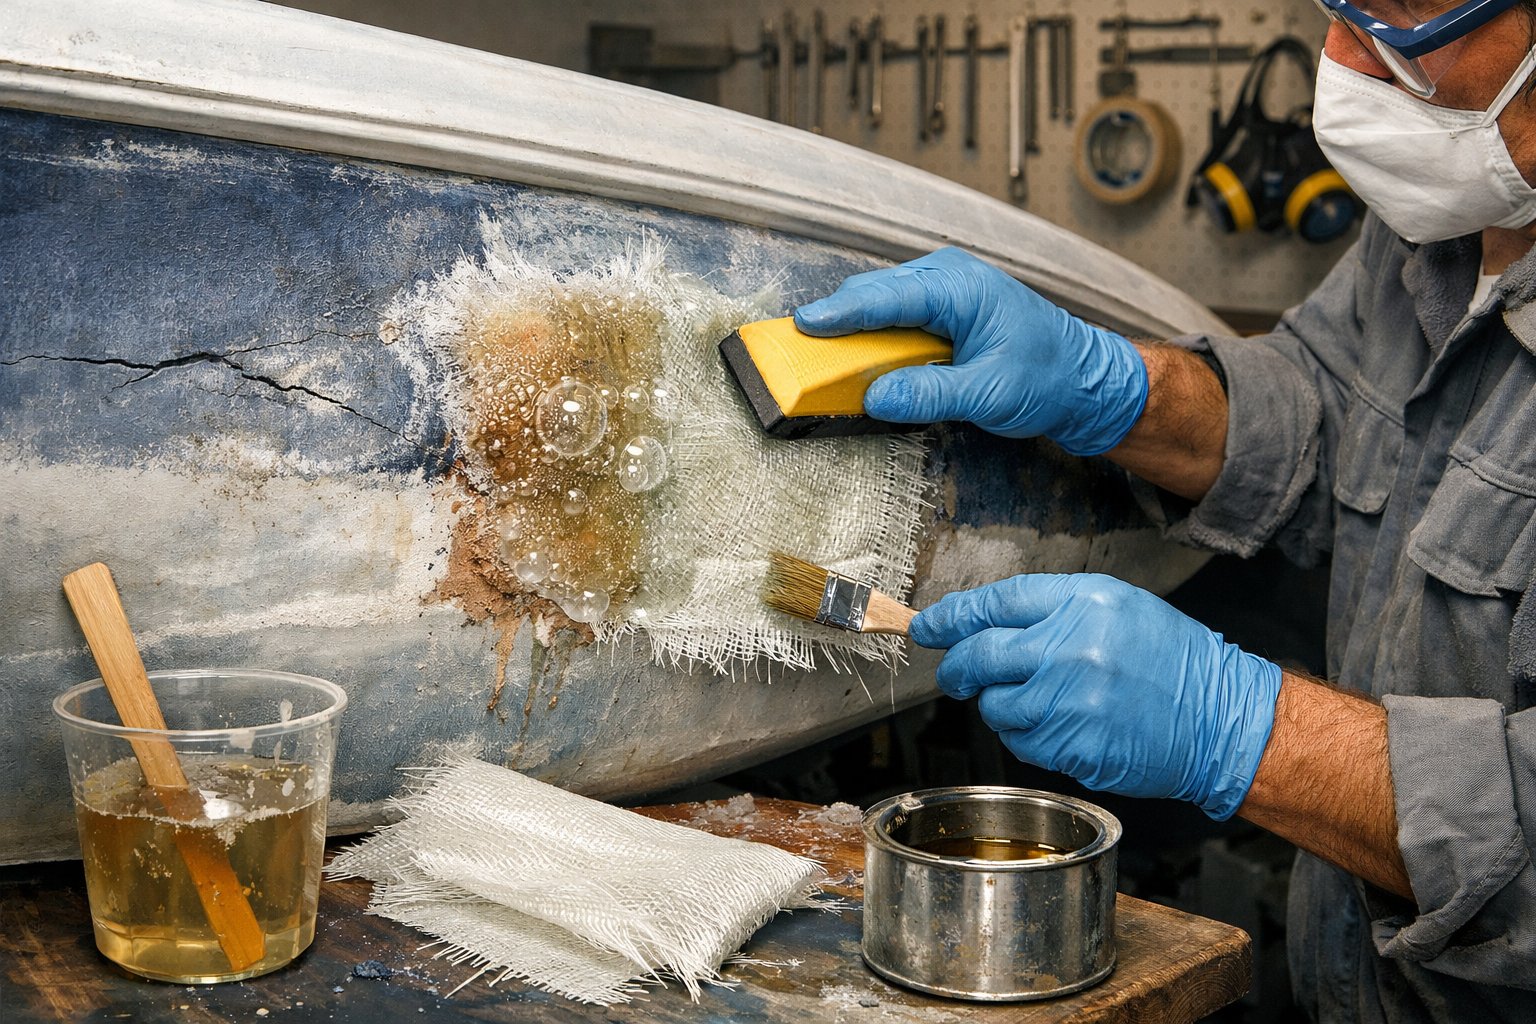
Improper Fiberglass Patch Techniques
Your fiberglass patch needs multiple layers cut in progressively larger sizes.
Start with a small patch over the damage, then add larger patches with each layer.
This creates a tapered repair that blends into the surrounding surface.
Saturate each layer completely with resin before adding the next.
Dry spots in your patch will cause delamination and failure.
Use a roller to remove air bubbles and ensure full saturation.
Layering fiberglass correctly requires patience and attention to detail.
Each layer needs time to become tacky before you add the next one.
Rushing this process creates a weak repair.
Don’t skimp on the number of layers.
Your patch should match or exceed the thickness of the original fiberglass.
Thin patches will flex differently than the surrounding material and crack under stress.
Neglecting Curing Conditions
Temperature and humidity directly affect how your fiberglass repair cures.
Work in temperatures between 70°F and 80°F for best results.

This guide helps boat owners understand fiberglass damage clearly — what matters, what doesn’t, and when repairs are truly necessary, so small issues don’t turn into expensive mistakes.
See What Every Boat Owner Should Know →Cold conditions slow curing, while heat can cause uneven reactions.
Wait for full cure time before sanding or applying fairing compound.
Most resins need 24 to 48 hours to reach full strength.
Testing the surface by touch isn’t reliable.
High humidity interferes with the curing process and can leave your repair tacky.
Work in a well-ventilated area with controlled moisture levels.
Poor ventilation also exposes you to harmful fumes from the resin.
Avoid using heat guns to speed up curing.
They create uneven temperatures that weaken the repair.
Let your fiberglass repair cure naturally for maximum strength and durability.
Common Damage Types and Mistakes During Repair
Boat owners often misidentify the severity of fiberglass damage, leading to repairs that fail within months.
Understanding whether you’re dealing with surface-level issues or deeper structural problems determines which materials and techniques will actually hold up in marine conditions.
Misjudging Structural Damage
You need to know the difference between cosmetic cracks and structural damage that affects the laminate layers.
Many boat owners see a crack and assume it’s just a surface problem, then apply filler without checking how deep the damage goes.
Structural damage requires cutting away compromised material and rebuilding with proper fiberglass cloth and resin.
If you only fill the crack without reinforcing it, the repair will fail when the boat flexes during normal use.
Impact damage from dock collisions or grounding can create hairline fractures that extend through multiple layers.
You should inspect the backside of the damaged area when possible to see if the crack goes all the way through.
Using filler compounds without reinforcing fiberglass creates weak spots that peel away under stress.
Mishandling Spider Cracks and Gelcoat Repairs
Spider cracks appear as small, web-like patterns on the gelcoat surface.
These stress cracks develop in high-traffic areas or where the hull flexes repeatedly.
You might think these are purely cosmetic, but they can expose the underlying laminate to moisture if left untreated.
The biggest mistake with gelcoat repair is applying new gelcoat over old cracks without proper preparation.
You need to grind out the damaged gelcoat first, creating a clean surface for the new material to bond.
A gelcoat repair kit won’t work if you just smear it over the cracks.
Your gelcoat application must be thin and even.
Thick applications don’t cure properly and will crack again within weeks.
You should also avoid repairing gelcoat in direct sunlight or extreme temperatures, as this affects curing time and bond strength.
Blistering, Water Intrusion, and Core Issues
Blistering happens when water gets trapped between gelcoat layers, creating bubble-like bumps on the hull. Osmotic blistering occurs when moisture penetrates through the gelcoat and reacts with chemicals in the laminate.
You can’t just sand down blisters and repaint—you need to address the water intrusion first. Use a moisture meter to check if water has reached the core material.
Water intrusion around deck hardware and hatches causes core delamination, where the structural layers separate. This creates soft spots that feel spongy when you walk on them.
Repairing core delamination requires you to remove the outer fiberglass skin and dry the area completely before installing new core material. Many boat owners rush this step and trap moisture inside, which leads to rot and mold.
The drying process can take weeks depending on how saturated the core became.
Ignoring UV Damage and Surface Protection
UV damage breaks down gelcoat over time, causing it to fade, chalk, and develop small cracks. Degraded gelcoat no longer protects the laminate underneath.
Once the protective layer fails, water can penetrate into the fiberglass. Your boat needs regular protection with marine wax or sealants to block UV rays.
Skipping this maintenance means you’ll face expensive gelcoat refinishing or complete topcoat replacement within a few years. Weathered surfaces need compounding and polishing before you apply new protective coatings.
UV damage also weakens repaired areas faster than original fiberglass. If you complete a repair without adding UV protection, the new gelcoat will degrade quickly and your work will fail prematurely.
Best Practices for Long-Lasting Boat Fiberglass Repairs
Quality boat fiberglass repair requires the right materials, proper safety gear, and ongoing care. Your repair will only last if you choose appropriate resins and tools, protect yourself during the process, and maintain your boat after fixing the damage.
Choosing the Right Materials and Tools
The materials you select determine whether your fiberglass repairs hold up over time. You need to match your resin type to both the existing boat material and your repair goals.
Polyester resin works well for most general boat fiberglass repair projects and costs less than other options. It bonds well to existing polyester surfaces but won’t stick properly to epoxy.
Epoxy resin creates stronger bonds and can go over polyester, making it ideal for structural repairs. Vinyl ester resin offers the best resistance to water and harsh marine conditions.
Your fiberglass cloth should match your resin choice. Most cloth types work with polyester, vinyl ester, and epoxy resins.
However, chopped strand mat only works with polyester or vinyl ester because epoxy cannot break down the styrene binder in the mat.
You’ll also need 80-grit sandpaper for initial surface prep, 120 to 220-grit sandpaper for finishing work, acetone for cleaning, and fairing compound to smooth uneven surfaces.
A squeegee or roller helps you remove air bubbles and saturate each layer properly.
Ensuring Safety Throughout the Repair Process
Fiberglass materials contain chemicals and particles that can harm you if you skip protective equipment. Your skin, eyes, and lungs all face risks during repairs.
Always wear nitrile gloves to prevent resin from touching your skin. Latex gloves break down when exposed to fiberglass chemicals.
You need safety goggles to shield your eyes from resin splashes and dust particles. A respirator protects your lungs from harmful fumes and fine fiberglass dust.
Standard dust masks don’t filter out the chemical vapors from resin. Work in a well-ventilated area or outdoors when possible.
Sanding creates sharp fiberglass particles that irritate your skin and respiratory system. Wear long sleeves and pants during this step.
Set up a fan to direct dust away from your breathing zone. Keep a trash bag nearby to collect sanding debris immediately.
Never use heat guns improperly to speed curing. They can create toxic fumes and cause uneven resin reactions that weaken your repair.
Preventing Future Damage With Regular Maintenance
Your repair work stays intact longer when you protect it from ongoing wear. Regular boat maintenance stops small issues from becoming major problems.
Inspect your boat every few months for new cracks, chips, or stress points. Catching damage early means simpler fixes.
Look closely at high-stress areas like the hull-to-deck joint and around hardware mounting points. Apply marine wax to repaired areas and the entire gel coat surface.
Wax creates a barrier against UV rays, salt water, and temperature changes. The marine environment breaks down fiberglass faster than freshwater or storage conditions.
Clean your boat with mild soap and fresh water after each outing in salt water. Salt crystals left on the surface pull moisture into the fiberglass over time.
This leads to osmotic blistering and delamination. Store your boat under cover when not in use.
Direct sunlight degrades gel coat and weakens the resin underneath. If you keep your boat in the water long-term, haul it out yearly to inspect the bottom for damage and apply fresh bottom paint.
Frequently Asked Questions
Boat owners often make the same mistakes when repairing fiberglass damage, from improper surface preparation to using the wrong materials. Understanding these common errors helps you avoid expensive fixes and structural problems down the road.
1. What are the common errors to avoid when patching a hole in a fiberglass boat?
The biggest mistake you can make is skipping proper surface preparation. You need to grind or sand the damaged area to create a clean, rough surface that allows the new fiberglass to bond properly.
Many people also use too much or too little resin when applying fiberglass cloth. Too much resin creates a heavy, weak repair that can crack.
Too little resin leaves dry spots that won’t bond correctly. Not backing the hole with a temporary support is another frequent error.
Without backing, the resin will sag or drip through, creating an uneven repair that lacks strength.
2. How can incorrect fiberglass resin application affect boat hull repairs?
Using the wrong type of resin can cause your repair to fail completely. Polyester resin won’t bond well to epoxy, and mixing these materials creates a weak spot that can separate over time.
Applying resin in extreme temperatures causes major problems. Cold weather makes resin cure too slowly, while hot weather makes it harden too fast before you can properly work it into the fiberglass cloth.
Adding too much hardener to speed up cure time weakens the chemical structure. Your repair might feel solid at first but will become brittle and crack under normal stress.
3. What steps are often overlooked when repairing a small fiberglass boat hull breach?
You need to inspect the damage from both sides of the hull when possible. Small visible cracks on the outside often indicate larger internal damage that you can’t see without checking the interior.
Cleaning the area with acetone or another solvent removes contaminants that prevent proper bonding. Skipping this step leaves oils, wax, or dirt that create invisible barriers between layers.
Failing to taper the edges of the damaged area is a common oversight. Sharp edges around the repair create stress points where new cracks can form.
4. What are the typical mistakes made when trying to fix a large hole in a fiberglass boat?
Using too few layers of fiberglass cloth leaves your repair thinner and weaker than the surrounding hull. You need to match the original thickness by gradually building up layers.
Rushing between layers before each one fully cures causes delamination. Each layer needs adequate time to harden before you add the next one.
Not extending the repair beyond the damaged area is a structural error. Your patch needs to overlap onto solid fiberglass by several inches to distribute stress properly.
5. In what ways can DIY fiberglass repairs lead to further damage on a boat?
Grinding too aggressively through the gelcoat and into the fiberglass layers weakens the hull structure. You only need to remove enough material to create a good bonding surface.
Making DIY attempts without understanding when professional help is needed can turn minor damage into major structural problems.
Some repairs require professional equipment and expertise to ensure safety. Using improper tools or techniques can crack surrounding areas that were previously undamaged.
This expands the repair zone and increases costs significantly.
6. What should be avoided to prevent compromising a fiberglass kayak repair?
Applying fiberglass patches to wet or damp surfaces guarantees failure. Moisture trapped under the repair prevents proper bonding and can cause blistering over time.
Using automotive body filler instead of proper marine-grade materials creates repairs that won’t withstand water exposure. These products aren’t designed for constant moisture and will deteriorate quickly.
Skipping the final gelcoat or paint layer leaves exposed fiberglass vulnerable to UV damage and water absorption. Seal the repair completely to protect it from the elements.

Warren is the founder of BoatGenesis and brings practical experience in fiberglass boat repair, marine equipment testing, and powerboat building. He has worked on a range of repair and restoration projects and now focuses on creating clear, research-based guides to help boat owners avoid costly mistakes and make smarter maintenance decisions. Learn more about Warren.