Getting a fiberglass boat ready for paint requires more than just a quick scuff with sandpaper. The gelcoat surface needs proper preparation to ensure paint actually sticks and lasts through years of water exposure. Sanding a fiberglass boat properly involves starting with coarser grits to remove oxidation and gradually moving to finer grits that create the ideal surface for paint adhesion. Skip steps or use the wrong technique, and you’ll watch your new paint job peel off in sheets.

Your boat hull takes a beating from sun, salt, and constant moisture. This means the surface preparation you do now directly affects how long your paint job will last. The right sanding approach removes damaged gelcoat layers while creating tiny scratches that give paint something to grip onto.
This guide walks you through every stage of sanding your fiberglass boat for paint. You’ll learn which grits to use, when to switch to wet sanding, and how to avoid common mistakes that waste time and materials.
Key Takeaways
- Start with 80-100 grit sandpaper to remove oxidation and progress through finer grits up to 220 for proper paint adhesion
- Wet sanding with progressively finer grits creates a smooth, professional finish while reducing harmful dust exposure
- Thorough cleaning between sanding stages and proper priming ensures your paint bonds correctly and lasts for years
Essential Tools and Safety Gear

Getting the right sanders, sandpaper, and protective equipment makes sanding your fiberglass boat safer and more effective. Using quality tools designed for marine work prevents damage to the gelcoat while proper safety gear protects you from harmful dust and particles.
Choosing the Right Sanders
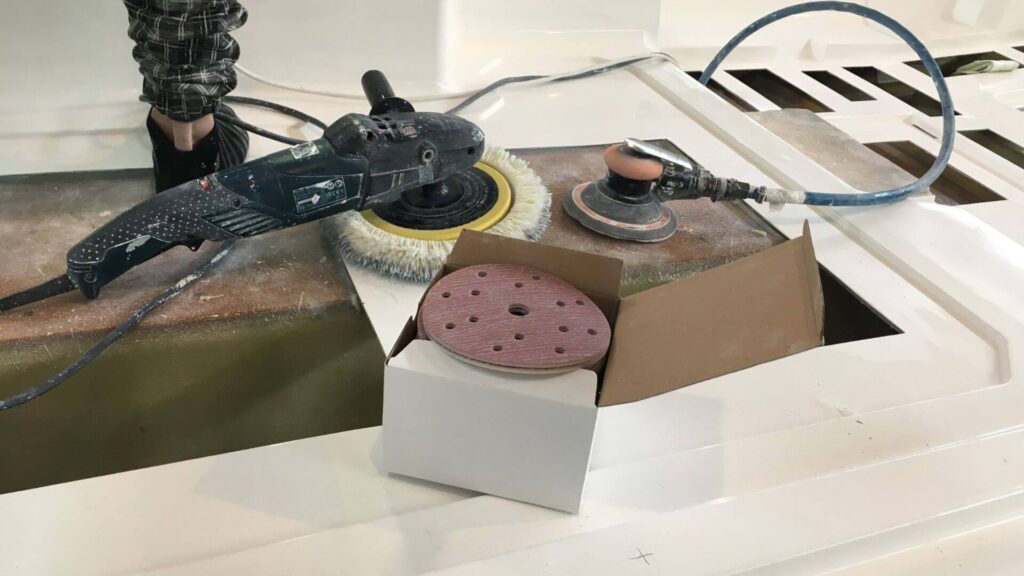
A random orbital sander works best for most fiberglass boat sanding projects. This tool moves in a circular pattern that prevents visible swirl marks on your gelcoat.
Look for a dual-action sander with variable speed control that stays below 6,000 RPM. Higher speeds can burn through the thin gelcoat layer and damage your boat’s surface.
For large hull areas, a random orbital sander significantly reduces workload compared to hand sanding. Choose models with hook-and-loop backing pads that make changing sandpaper discs quick and easy.
Keep the sander moving at all times. Never let it sit in one spot or you’ll create low spots in the gelcoat.
Hand sanding blocks remain necessary for tight spaces, edges, and areas around hardware where power tools can’t reach safely.
Sandpaper Types and Grit Selection
Silicon carbide sandpaper and aluminum oxide papers are the best choices for fiberglass surfaces. These materials cut through gelcoat effectively without clogging as quickly as cheaper alternatives.
Start with 80 grit to remove heavy oxidation or old paint. Move to 120 grit for general surface preparation and smoothing.
Progress to 220 grit before applying primer or paint. For wet sanding, use 400 grit or finer wet sandpaper with water as lubricant.
| Grit Range | Purpose |
|---|---|
| 80-100 | Remove oxidation and defects |
| 120-180 | Smooth surface imperfections |
| 220-400 | Final prep before painting |
| 600-2000 | Wet sanding for glossy finish |
Always use marine-grade sandpaper that resists moisture and doesn’t break down quickly.
Personal Protective Equipment
Wearing protective gear prevents inhaling harmful dust particles from fiberglass and gelcoat. A NIOSH-approved dust mask with N95 rating or higher protects your lungs from fine particles.
Use chemical-resistant gloves to protect your hands from irritation. Nitrile gloves work well for most sanding tasks.
Safety goggles keep dust out of your eyes. Choose wraparound styles that seal against your face for complete protection.
Want to avoid costly fiberglass boat repair mistakes?
Learn how to inspect damage properly, decide when to DIY, and prevent expensive fiberglass problems before they start.
Work in well-ventilated areas or outdoors when possible. If you must work indoors, set up fans to improve air circulation and reduce dust concentration.
Consider a hooded paint suit for extended sanding sessions. This keeps fiberglass dust off your skin and clothes.
Surface Inspection and Preparation

Before you start sanding your fiberglass boat, you need to check the surface carefully for damage and remove any substances that could interfere with paint adhesion. This means looking for cracks or blisters, getting rid of all wax and dirt, and protecting parts of your boat that shouldn’t be sanded.
Assessing the Fiberglass and Gelcoat
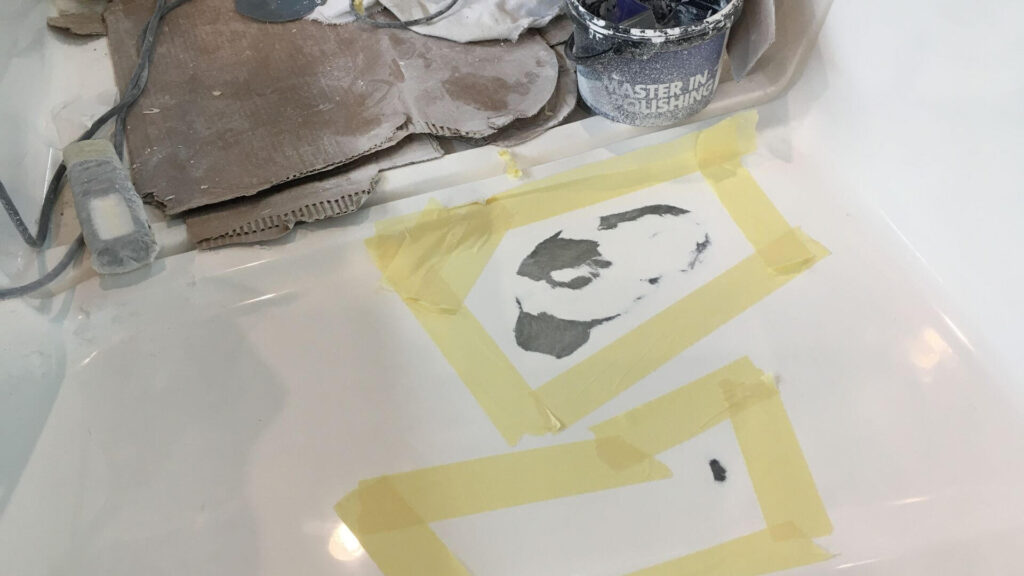
Start by examining your entire boat hull for damage. Look for cracks, blisters, chips, or areas where the gelcoat has oxidized and turned chalky. Check along the waterline and around fittings where damage often occurs.
Mark any problem spots with tape so you can address them during fiberglass repair. Small cracks need to be filled with epoxy filler before you sand. Blisters should be opened, dried out, and properly repaired.
Pay attention to areas that feel soft or flex when you press on them. These spots might indicate deeper structural problems that need fixing before you paint. Run your hand over the surface to feel for raised edges, rough patches, or delaminated sections that will need extra work.
Cleaning and Wax Removal
Wash the entire surface with boat soap and freshwater to remove dirt, salt, and marine growth. Use a pressure washer or scrub brush to get into textured areas. Let the boat dry completely before moving forward.
After washing, apply a wax and grease remover to eliminate any remaining contaminants. Old wax coatings will prevent paint from bonding properly to the gelcoat. Work in small sections and wipe the surface with clean rags.
For stubborn wax or grease, you may need to apply the solvent multiple times. Acetone works well as a final degreasing step right before you start sanding.
Taping and Protecting Sensitive Areas
Cover all hardware, fittings, ports, and rails with painter’s tape before you begin sanding. This protects chrome, stainless steel, and plastic parts from scratches and keeps sanding dust out of tight spaces.
Use plastic sheeting to cover larger areas like windows, hatches, and deck sections you won’t be painting. Secure the sheeting with tape to prevent it from shifting during work.
Mark the edges of areas you plan to sand so you don’t accidentally damage surrounding surfaces. Remove or protect any electronics, navigation lights, or trim pieces that could get scratched. Once you finish sanding each grit level, use a tack cloth to remove dust before switching to finer sandpaper.
Grit Progression and Sanding Techniques
Starting with the right grit and progressing systematically through finer grades creates the smooth surface your paint needs to bond properly. Using the correct tools for each stage speeds up the work while maintaining control over the finish.
Initial Sanding for Oxidation and Defects
You’ll start with 80 grit or 120 grit sandpaper to remove oxidized gelcoat, old paint, and surface defects from your boat hulls. This coarse paper cuts through damaged material quickly but requires careful control to avoid gouging the fiberglass underneath.
A dual-action sander works well for large flat areas during this stage. Apply moderate pressure and keep the sander moving in straight, overlapping passes. Circular motions create uneven scratches that show through your final paint.
For heavy oxidation or thick paint buildup, 80 grit removes material faster. Switch to 120 grit once you’ve stripped away the damaged layer and exposed solid fiberglass. Sand until the entire surface feels uniformly rough with no shiny spots remaining.
Clean the boat thoroughly between grit changes. Leftover coarse particles will scratch your surface when you move to finer paper.
Refining Surface for Smoothness
After initial sanding, 180 grit or 220 grit smooths out the deep scratches left by coarser paper. This middle stage prepares the surface for final finishing without removing too much material.
180 grit works well for smoothing scratches from your rough sanding pass. Sand in straight lines, overlapping each pass by about half the sanding pad width. Check your progress by running your hand across the surface.
Move to 220 grit once the deep scratches disappear. This finer paper creates a uniform texture across the entire hull. Silicon carbide sandpaper lasts longer than aluminum oxide options and cuts fiberglass more effectively.
A random orbital sander reduces the risk of creating visible sanding patterns. Keep the tool flat against the surface and let the machine do the work rather than pushing hard.
Using Power and Hand Tools Effectively
Power sanders save time on large flat sections, but hand sanding gives you better control around curves, corners, and tight spaces. Finish your preparation with 400 grit paper for the smoothest base.
Use sanding blocks for hand work to maintain even pressure. Wrap the sandpaper around a firm rubber or foam block rather than holding it with just your fingers. This prevents creating low spots or waves in the surface.
Switch to 400 grit for your final sanding before paint. This fine paper levels any remaining imperfections without creating deep scratches. Wet sanding with soapy water at this stage reduces dust and helps you see your progress.

This guide helps boat owners understand fiberglass damage clearly — what matters, what doesn’t, and when repairs are truly necessary, so small issues don’t turn into expensive mistakes.
See What Every Boat Owner Should Know →Sand edges and corners by hand to avoid rounding them over. Power tools remove material too quickly in these areas and can damage hardware or fittings.
Wet Sanding for Professional Results
Wet sanding transforms a rough fiberglass surface into a smooth foundation ready for paint by using water as a lubricant during the sanding process. This method reduces dust, prevents sandpaper from clogging, and produces finer results than dry sanding alone.
Benefits and When to Wet Sand
Wet sanding keeps your sandpaper from loading up with fiberglass dust, which extends the life of each sheet and maintains consistent cutting action. The water acts as a lubricant that prevents heat buildup and reduces the risk of creating gouges or uneven spots in the surface.
You should switch to wet sanding once you reach 400 grit or finer. These finer grits work best with water because they cut more slowly and generate dust that quickly clogs the abrasive without moisture. Wet sanding fiberglass boats also eliminates most airborne particles, making the process safer for your lungs.
The technique works particularly well for final preparation before paint. It removes small scratches left by coarser grits and creates a surface profile that helps paint adhere properly.
Wet Sanding Step-by-Step
Fill a spray bottle with clean water and keep the surface continuously wet while you work. Use wet sandpaper designed for this purpose, as standard sandpaper will fall apart when soaked.
Apply light, consistent pressure using long, straight strokes rather than circular motions. Alternate your stroke direction with each grit change to ensure you remove all scratches from the previous grit. The water should turn milky as it picks up fine fiberglass particles.
Wipe the surface clean frequently to check your progress under good lighting. Any remaining scratches must be eliminated before moving to the next finer grit. An orbital sander can speed up the process on large, flat areas, but keep it moving to avoid creating low spots.
Rinse the surface thoroughly after each grit and dry it completely before inspecting. Once you finish with your finest grit, clean the boat with soap and water to remove all residue.
Selecting Grits for Wet Sanding
Start wet sanding at 400 grit after completing your dry sanding stages. This grit removes the deeper scratches left by 220 or 320 grit while establishing a smoother surface profile.
Progress to 600 grit, then 800 grit for surfaces that will receive high-quality marine paint. Each step refines the surface further and removes the scratch pattern from the previous grit. If you want an exceptionally smooth finish, continue through 1000 grit and even 1500 grit.
The finer you sand, the better your paint will look, but you need to balance perfection with practicality. Most boat painting jobs achieve excellent results stopping at 600 or 800 grit. Going beyond 1000 grit makes more sense when applying marine wax to bare gelcoat rather than preparing for paint, since paint needs some texture to grip properly.
Priming and Final Surface Preparation
After sanding your fiberglass boat, the next critical phase involves removing all dust, applying a quality marine primer, and fixing any remaining surface flaws. These steps create the foundation that determines how well your topcoat adheres and how long your paint job lasts.
Dust Removal and Final Surface Checks
You need to remove every trace of sanding dust before you apply primer. Use a tack cloth to wipe down the entire surface. These specially treated cloths grab fine particles that regular rags miss.
Before wiping with the tack cloth, go over the surface with wax and grease remover. Apply it with one clean rag and immediately wipe it off with another. This two-rag method prevents you from spreading contaminants around.
Check the surface carefully under good lighting. Run your hand over the hull to feel for rough spots or imperfections you might have missed. Any remaining oxidation will show up as dull or chalky areas that need more sanding attention.
Don’t touch the cleaned surface with bare hands after this step. Oils from your skin will affect the cure of your paint and cause adhesion problems.
Applying Marine Primer
Marine primer bonds to your sanded fiberglass and gives the topcoat something to grip. It also seals repairs and prevents chemical reactions between old and new coatings.
Choose a high-build marine primer designed for fiberglass. Follow the manufacturer’s instructions for mixing ratios and application methods. Most primers work best when applied with a foam roller for large areas and a brush for detailed sections.
Apply primer in thin, even coats rather than one thick layer. Let each coat dry according to the product instructions before adding another. Two to three coats typically provide adequate coverage and fill minor scratches.
After the final primer coat dries completely, sand it lightly with 220 or 320-grit sandpaper. This creates the ideal texture for paint adhesion without cutting through to the underlying surface.
Correcting Imperfections Before Paint
Inspect the primed surface for any issues that appeared after priming. Pinholes, runs, or rough spots need attention now.
Sand down any runs or drips with 220-grit sandpaper until they’re flush with the surrounding area. For pinholes or small voids, apply a thin layer of primer to fill them and sand smooth after drying.
If you sand through to the fiberglass, reapply primer to that spot and feather the edges into the surrounding primed area. Let it dry and sand again with 320-grit paper.
Give the surface one final wipe with a solvent-dampened cloth right before painting. This removes fingerprints from masking and any remaining dust particles.
Aftercare and Ongoing Maintenance
Once you finish painting your fiberglass boat, proper care keeps the new finish looking good and protects your investment. Regular maintenance prevents damage and extends how long your paint job lasts.
Waxing and Polishing the Finished Surface
Wait at least 30 days after painting before you apply any wax. This gives the paint time to fully cure and harden. When you’re ready, choose a marine wax made specifically for boats.
Apply wax in small circular motions using a soft cloth or foam pad. Work on one section at a time, about 2 to 3 feet square. Let the wax dry to a haze, then buff it off with a clean microfiber cloth.
Wax your boat every three to four months if you keep it in the water. If you store it on land, twice a year works fine. The wax creates a protective barrier that shields the paint from UV rays, salt water, and dirt.
Polish only when you notice the finish getting dull or seeing minor scratches. Use a marine polish designed for painted surfaces, not gelcoat polish.
Regular Upkeep to Prevent Oxidation
Wash your boat with fresh water after every use, especially in salt water. Salt causes oxidation and breaks down your paint over time.
Use a mild boat soap and soft brush or sponge. Never use household cleaners or abrasive scrubbers on your fiberglass surfaces. Rinse thoroughly from top to bottom.
Check your boat maintenance schedule monthly for signs of oxidation like chalky residue or fading. Catch problems early before they require major repairs.
Store your boat with a quality cover when not in use. Keep it out of direct sunlight when possible. UV rays are the main cause of paint breakdown and fading on fiberglass boats.
Safety Tips for Future Projects
Always wear a proper respirator mask rated for fiberglass dust when sanding. Regular dust masks don’t provide enough protection. Wear safety goggles and gloves too.
Work in a well-ventilated area or outdoors when possible. Set up fans to move dust away from your breathing zone. Never sand indoors without proper ventilation.
Keep your workspace clean by vacuuming up dust regularly. Don’t let it build up on surfaces or floors. Wet sanding reduces airborne particles but creates messy runoff you need to contain.
Store all sanding materials, paints, and solvents in their original containers. Keep them away from heat sources and out of reach of children and pets.

Warren is the founder of BoatGenesis and brings practical experience in fiberglass boat repair, marine equipment testing, and powerboat building. He has worked on a range of repair and restoration projects and now focuses on creating clear, research-based guides to help boat owners avoid costly mistakes and make smarter maintenance decisions. Learn more about Warren.