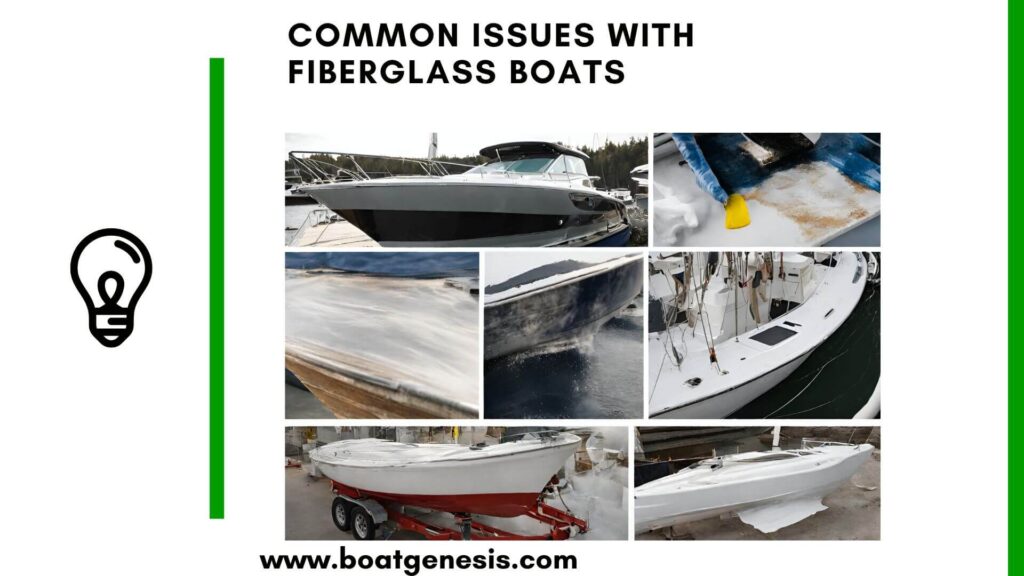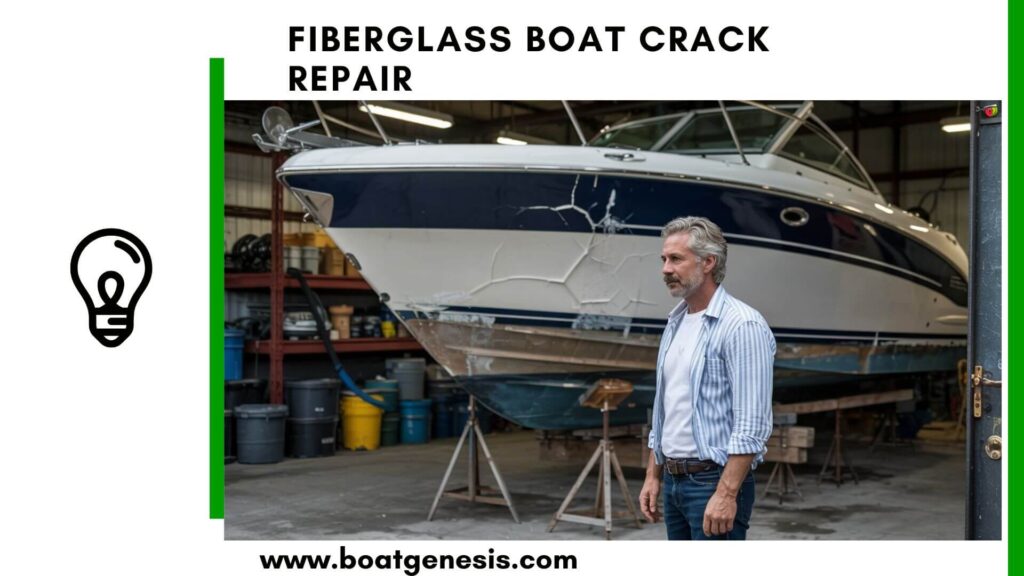
Cracks in a fiberglass boat hull or deck are more than just cosmetic imperfections—they can signal deeper issues and may worsen if left untreated. Whether you’re dealing with stress cracks, spider cracks, or structural fractures, learning how to perform a proper fiberglass boat crack repair can save you time, money, and stress.
In this guide, I’ll walk you through how to identify different types of cracks, repair them using industry-approved techniques, and help you determine when it’s time to bring in a professional.
KEY TAKEAWAYS
Not all cracks are the same — from hairline gelcoat fractures to deep structural damage, identifying the type of crack is the first step in effective fiberglass repair.
Surface cracks are mostly cosmetic and can be fixed easily with gelcoat putty, sanding, and polishing.
Stress and spider cracks typically form around fittings and flex points; reinforcing them with fiberglass cloth and resin ensures long-term strength.
Deep cracks or exposed fiberglass strands require a more thorough rebuild process using thickened epoxy and reinforcement patches.
Backing the repair is essential when working on the outside hull — especially for large or vertical cracks where gravity can affect resin curing.
Proper prep and patience are key to a smooth, invisible repair that blends with your boat’s finish.
Want to avoid costly fiberglass boat repair mistakes?
Learn how to inspect damage properly, decide when to DIY, and prevent expensive fiberglass problems before they start.
When in doubt, or when structural components are involved, consult a marine fiberglass repair professional to ensure safety and longevity.
By the end, you’ll have everything you need to restore your boat’s integrity and aesthetic appeal.
What Causes Cracks in Fiberglass Boats?
Understanding the root cause of the crack is critical before making repairs. Most fiberglass boat cracks stem from one of the following:
- Impact Damage: A collision with a dock, submerged object, or trailer mishap can cause both surface and structural damage.
- Stress and Flex Fatigue: Repeated flexing from waves, tight cornering, or improperly supported trailers causes cracks around high-stress areas like cleats, hatches, and fasteners.
- Aging and UV Exposure: Over time, fiberglass resin becomes brittle, especially under prolonged sun exposure or extreme temperature changes.
- Poor Construction or Design Flaws: Sometimes, the initial layup or resin application was insufficient or inconsistent, making certain areas more prone to cracking.
Types of Cracks in Fiberglass Boats

Before jumping into repairs, it’s essential to identify the type of crack you’re dealing with:
- Hairline or Surface Cracks – Typically limited to the gelcoat layer. These are mostly cosmetic.
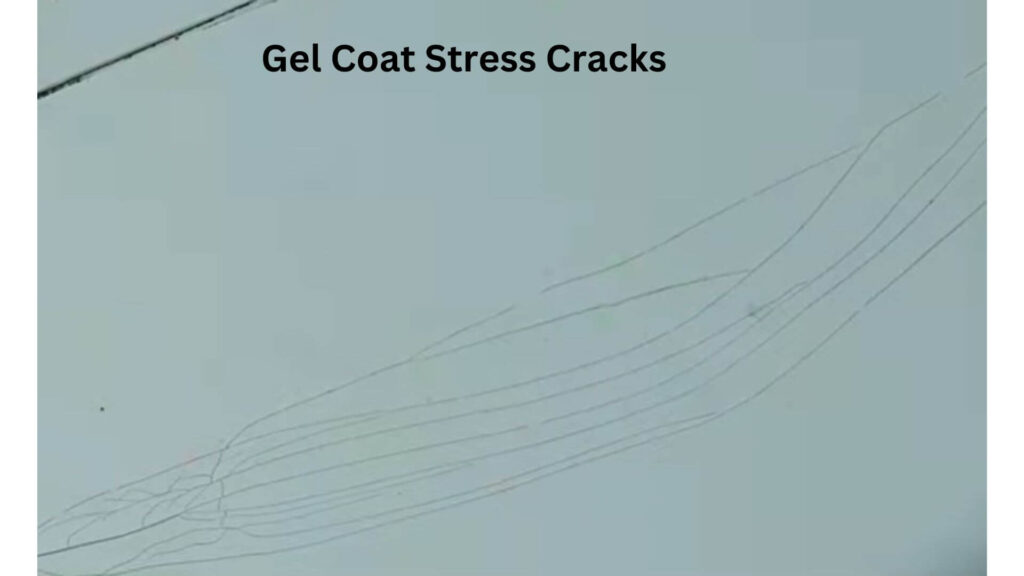
- Stress Cracks – Often form around fittings, screw holes, or structural supports.
- Spider Cracks – Fine, web-like patterns, usually in clusters.
- Deep Structural Cracks – These may expose fibers and require reinforcement.
- Cracks with Delamination – More severe, often needing professional evaluation.
For a deeper dive into each type, visit our related guides:
- How to Repair Gelcoat stress Cracks in Boats
- Repairing Spider Cracks in Fiberglass
- Fixing Structural Fiberglass Damage
Tools and Materials You’ll Need
To perform fiberglass boat crack repair, gather the following:
- Dremel tool or rotary cutter
- Acetone
- 80–220 grit sandpaper
- Fiberglass cloth or mat
- Epoxy resin or polyester/vinylester resin
- Gelcoat or gelcoat repair putty
- Paint stir sticks, gloves, goggles, respirator
- Painter’s tape
- Buffing compound and wax
Step-by-Step: How to Repair Fiberglass Boat Cracks
1. Inspect and Identify the Crack
Start by cleaning the area thoroughly with water and acetone to remove any wax, grime, or debris. Examine the crack’s depth and direction.
Does it only affect the gelcoat? Or can you see white strands of fiberglass below the surface?
2. Open the Crack for Better Adhesion
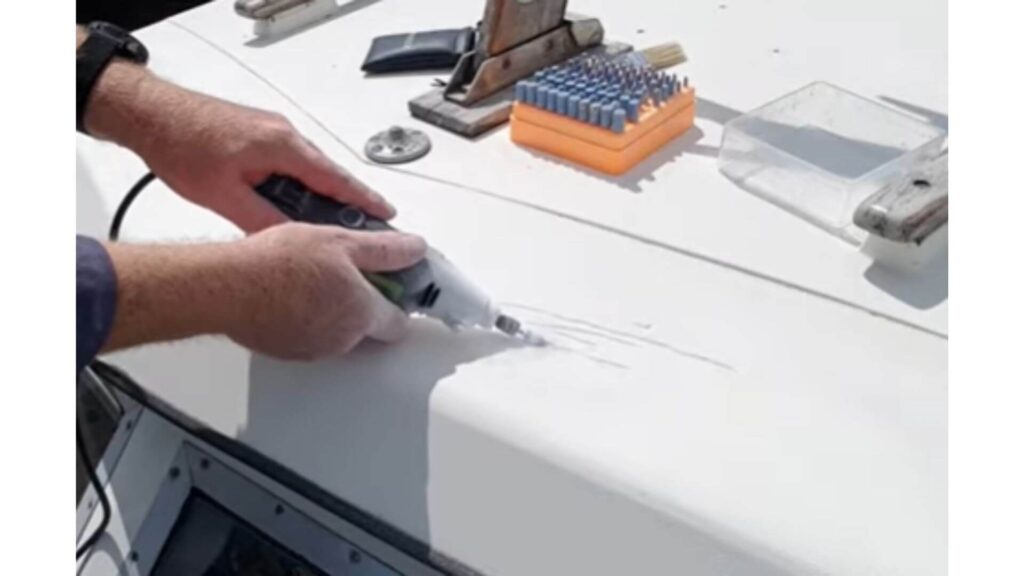
Using a Dremel or grinding tool, carefully grind the crack into a shallow “V” shape. This widens the crack for resin penetration and helps eliminate any loose or damaged gelcoat.
Be careful not to grind too deeply unless the crack is structural.
After grinding, sand the area using 80-grit sandpaper to roughen the surrounding surface for better bonding.
==>> Also check out my recommended Best Gel coat repair kits for boats here.
3. Clean the Area Again
Blow out dust or debris from the crack using compressed air or a vacuum. Then wipe everything with acetone.

This guide helps boat owners understand fiberglass damage clearly — what matters, what doesn’t, and when repairs are truly necessary, so small issues don’t turn into expensive mistakes.
See What Every Boat Owner Should Know →This ensures that your repair resin will adhere properly without contamination.
4. Apply Thickened Epoxy (for Deeper or Structural Cracks)

If the crack goes beyond the gelcoat, you’ll need to rebuild the area using thickened epoxy and fiberglass cloth:
- Mix the epoxy resin and hardener according to instructions.
- Thicken the epoxy using colloidal silica or a pre-thickened filler until it has a peanut butter consistency.
- Using a spreader or putty knife, press the thickened epoxy into the crack and surrounding groove. Make sure to fill all voids.
Tip for cracks on the outside hull: Since resin can drip or sag due to gravity, create a backing mold using a flexible plastic sheet or wax paper held in place with painter’s tape or from inside the hull if accessible. This keeps the epoxy in place while it cures.
5. Apply Fiberglass Cloth for Reinforcement (If Needed)
For longer or deeper cracks:
- Cut fiberglass cloth slightly larger than the repaired area.
- Saturate it with epoxy resin using a disposable brush.
- Lay the fiberglass cloth over the filled crack and use a spreader to smooth it out.
- Let it cure according to the product’s recommendations.
Repeat with 2–3 layers if needed, allowing proper curing between each layer.
6. Sand, Fair, and Refinish
Once cured, sand the repair area flush with the surrounding gelcoat using progressively finer sandpaper (start at 100-grit, finish around 400). Apply fairing compound if needed for a perfectly flush surface.
Then:
- Apply matching gelcoat or gelcoat putty over the repair.
- Let it cure, then wet sand and polish to match the rest of the boat.
- Apply marine wax for UV protection and a high-gloss finish.
If you need more tips on Gel Coat repair, you can also read this article by WikiHow.
When Should You Call a Professional?
While DIY fiberglass crack repairs are effective for most minor-to-moderate damage, consider hiring a marine technician if:
- The crack is longer than 12 inches
- Large holes spanning multiple hull layers
- It involves structural stringers or bulkheads
- There is evidence of water intrusion, mold, or delamination
- Your boat will be subjected to high-performance or offshore stress
Knowing when it makes sense to have an experienced marine repair technician assess major fiberglass damage is important both for safety and for getting insurance claim support.
For smaller, shorter cracks, though, applying fiberglass repair fundamentals with care and patience can successfully repair cracks for years of more enjoyable boating.
Fiberglass Boat Crack Repair: Your FAQs Answered
1. What causes cracks in Fiberglass Boats?
Cracks in fiberglass boats typically result from impact damage, stress over time, or aging. Hard dock collisions, trailer pressure points, and constant flexing around hardware are common culprits. Over time, UV exposure and general wear can also make fiberglass brittle and prone to cracking.
2. How do I know if a crack is just cosmetic or structural?
Cosmetic cracks usually affect only the gelcoat and appear as thin, surface-level lines (like hairline or spider cracks). Structural cracks often go deeper, exposing white fiberglass strands or feeling soft or hollow around the damage. If you’re unsure, consult a marine repair specialist.
3. Can I repair fiberglass cracks myself, or do I need a professional?
Most cosmetic and minor structural cracks can be repaired by DIYers using the right tools and materials. However, large cracks, deep damage, or cracks affecting structural components like stringers may require professional repair to ensure safety and integrity.
4. What’s the difference between gelcoat cracks and fiberglass cracks?
Gelcoat cracks only affect the colored, protective outer layer and are usually cosmetic. Fiberglass cracks go deeper into the structural layer and may compromise the boat’s strength. Both require different repair methods.
5. Do I need to repaint after repairing fiberglass cracks?
Yes, in most cases. After sanding and smoothing the repair, repainting or reapplying gelcoat is necessary to restore your boat’s look and protect the surface from UV rays and moisture.
Final Thoughts
While finding a crack in your fiberglass boat can be frustrating, it doesn’t have to end your weekend plans.
With the right tools, products, and this step-by-step guide, you can perform durable, watertight fiberglass boat crack repair yourself—and restore your boat to like-new condition.
For more in-depth guides and repair tips, check out our related posts or reach out to us at contact@boatgenesis.com.

Warren is the founder of BoatGenesis and brings practical experience in fiberglass boat repair, marine equipment testing, and powerboat building. He has worked on a range of repair and restoration projects and now focuses on creating clear, research-based guides to help boat owners avoid costly mistakes and make smarter maintenance decisions. Learn more about Warren.