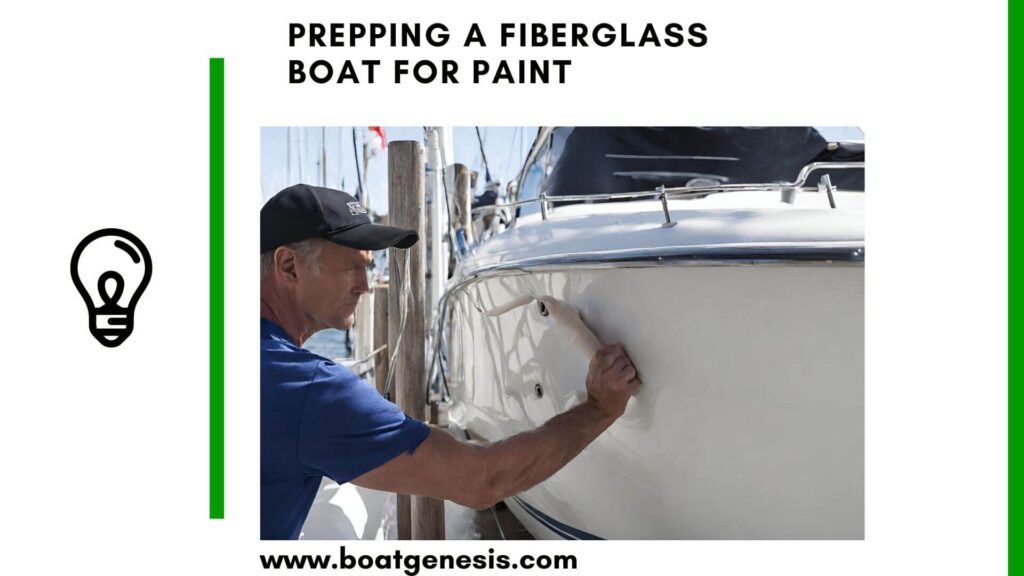
Prepping a fiberglass boat for paint is one of the most important steps before painting your boat.
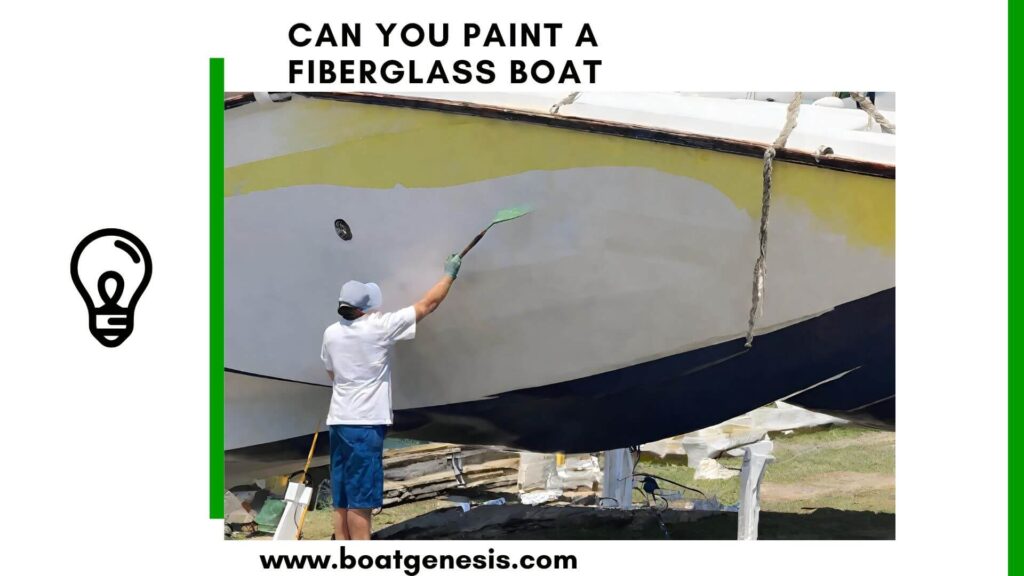
Giving your boat a fresh coat of paint can completely transform its look and protect the hull from damage.
So, before you break out the brushes and rollers, proper preparation is crucial for achieving professional-looking results.
Follow these steps to get your fiberglass boat ready for a new paint job.
Prepping Fiberglass Boat For Paint
Here are my recommended steps for prepping a fiberglass boat for paint.
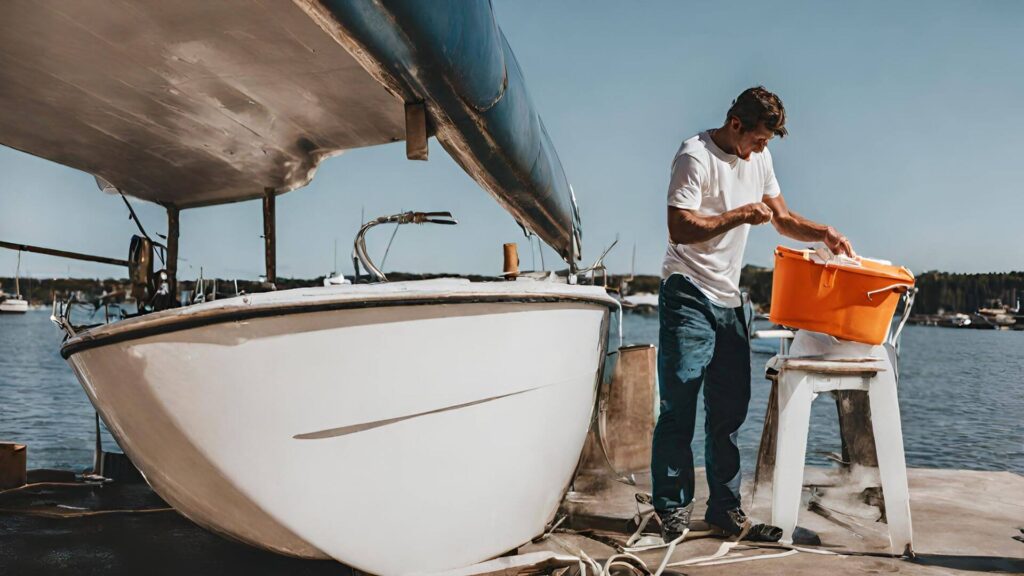
1. Clean the Surface Thoroughly
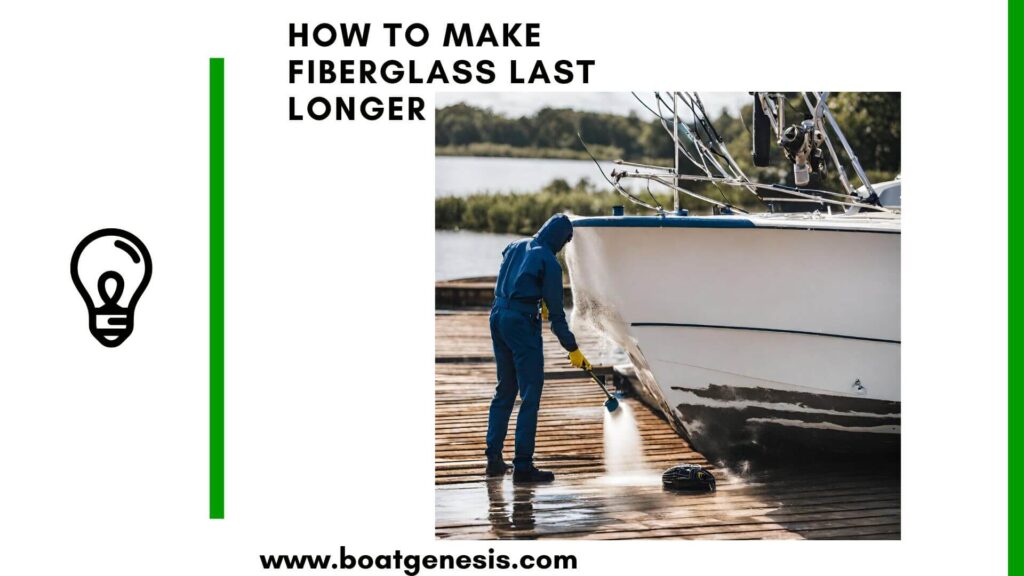
The first step is to thoroughly clean the hull to remove any dirt, grease, wax or other contaminants. This allows the new paint to properly adhere.
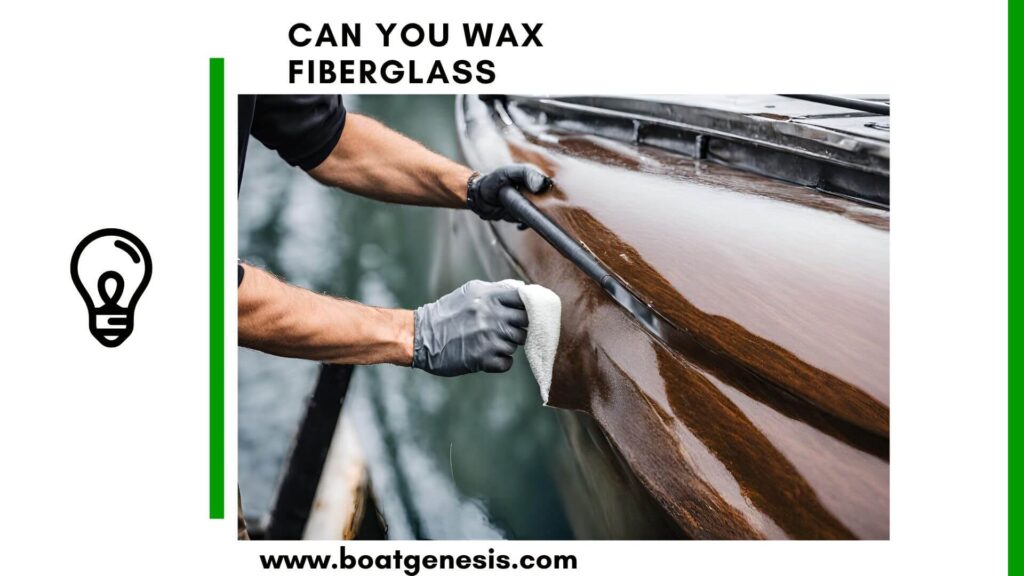
==>> How to remove wax from a boat?
Give the boat a good wash from top to bottom using a boat soap or detergent and a soft brush. Pay close attention to the waterline area which tends to collect more grime.
A pressure washer can help blast off stubborn dirt or flaking paint.
Rinse the hull several times to remove all traces of soap residue which can interfere with paint adhesion. Let the surface dry completely before moving on.
Want to avoid costly fiberglass boat repair mistakes?
Learn how to inspect damage properly, decide when to DIY, and prevent expensive fiberglass problems before they start.
2. Sand Away Loose Paint and Gloss
Next, go over the entire hull with 220-400 grit sandpaper to scuff up the gelcoat and create a surface the new paint can grip.
This also eliminates any glossy areas and levels out uneven textures.
Focus on sanding away any loose, flaking or cracked paint so it doesn’t cause problems down the road.
A random orbital sander makes quick work of this dusty job. Be sure to sand along the length of the boat and go easy on rounded edges.
Completely remove all sanding dust with a vacuum, rag or pressure washer.
==>> Read my full guide about sanding a fiberglass boat for paint here.
3. Fill Any Holes and Imperfections
Examine the hull closely and fill any gouges, cracks, holes or other surface defects with an epoxy filler designed for marine use.
This helps create a smooth, uniform surface for painting. Allow the epoxy to fully cure before sanding flush with the surrounding area.
If the old gelcoat is severely cracked or damaged, apply a layer of fiberglass cloth and resin to reinforce it before filling holes. This prevents cracks from spreading under the new paint.
4. Apply Primer
Now the hull is ready for a coat of high-quality marine primer. This helps the topcoat adhere evenly across the entire surface.
Use a spray gun or roller to apply the primer in thin, even coats according to the manufacturer’s directions. Allow proper drying time between coats.
Priming also shows any imperfections you may have missed. Sand these areas smooth before applying the final paint.
Be sure to thoroughly clean the hull of dust again before painting.

This guide helps boat owners understand fiberglass damage clearly — what matters, what doesn’t, and when repairs are truly necessary, so small issues don’t turn into expensive mistakes.
See What Every Boat Owner Should Know →Use the Right Paint Products
When selecting topside paint, opt for quality polyurethane or acrylic formulas designed specifically for fiberglass boat hulls.
These provide excellent gloss, color retention and protection from the elements. Avoid cheap enamel paints which don’t last long in harsh marine environments.
Choose either single-part or two-part polyurethane paints. The two-part option is tougher against wear and UV rays but needs more effort to apply. On the other hand, the single-part version is perfect for DIY projects, making the application a breeze.
Pick a paint color that will look good on the water and hide normal wear. Whites tend to stay cooler in the sun while dark colors show scratches less.
==>> You should also read my recommended Best fiberglass boat paints here
Follow the Manufacturer’s Directions
Be sure to carefully follow the paint manufacturer’s application directions for best results. This includes proper surface prep, thinning, number of coats, recoat times and curing requirements before launching.
Rushing the job can ruin the paint’s protective abilities.
Most topside paints require three or four thin coats for adequate coverage and durability, with light sanding between coats.
Allow each coat to dry overnight before recoating.
Use Proper Painting Techniques
Apply topside paint using a high-quality roller cover with a smooth nap designed for glossy paints. This lays down an even coat with minimal brush marks and bubbles.
Use a quality natural bristle brush for cutting in edges and hard-to-reach spots.
Maintain a wet edge while painting to prevent lap marks and brush strokes. Work in sections starting at the bow and moving towards the stern. Apply paint in straight, parallel passes from the top of the hull down to the waterline.
Paint when temperatures are between 50-90°F and humidity is low to ensure proper drying. Avoid painting in direct sunlight or on hot surfaces.
==>> Read my full guide on painting a fiberglass boat here.
Take Precautions
Painting a boat involves dealing with solvents, so take steps to protect yourself and the environment. Wear gloves, goggles and an organic vapor respirator when sanding, priming and painting.
Lay out drop cloths and use masking tape and paper to protect hardware, windows, trim and other areas not being painted. This also creates sharp paint lines.
Dispose of rags, paint thinner and other waste properly on shore. Never dump anything overboard. Let empty paint cans dry out completely before trashing.
Be Patient During Curing
Oil-based paints may take up to 2 weeks to fully cure, so avoid scrubbing or polishing the hull during this time. Let the boat sit untouched for as long as possible to allow the paint to set up properly.
When it’s time to launch, slowly lower the boat into the water to prevent damage from impact. The new paint job needs a bit of time to toughen up in the water before vigorous use.
With the right prep and products, your fiberglass boat can look factory-fresh again. Just be sure to follow each step carefully.
Letting the paint cure fully ensures you’ll enjoy a glossy, durable finish that protects your investment for years of smooth sailing.

Warren is the founder of BoatGenesis and brings practical experience in fiberglass boat repair, marine equipment testing, and powerboat building. He has worked on a range of repair and restoration projects and now focuses on creating clear, research-based guides to help boat owners avoid costly mistakes and make smarter maintenance decisions. Learn more about Warren.