If you notice cracks, gouges, or other damage on your fiberglass boat hull, don’t panic. Repairing a fiberglass boat hull is not as difficult as it seems.
With the right materials and techniques, you can often repair fiberglass damage yourself and save significant money over professional repairs.
This article will guide you through assessing and fixing common hull damages.
Let’s jump right in.
Understanding Hull Damage
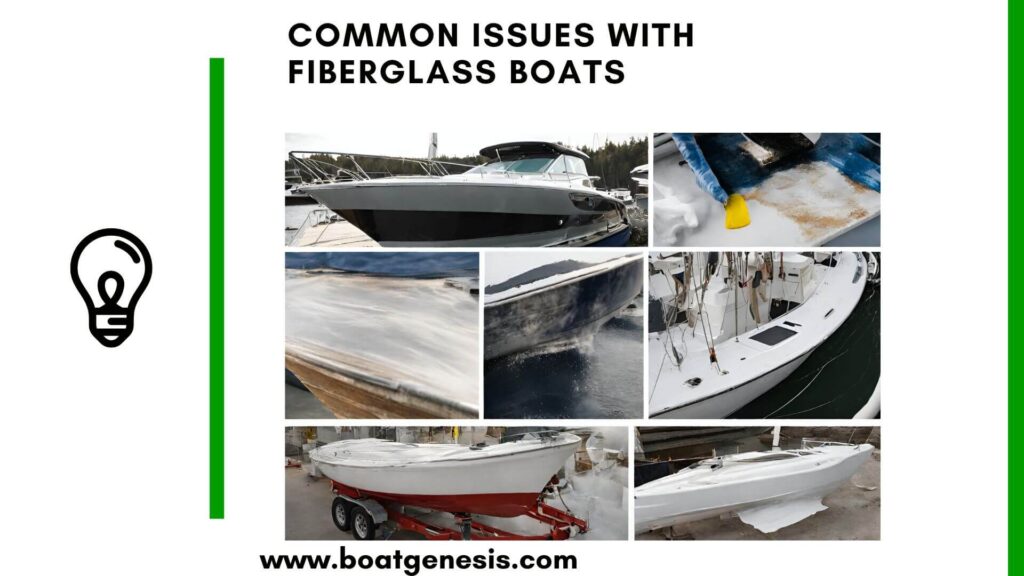
Fiberglass boat hulls are vulnerable to various types of damage from collisions, improper trailering, sun exposure, and general wear and tear. Here are some of the most common issues:
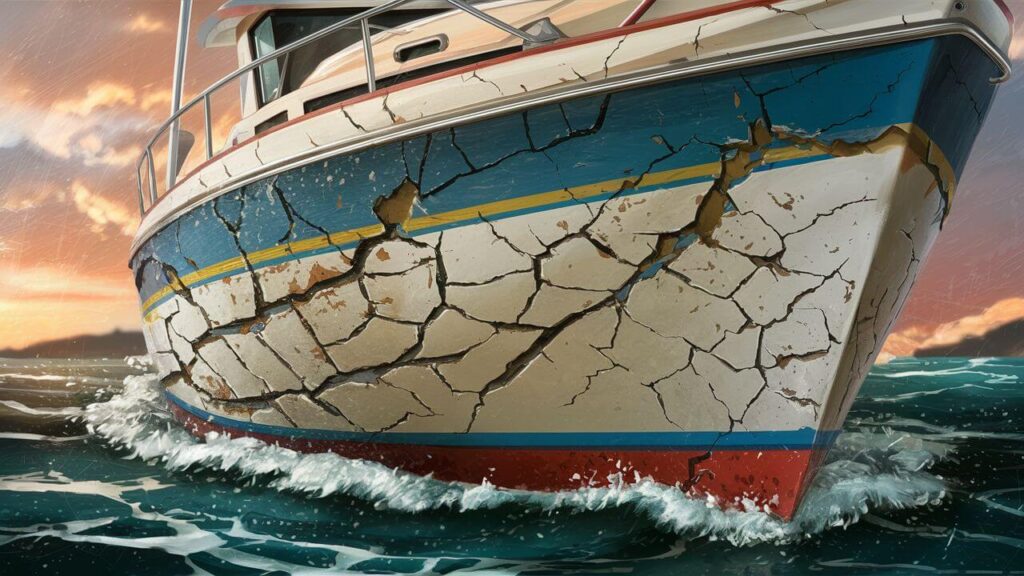
Spider Cracks: Small, branching cracks across the gelcoat surface caused by impact, movement stress, or ageing. These allow moisture intrusion that can lead to major repairs if left unaddressed.
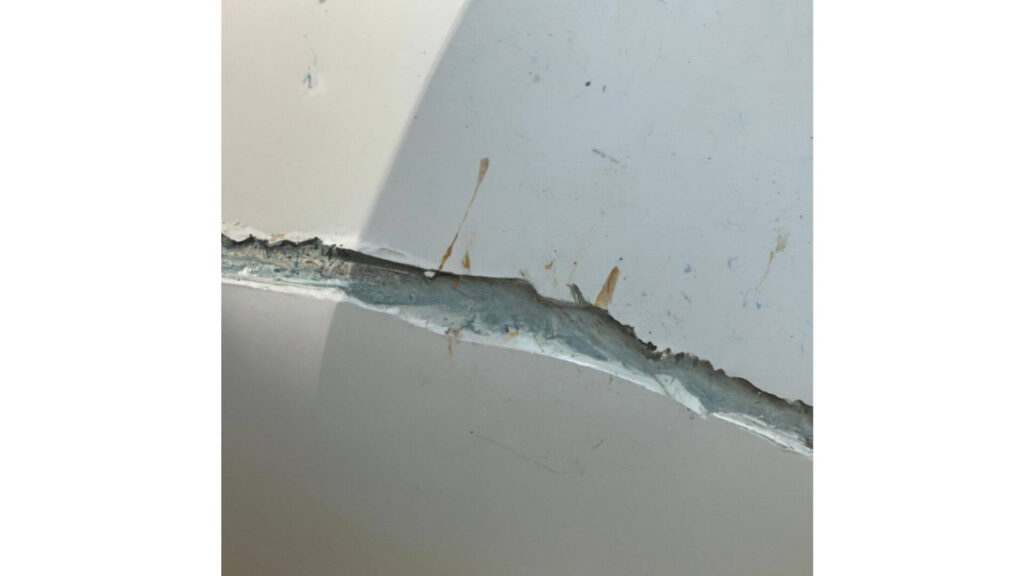
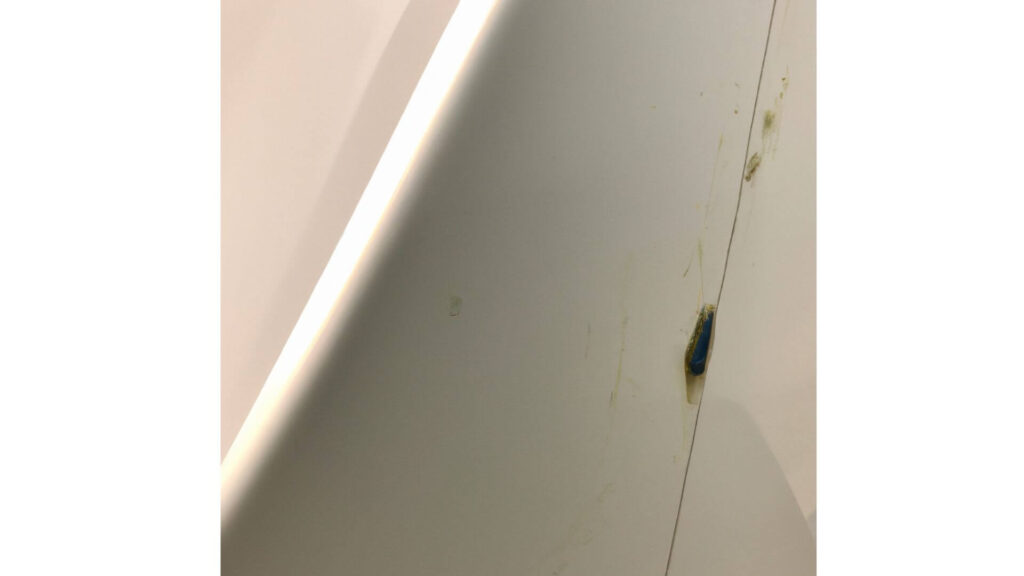
Gouges and Punctures: Deep scratches, holes, or gashes that penetrate the gelcoat and fibrous layers. Major collisions, accidents while trailering, and mishaps with trailer jacks or forklifts often cause this.
Want to avoid costly fiberglass boat repair mistakes?
Learn how to inspect damage properly, decide when to DIY, and prevent expensive fiberglass problems before they start.
Blisters: Air pockets trapped between fiberglass layers of the hull due to moisture penetration. As trapped water expands under sun exposure, it pushes up layers causing bumps and bubbles in the hull surface.
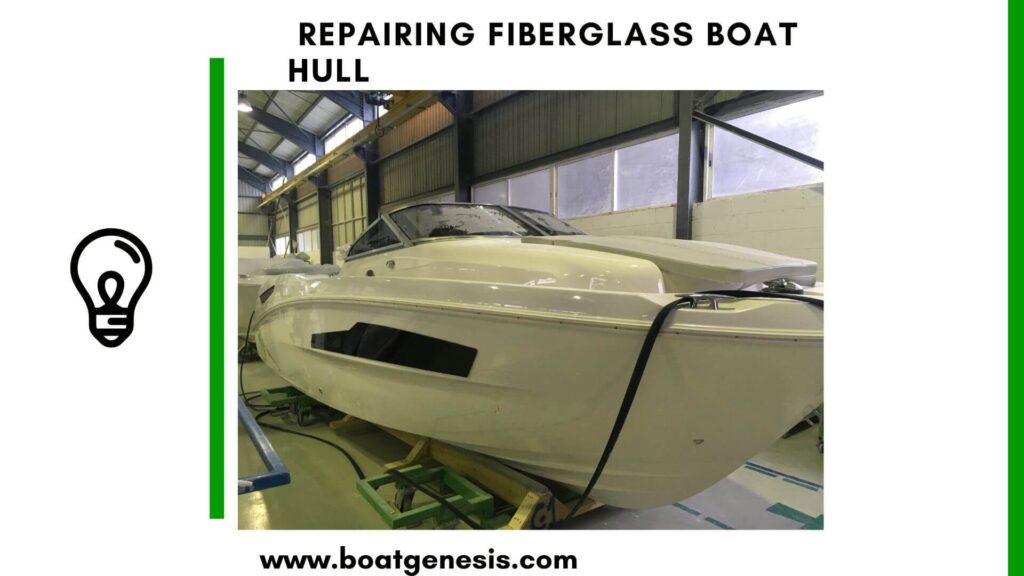
Repairing a Fiberglass Boat Hull from the Outside
For all external fiberglass repairs, follow this general process:
- Thoroughly clean, dry, and sand the damaged area to remove loose material or flaking gelcoat. Wipe away debris.
- Apply layered fiberglass repair compound, gelcoat, or epoxy filler per package instructions until flush with the hull surface. Smooth evenly.
- Once thoroughly cured, lightly sand the area to improve paint adhesion. Carefully clean away all dust.
- Apply 2-3 coats of marine-grade primer and paint. Allow proper drying time between coats.
For more thorough tips, check out this guide for repairing a fiberglass boat hull from the outside.
Repairing Spider Cracks
To fix spider cracks:
- Use a Dremel tool to gently widen the cracks into a “V” shape. This helps the filler adhere properly.
- Fill all cracks with thin coats of pure epoxy resin. Use a plastic spreader to smooth the surface evenly.
- Once cured, lightly sand then apply color-matched gelcoat for best results. Wet sand once fully hardened and buffed to hide imperfections.
Read my full guide for repairing spider cracks here
Repairing Gouges and Punctures
For deeper hull damage:
- If the fibrous interior layer is exposed, apply a layered fiberglass mat saturated with resin. If not exposed, build up layers of filler.
- Cover with gelcoat putty, smoothly levelling with the surrounding hull.
- Once cured, sand, prime, and wet sand again by hand, then apply finish paint. The extra smoothing hides any transitions.
Check out my full guide about repairing gouges here
Repairing Blisters on your hull
Fixing blistering gelcoat involves:
- Draining fluid from blisters with a syringe. Allow to dry thoroughly.
- Sanding blisters flat until only solid hull material remains.
- Applying fiberglass cloth and vinyl ester resin to create a moisture barrier.
- Coating with protective epoxy primer before applying gelcoat and paint.
Read more about blister repair here.

This guide helps boat owners understand fiberglass damage clearly — what matters, what doesn’t, and when repairs are truly necessary, so small issues don’t turn into expensive mistakes.
See What Every Boat Owner Should Know →Repairing a Fiberglass Boat Hull from the Inside
In some cases, you may need to repair the hull from the inside, especially for larger cracks, holes or delamination. Here are the key steps:
- Grind out the damaged area from the inside until you reach solid, undamaged fiberglass. According to a thread from The Hull Truth, you should “use a sanding board with some 40 grit to level it with the sides.”
- Cut out a fiberglass patch slightly larger than the damaged area and cover the backside with resin, as recommended by SweetRuca.
- Lay the resin-coated patch over the ground out area and use a roller to adhere it firmly, filling any gaps with thickened resin or filler, as BoatUS suggests.
- For larger repairs, apply multiple layers of fiberglass mat and resin from the inside outwards in an overlapping pattern, as shown in the Hull Truth video.
- Once cured, grind or fair the area flush from the outside and refinish with gelcoat and paint as needed.
By addressing damage from both the inside and outside, you ensure a proper, long-lasting repair on your fiberglass hull.
DIY or Professional Repair?
For minor spider cracks, scuffs, and some gouges, DIY repairs are perfectly acceptable. But for major visible damage or structural issues, you should consult a professional repair technician.
The materials and techniques require expertise to properly restore a hull’s structural integrity.
==>>Also read: Signs fiberglass boat needs professional repair or maintenance
FAQs on Fiberglass Hull Repairs
Here are answers to some common questions about repairing damage on a fiberglass boat hull:
Yes, fiberglass boat hulls can be repaired in most cases unless the core structural material is severely damaged. Professional technicians have advanced methods to restore fiberglass strength, seal out moisture, and refinish the gelcoat surface after repairs.
First clean, dry and sand the area surrounding the crack to roughen the surface. Use a rotary tool to widen the crack into a “V” along the length for better adhesion. Fill the crack with specialized fiberglass crack filler, gelcoat filler, or thickened epoxy resin. Smooth evenly with the surrounding hull. Once fully cured, sand and paint for best durability.
Deep gouges usually require building up layers of marine-grade filler thickened with milled fiberglass strands. Apply filler above the surrounding hull surface to allow for sanding flush. Cover with color-matched gelcoat putty once the based layer cures fully. Sand smooth and refinish with gloss marine paint.
Costs vary dramatically based on damage severity. Small cracks or one repair area may cost $200-800. Significant structural damage often ranges from $1500+ with gelcoat refinishing.
No. Car filler and paints trap moisture against the hull, causing more damage long-term. Only use specialty two-part epoxy resin fillers formulated for marine use.
Not necessarily. In many cases, professional technicians can repair the underlying moisture issue causing the blisters, recover with fiberglass, and then refinish the hull.
Most resins require 48-72 hours for a full cure. Avoid sanding or pressure washing during this time.
I hope these fiberglass boat hull repair tips help you tackle damage issues! Let me know if you have any other questions in the comments.

Warren is the founder of BoatGenesis and brings practical experience in fiberglass boat repair, marine equipment testing, and powerboat building. He has worked on a range of repair and restoration projects and now focuses on creating clear, research-based guides to help boat owners avoid costly mistakes and make smarter maintenance decisions. Learn more about Warren.