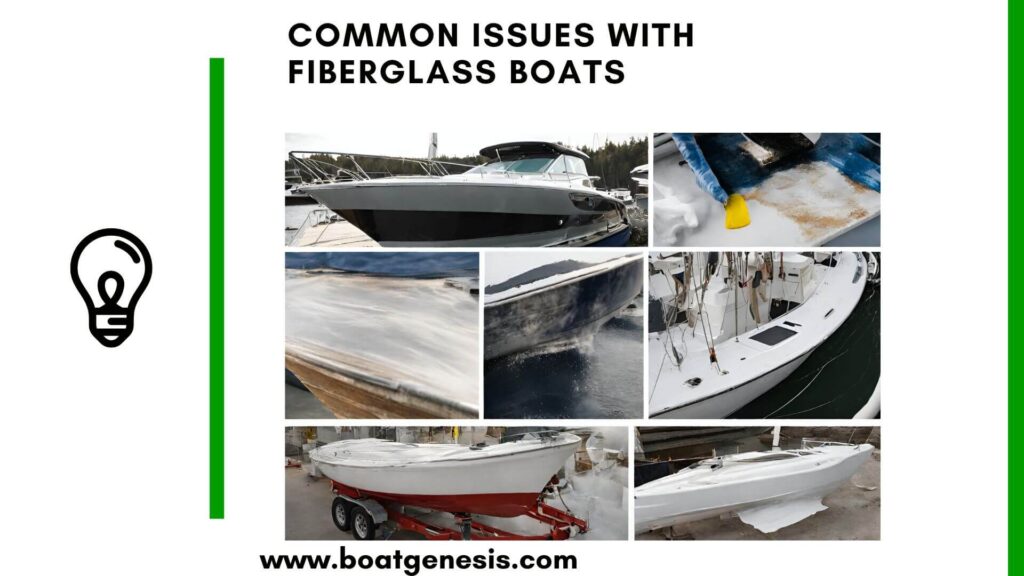
If you own a fiberglass boat, chances are at some point you’ll need to fix minor holes or cracks that develop over time. Fiberglass itself is durable, but accidents happen, and exposure to sun and water can cause cracking or damage.
The good news is that repairing holes and cracks in fiberglass boats is a fairly straightforward process that most boat owners can tackle themselves. With some basic supplies, a little bit of know-how, and some elbow grease, you’ll have your boat looking as good as new.
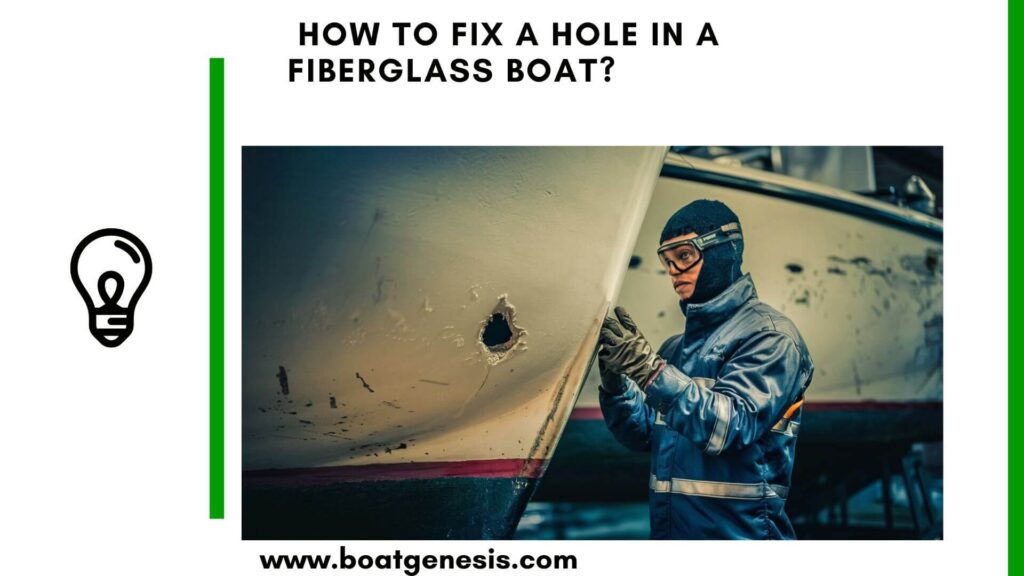
In this DIY boat repair guide, we’ll walk through the complete process of how to fix a hole in a Fiberglass boat.
How to Fix a Hole in a Fiberglass Boat?
Here is how to fix a hole in a fiberglass boat:
1 – Prepare the Damaged Fiberglass Area
First things first, you need to prepare the hole or cracked area for repair.
Use a Dremel tool, grinder, or 80-grit sandpaper to clean and roughen up the damaged area along with at least two inches surrounding it. This helps the epoxy filler adhere properly. Carefully vacuum up all of the dust when you’re finished grinding.
Wipe the entire repair area down with acetone to remove any surface contaminants and provide a super clean surface profile for your DIY fiberglass boat repair.
Want to avoid costly fiberglass boat repair mistakes?
Learn how to inspect damage properly, decide when to DIY, and prevent expensive fiberglass problems before they start.
2 – Mix the Epoxy Filler Putty or Gelcoat
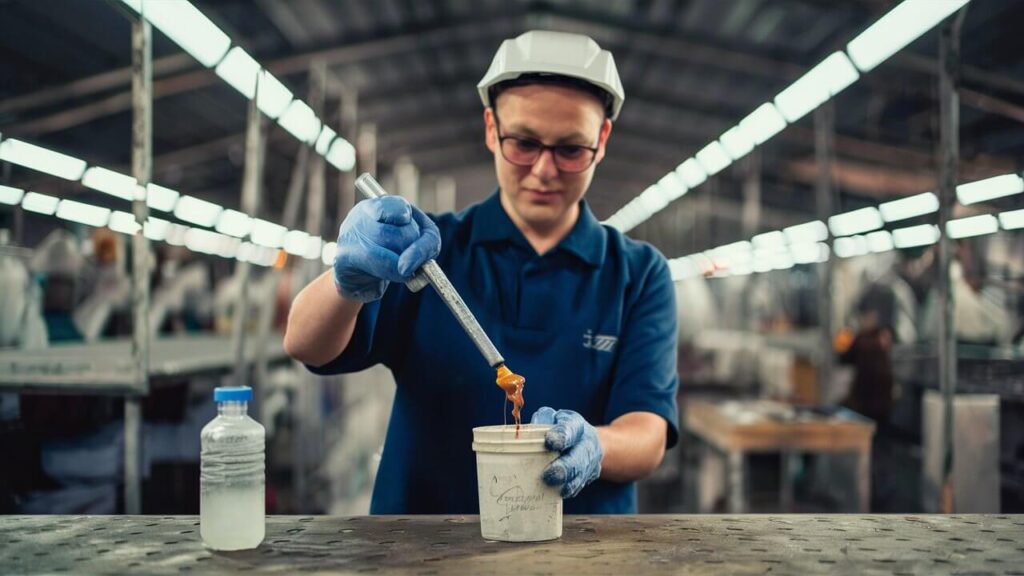
For small fiberglass boat repairs, a two-part epoxy putty works extremely well and is easy to use.
Mix equal parts of resin and hardener as directed on the container until thoroughly combined.
You’ll only mix up what you can use in 15-20 minutes. As it cures, the putty sands easily and bonds tenaciously to clean fiberglass.
3 – Fill in the Damaged Spot

With your epoxy mud mixed, use a plastic spreader to fill all cracks and holes with the thickened filler, intentionally overfilling slightly.
Allow your initial filler layer to cure overnight before lightly sanding. Then inspect to see if you need to apply any additional filler putty to get a glass smooth and level surface.
Once you have built up your repair spot and removed any surface pinholes or air bubbles with additional filler as needed, allow your final application to harden overnight again before sanding.
4 – Sand the Repair Smooth
The next day you can sand the hardened fiberglass repair spot using 120-220 grit sandpaper until completely flush and smooth with the surrounding boat deck or hull surface.
Be sure to blend or feather your sanding toward the outer perimeter of the repair area to avoid having a noticeable uneven spot.

This guide helps boat owners understand fiberglass damage clearly — what matters, what doesn’t, and when repairs are truly necessary, so small issues don’t turn into expensive mistakes.
See What Every Boat Owner Should Know →Thoroughly wipe off all sanding residue when finished.
5 – Apply Gelcoat Paint Over Repair
Solvent clean the sanded repair one final time before applying marine-grade gelcoat paint to protect and color match your repair.
Multiple thin coats allow the paint to cure properly between layers.
Using a small brush or foam applicator, apply at least 3-4 smooth gelcoat layers, allowing ample drying time between coats. Lightly sand with 400 grit paper after the 2nd coat is dry.
6 – Buff Out the Gelcoat to Glossy Finish
After the gel coat has fully cured overnight, the final step is to use an electric buffing wheel to polish out the repaired area for that shiny, smooth-as-glass watercraft finish.
Take care not to burn through or overheat your paint when buffing. Work your way from lower to higher grit buffing pads gradually.
Inspect under good lighting, and feel with your hand to ensure a perfectly flush surface profile.
Fixing Specific Types of Holes
1. Repairing Srew Holes
Repairing screw holes in fiberglass boats:
- Assess damage and gather supplies.
- Prep holes, and fill with epoxy.
- Optional: strengthen with fiberglass cloth and resin.
- Apply matching gelcoat, sand, and polish.
- Final polish with marine wax for protection.
==>> Read my full article about filling screw holes here.
Final Thoughts
And there you have it – that’s how to easily repair cracks or holes in a DIY fiberglass boat restoration.
Just 6 straightforward steps and you’ll have your watercraft looking brand new again. Don’t forget to prime and paint the underside of holes clear through the hull.
Regular maintenance and fixing small cracks before they grow bigger will save major hull repairs down the road.
With the right marine epoxy products and a little bit of effort, you can keep your fiberglass boat in ship-shaped condition for years of worry-free fun on the water.
If you need any tools for your DIY repairs, check out this article to see my recommended fibreglass repair supplies.

Warren is the founder of BoatGenesis and brings practical experience in fiberglass boat repair, marine equipment testing, and powerboat building. He has worked on a range of repair and restoration projects and now focuses on creating clear, research-based guides to help boat owners avoid costly mistakes and make smarter maintenance decisions. Learn more about Warren.