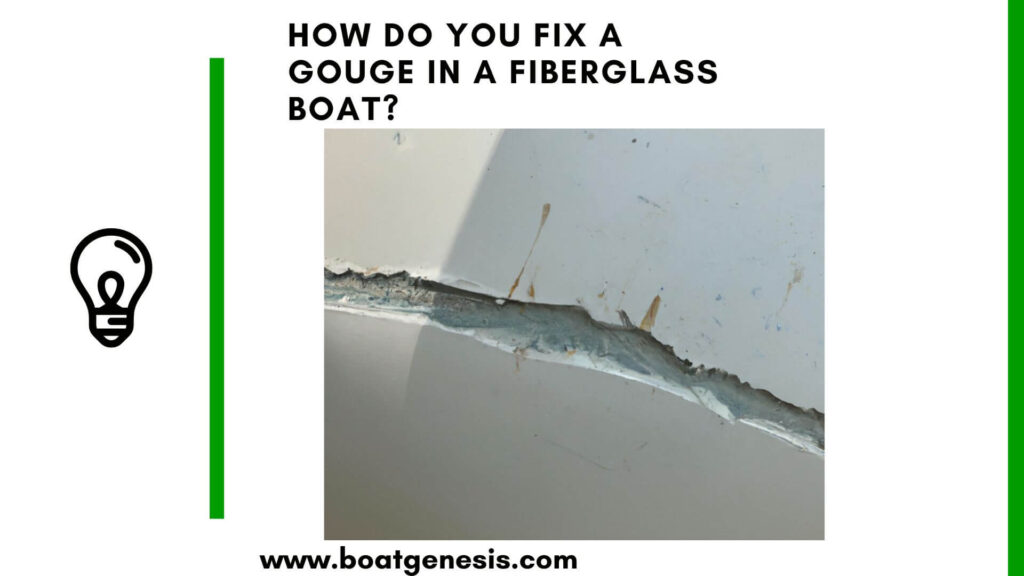
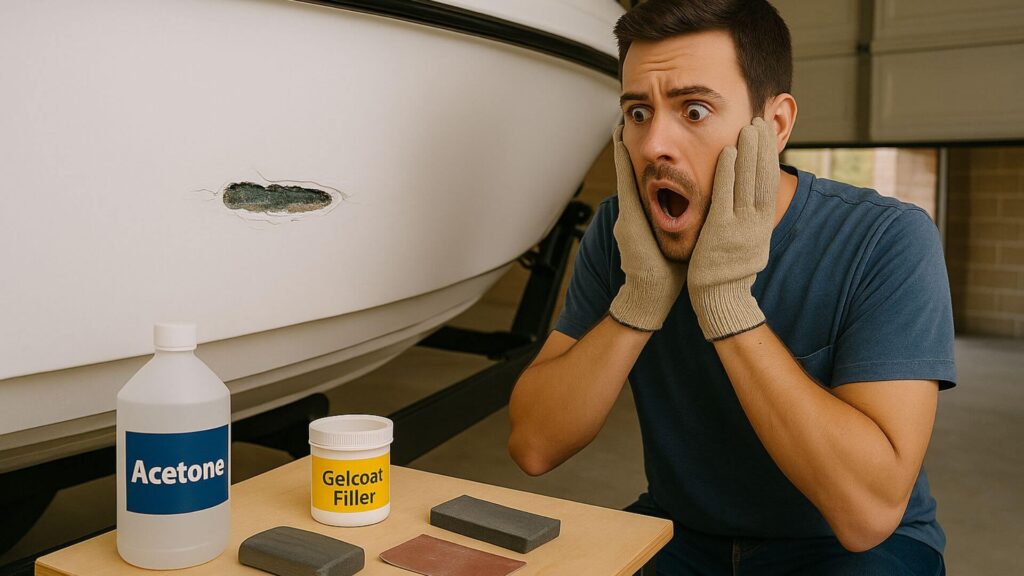
Is there anything more frustrating than discovering a nasty gouge in your fiberglass boat? Whether you scraped a submerged rock, missed the trailer, or had a run-in at the dock, that ugly mark is more than just an eyesore—it can compromise your boat’s protection and performance.
If you’re wondering how to fix a gouge in a fiberglass boat, you’ve come to the right place.
This in-depth guide will walk you through every step, from diagnosis to a flawless finish, with pro tips and practical advice you won’t find anywhere else.
Key Takeaways
- Fixing a gouge in a fiberglass boat is a straightforward DIY task with the right tools and patience.
- Proper surface prep is the secret to a seamless, long-lasting repair—don’t rush it!
- Using the correct materials (resin, fiberglass cloth, gelcoat) ensures strength and a professional look.
- Attention to detail during sanding and finishing makes the difference between an obvious patch and an invisible fix.
- Safety is crucial: always use gloves, a mask, and eye protection.
- Most importantly: take your time! Rushing leads to visible repairs and future problems.
- Key Takeaways
- Why You Need to Fix a Fiberglass Gouge
- Understanding Gouges: Not All Damage Is Equal
- Tools and Materials You’ll Need
- How Do You Fix a Gouge in a Fiberglass Boat?
- Pro Tips for a Flawless Fiberglass Gouge Repair
- What Other Don’t Tell You
- Advanced Tips: Level Up Your Repair
- Mistakes to Avoid
- Why DIY? The Satisfaction of Boat Ownership
- FAQ
- Final Thoughts
Why You Need to Fix a Fiberglass Gouge
A gouge in your fiberglass boat isn’t just cosmetic. Left untreated, it exposes the underlying laminate to water, leading to delamination, blistering, and even structural weakness.
Moisture intrusion is the enemy—so don’t wait until your next launch to make repairs.
Understanding Gouges: Not All Damage Is Equal
Before you dive in, assess the damage:
- Minor gouges: Shallow, affect only the gelcoat (the shiny outer layer).
- Moderate gouges: Penetrate the gelcoat and reach the fiberglass mat below.
- Deep gouges: Go through the fiberglass, possibly exposing the core or even creating a hole.
This guide covers all three, but if you have a deep gouge with visible core or water intrusion, consider consulting a professional for structural repairs.
Tools and Materials You’ll Need
Don’t skimp here—using the right supplies makes all the difference!
- Safety gear: Nitrile gloves, dust mask/respirator, safety glasses
- Sanding tools: Random orbital sander or sanding block, 60-220 grit sandpaper
- Cleaning supplies: Acetone, clean rags, mild soap and water
- Repair materials: Marine-grade epoxy or polyester resin, fiberglass cloth/mat (for deeper gouges), gelcoat repair kit
- Mixing tools: Disposable cups, stir sticks, small brush or spreader
- Finishing supplies: Polishing compound, buffer (optional), masking tape, plastic film (for smooth curing)
How Do You Fix a Gouge in a Fiberglass Boat?
Step 1: Clean and Assess the Gouge
Start by washing the area with soap and water to remove grime. Dry thoroughly, then wipe with acetone to eliminate wax and grease. This ensures the repair materials adhere properly.
Pro tip: Mark the gouge with painter’s tape to avoid sanding too far beyond the damage.
Step 2: Sand and Prep the Damaged Area
Use 60-80 grit sandpaper to bevel the edges of the gouge, feathering outward 2-3 inches. This creates a “dish” that helps new material bond securely.
Want to avoid costly fiberglass boat repair mistakes?
Learn how to inspect damage properly, decide when to DIY, and prevent expensive fiberglass problems before they start.
Remove any loose or damaged fiberglass—don’t be afraid to open it up a bit if the edges are ragged.
Info: Most guides skip this, but it’s crucial: use a vacuum or compressed air to remove all dust from the repair area. Leftover dust is a leading cause of failed repairs.
Step 3: Assess Depth—Is Fiberglass Cloth Needed?
- Shallow gouges: If you only see white gelcoat, you can skip to gelcoat repair.
- Deeper gouges: If you see fiberglass strands or mat, you’ll need to rebuild with resin and cloth.
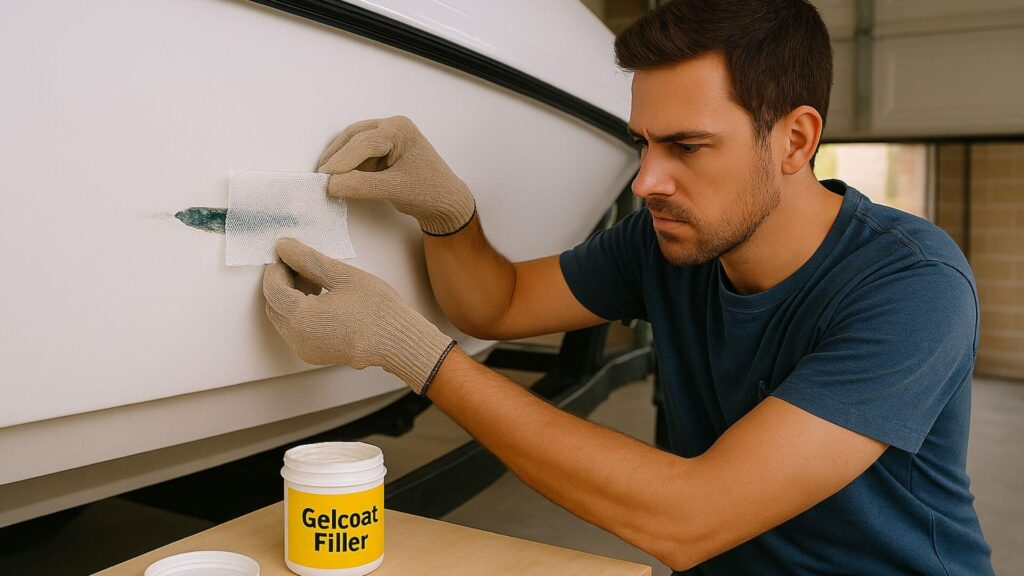
Cut fiberglass cloth to size, layering pieces if necessary to fill the gouge flush with the surrounding surface.
Step 4: Mix and Apply Resin
Follow the manufacturer’s instructions for mixing your resin (epoxy or polyester). Wet out the gouge with a thin layer, then lay in the fiberglass cloth, saturating it with more resin.
Use a small brush or spreader to work out bubbles and ensure even coverage.
Pro tip: Cover the repair with plastic film (like a sandwich bag) and smooth it flat. This keeps the resin from running and creates a smoother finish, reducing sanding later.
Step 5: Sand Smooth
Once the resin cures (usually overnight), remove any plastic film and sand the patch flush with the hull using 80-grit, then 120-grit sandpaper. Be gentle—don’t sand through your new repair!
Step 6: Apply Gelcoat
Mix the gelcoat per the kit’s instructions. Mask off the area with painter’s tape to avoid mess.
Apply gelcoat with a brush or small spatula, building it up slightly above the surface—it will shrink as it cures.
Info: For a glass-smooth finish, cover the wet gelcoat with a piece of plastic wrap or acetate sheet. This blocks air, letting the gelcoat cure tack-free and glossy.
Step 7: Final Sanding and Polishing
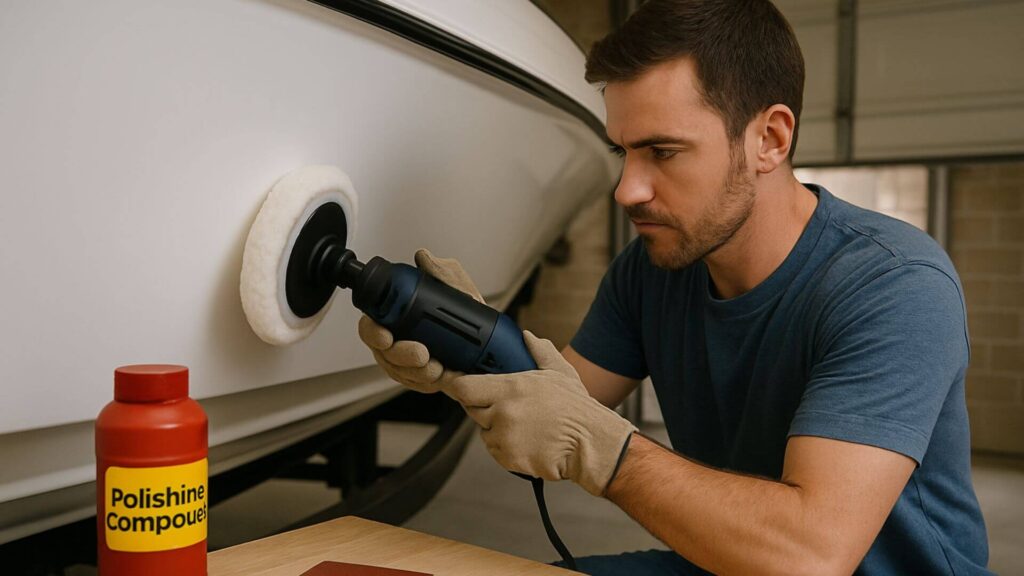
After the gelcoat cures, wet-sand the area with 400, then 800, and finally 1200 grit paper.
Blend the edges into the surrounding hull. Buff with polishing compound to restore shine.
Step 8: Inspect and Test
Check your repair for pinholes or low spots. If needed, repeat the gelcoat step for a perfect finish.
Once satisfied, give the repair a gentle tap—if it sounds solid and feels smooth, you’re ready to hit the water!

This guide helps boat owners understand fiberglass damage clearly — what matters, what doesn’t, and when repairs are truly necessary, so small issues don’t turn into expensive mistakes.
See What Every Boat Owner Should Know →Pro Tips for a Flawless Fiberglass Gouge Repair
- Color matching: Gelcoat colors fade over time. Mix a small batch first and test on a scrap to match your hull.
- Work in shade: Direct sun can cause resin and gelcoat to cure too quickly, leading to bubbles.
- Temperature matters: Ideal working temps are 60–80°F. Too cold, and resin won’t cure; too hot, and it will harden before you’re ready.
- Don’t rush: Allow full cure times before sanding or recoating. Rushing this step is the #1 cause of ugly repairs.
What Other Don’t Tell You
Moisture Testing
Before repairing, use a moisture meter or tape a piece of clear plastic over the gouge for a few hours. If condensation forms, your hull may have trapped water.
Let it dry completely before repairing, or you risk future delamination.
Avoiding Future Gouges
After your repair, consider applying a keel guard or protective strip to high-impact areas. Regularly waxing your hull also helps reduce future damage.
When to Call a Pro
If your gouge is near a through-hull fitting, the transom, or below the waterline and exposes the core material (such as balsa or foam).
Structural repairs, especially those involving the boat’s integrity, require specialized skills and experience beyond the typical DIY fix.
Don’t risk your safety or the boat’s value by attempting major repairs if you’re unsure.
Advanced Tips: Level Up Your Repair
Use a Release Film for Perfect Gelcoat
Professional boatyards use release films to achieve a glass-smooth gelcoat finish. You can replicate this at home with clear packing tape or acetate sheets. Lay it over the fresh gelcoat and smooth it with a squeegee. Once cured, peel it away for a finish that needs minimal sanding.
Reinforce High-Stress Areas
If your gouge is in a high-stress location (like the keel or bow), consider adding an extra layer of fiberglass mat for added strength. Overbuilding in these areas is better than risking a weak spot.
Blend the Repair Seamlessly
After your final wet sanding, feather the edges of the repair into the surrounding hull using a finer grit (like 1500 or 2000). This extra step creates an invisible transition, so the repair disappears to the naked eye.
Mistakes to Avoid
- Skipping surface prep: Any wax, oil, or dust will prevent proper bonding and lead to a failed repair.
- Not letting resin or gelcoat cure fully: Impatience results in soft, easily damaged repairs.
- Over-sanding: It’s easy to sand through your new gelcoat. Use light pressure and check your progress often.
- Ignoring safety: Always wear gloves and a respirator. Resin fumes and dust are hazardous.
Why DIY? The Satisfaction of Boat Ownership
Fixing a gouge in a fiberglass boat isn’t just about saving money—it’s about understanding and caring for your vessel.
With each repair, you gain confidence and skill, making you a better, safer boater.
Plus, there’s real pride in knowing you’ve restored your boat’s beauty and integrity with your own hands.
FAQ
Gouges in fiberglass boats can be caused by various factors, including collisions with objects in the water, scraping against docks, impact with debris, or accidental mishandling.
Inspect the gouge carefully. If it’s a small surface scratch or minor gouge without any structural damage, it might only need cosmetic repair. However, if the gouge is deep, exposes fiberglass layers, or affects the boat’s structural integrity, it will require more extensive repair.
Yes, minor gouges and scratches can often be repaired by DIY methods using fiberglass repair kits available at marine supply stores. These kits typically include resin, hardener, fiberglass cloth, sandpaper, and instructions for repairing minor damage.
Larger or more severe gouges might require professional assistance. Structural damage or deep gouges could compromise the boat’s integrity if not repaired properly. Consult with a professional boat repair technician or a marine expert for such repairs.
A straightforward gouge repair can be completed in a weekend, allowing for curing time between steps. Most of the work is in prep and waiting for materials to set.
Repairs below the waterline must be especially watertight. Use epoxy resin (which is less porous than polyester) and ensure the repair is completely sealed with gelcoat or marine paint.
Practice careful navigation, avoid collisions with objects, maintain a safe distance from docks and other boats, and regularly inspect and maintain your boat’s hull to prevent gouges and scratches. Using fenders and boat covers when mooring can also help protect the hull.
Final Thoughts
Knowing how to fix a gouge in a fiberglass boat is an essential skill for every boat owner.
With the right approach, materials, and a bit of patience, you can restore your boat to showroom condition—and keep it protected for years to come.
Remember: the secret to an invisible, long-lasting repair is preparation, attention to detail, and never rushing the process.
So, next time you spot that dreaded gouge, don’t panic. Roll up your sleeves, follow this guide, and you’ll be back on the water with a boat that looks as good as new.
Let me know if you have any questions!

Warren is the founder of BoatGenesis and brings practical experience in fiberglass boat repair, marine equipment testing, and powerboat building. He has worked on a range of repair and restoration projects and now focuses on creating clear, research-based guides to help boat owners avoid costly mistakes and make smarter maintenance decisions. Learn more about Warren.