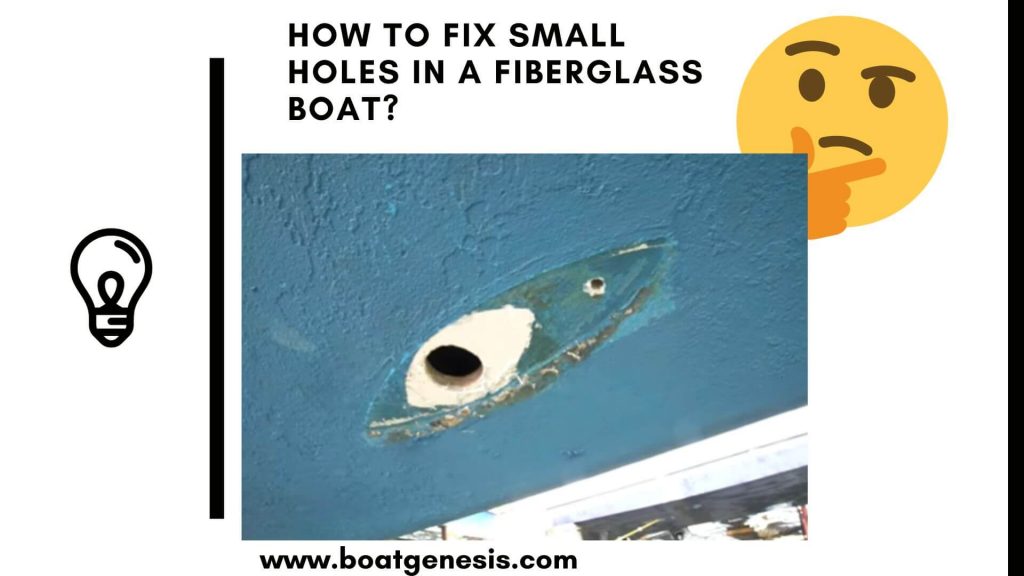
Wondering how to fix small holes in a fiberglass boat without calling a pro?
Good news—if the damage is minor and doesn’t penetrate the structure deeply, you can repair it yourself with the right tools and technique.
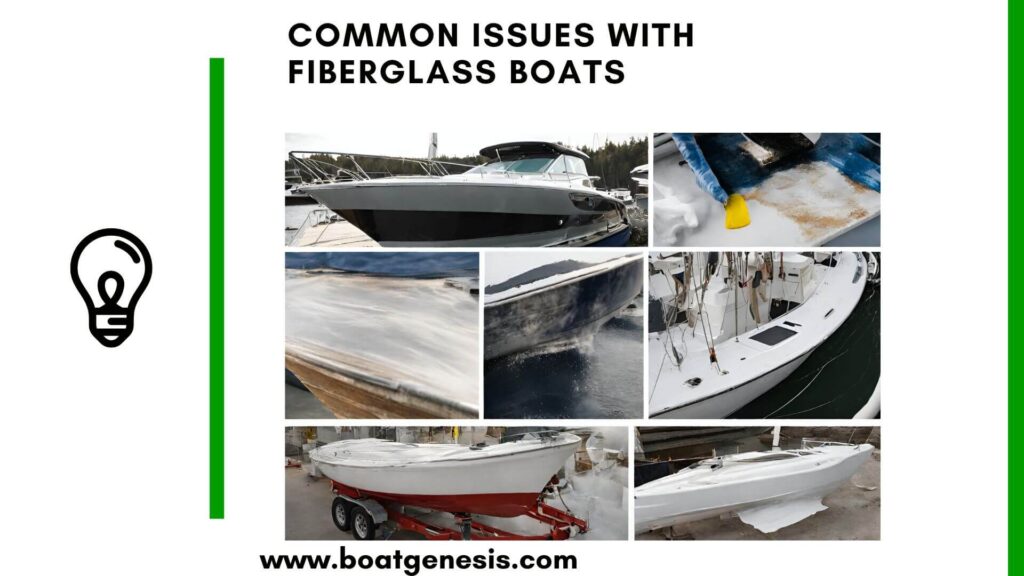
Fixing small holes in a fiberglass boat is a manageable DIY task that helps prevent further damage and keeps your boat seaworthy.
Below, you’ll learn how to identify, clean, fill, and seal small holes using simple materials and steps anyone can follow.
KEY TAKEAWAYS

- Small holes in fiberglass boats are often cosmetic and can be repaired by DIYers.
- Cleaning and prepping the area properly is crucial for long-lasting results.
- Fiberglass filler or marine-grade epoxy putty works best for minor holes.
- Sanding and sealing ensure a smooth, watertight finish.
- Always test for leaks before heading back out on the water.
How to Fix Small Holes in a Fiberglass Boat?
Follow these simple and easy 8 steps below to fix small holes in your fiberglass boat.
1. Inspect the Hole Thoroughly

Before grabbing tools, examine the hole closely.
- Is it just a gelcoat puncture?
- Or does it go into the fiberglass mat below?
Tip: Shine a flashlight behind the hole (if accessible) to see its depth. Superficial holes are quicker to fix, while deeper ones may need extra reinforcing.
2. Gather the Right Materials
Depending on the hole size and depth, you’ll need:
Want to avoid costly fiberglass boat repair mistakes?
Learn how to inspect damage properly, decide when to DIY, and prevent expensive fiberglass problems before they start.
- Acetone or marine cleaner
- Sandpaper (80, 180, 320 grit)
- Fiberglass filler or marine epoxy putty
- Putty knife or plastic spreader
- Masking tape
- Drill with a small bit (optional)
- Tack cloth or clean rag
- Polishing compound and marine wax
Pro Tip: Use UV-cure gelcoat repair kits for surface holes, or a two-part epoxy filler for anything deeper.
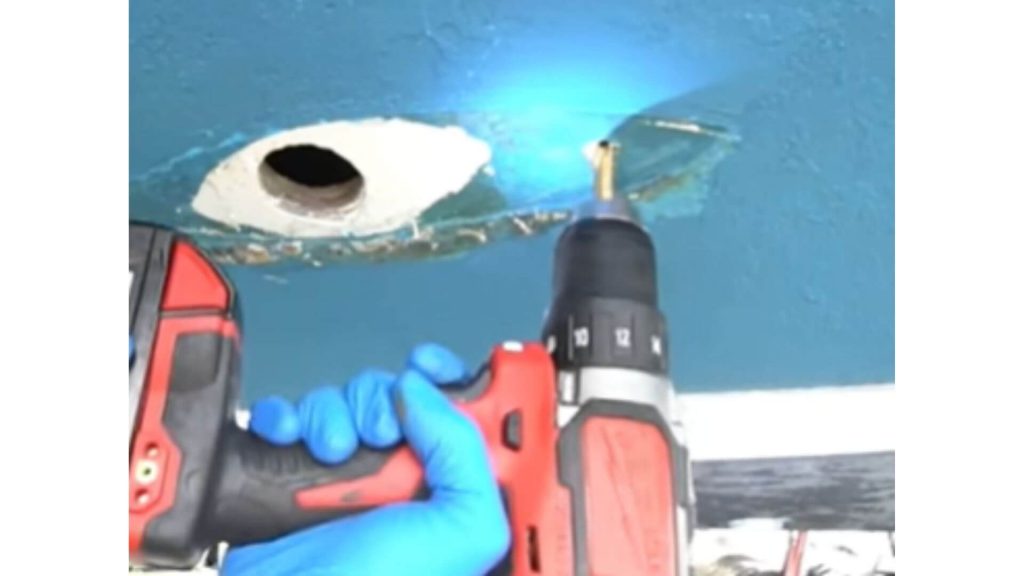
3. Clean and Prep the Damaged Area
Clean the area using acetone or a boat-safe cleaner. Remove dirt, wax, or grease.
Wipe with a tack cloth afterward to eliminate sanding dust.
Sand around the hole using 80–180 grit to roughen up the surface.
If needed, slightly widen the hole with a drill bit. This removes loose edges and helps the filler bond better.
4. Apply the Filler or Epoxy Putty
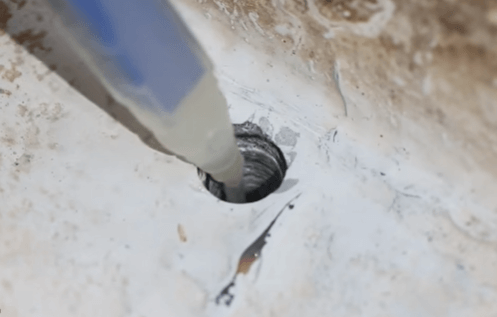
Mix the filler according to the instructions.
- Knead until color and texture are uniform.
- Use a putty knife to push filler deep into the hole.
- Overfill slightly to allow for shrinkage.
- Smooth the surface as best as possible while it’s still pliable.
Let it fully cure—check product instructions for exact timing (usually a few hours to overnight).
5. Sand and Shape the Patch
Once the filler is hardened:
Wipe the area clean with a damp cloth.
Start sanding with 180-grit, then finish with 320-grit for a smooth finish.

This guide helps boat owners understand fiberglass damage clearly — what matters, what doesn’t, and when repairs are truly necessary, so small issues don’t turn into expensive mistakes.
See What Every Boat Owner Should Know →Feather the edges into the surrounding gelcoat so the repair blends in.
6. Polish and Seal the Area
Restore shine and protection:
- Apply a marine-grade polishing compound to buff the surface.
- Finish with a protective layer of boat wax to seal the repair and prevent UV damage.
This step also helps the patch match the rest of your hull’s finish.
7. Leak Test the Repair
Once the patch is polished and dry, test it:
- Submerge the area or use a hose to simulate water pressure.
- Check from the inside (if accessible) for any signs of water ingress.
No leaks? You’re good to go!
8. Inspect Regularly
Even after a successful repair, keep an eye on the patched area over the next few trips.
- If any signs of cracking or bubbling appear, resand and reapply filler.
- Regular maintenance keeps your repair and your boat—lasting longer.
FAQ
A: Small holes are less than 1/4 inch (6mm) in diameter. Anything larger than that should be inspected and repaired by a professional.
A: No, it’s important to properly repair even tiny holes in fiberglass hulls. If left alone, they can allow water to enter and cause bigger issues over time.
A: You’ll need sandpaper, putty or patching compound formulated for fiberglass repair, plastic applicators, gelcoat spray paint, gloves, and masks. Ensure your putty works for the hole depth.
A: Cure times vary by product, but expect at least 24 hours for deepest holes. Check the packaging. Gelcoat spray paint also requires ample drying time before floating your repaired boat.
A: Some putties work for both, while others are formulated specifically for bonding to gelcoat or fiberglass. Assess your unique hole before selecting repair putty.
A: Yes – don’t use household putty or sealants as they lack the adhesion properties needed for boats. Don’t rush curing times before sanding or painting. Don’t ignore bigger underlying issues requiring professional repair.
Final Thoughts
Fixing small holes in a fiberglass boat is a simple yet essential maintenance skill every boat owner should know.
With the right tools and a bit of patience, you can prevent costly damage and extend the life of your vessel.
Remember—thorough cleaning, proper prep, and correct filler application are the secrets to a strong, watertight repair.
You can also check out my complete guide on fixing of hole in a Fiberglass boat here.

Warren is the founder of BoatGenesis and brings practical experience in fiberglass boat repair, marine equipment testing, and powerboat building. He has worked on a range of repair and restoration projects and now focuses on creating clear, research-based guides to help boat owners avoid costly mistakes and make smarter maintenance decisions. Learn more about Warren.