Is your fiberglass boat deck showing signs of distress? No worries, you’re about to become the captain of deck repair.
In this article, you will learn my recommended steps for a perfect fiberglass boat deck repair.
Let’s get started.
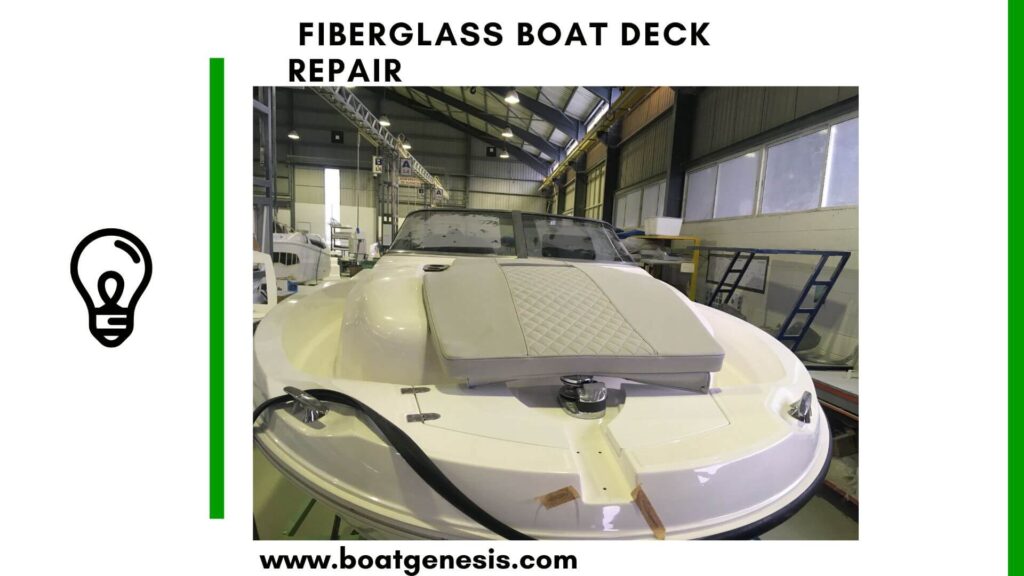
Setting the Stage for Repair
Repairing a fiberglass boat deck isn’t just about patching up holes; it’s about preserving your vessel’s integrity. First up, you’ll need to clear the deck. This means removing seats, hardware, and any other fittings that might be in the way. Depending on your boat’s design, this could be a breeze or a bit of a puzzle.
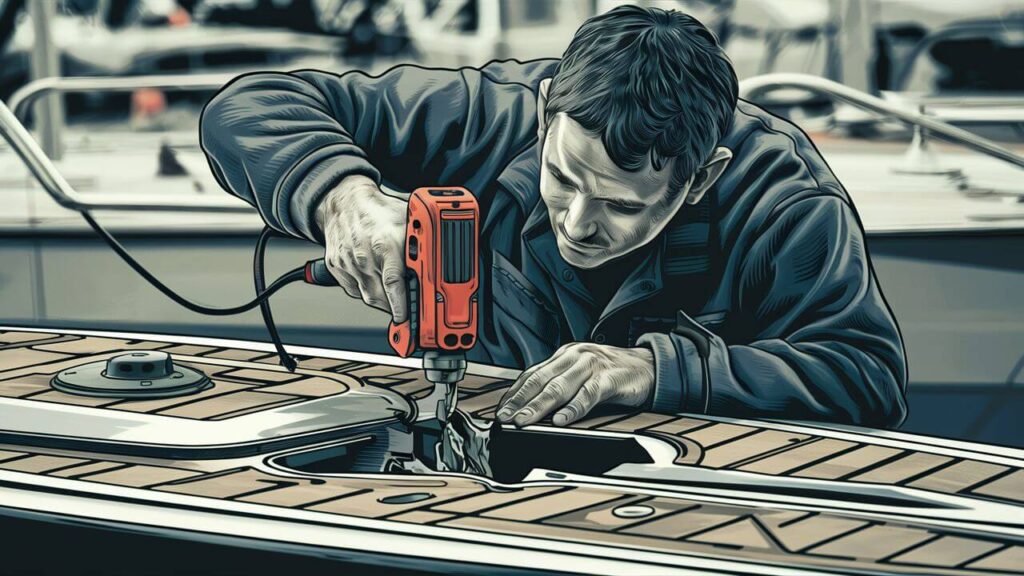
Seats are usually bolted down, so grab a wrench and get to work.
Keep all your hardware organized – trust me, there’s nothing worse than finishing a job and realizing you’ve got a handful of mystery bolts.
If you’re lucky, the deck will be easily accessible once everything is removed. If not, you may need to do some detective work to uncover hidden screws or fasteners.
Want to avoid costly fiberglass boat repair mistakes?
Learn how to inspect damage properly, decide when to DIY, and prevent expensive fiberglass problems before they start.
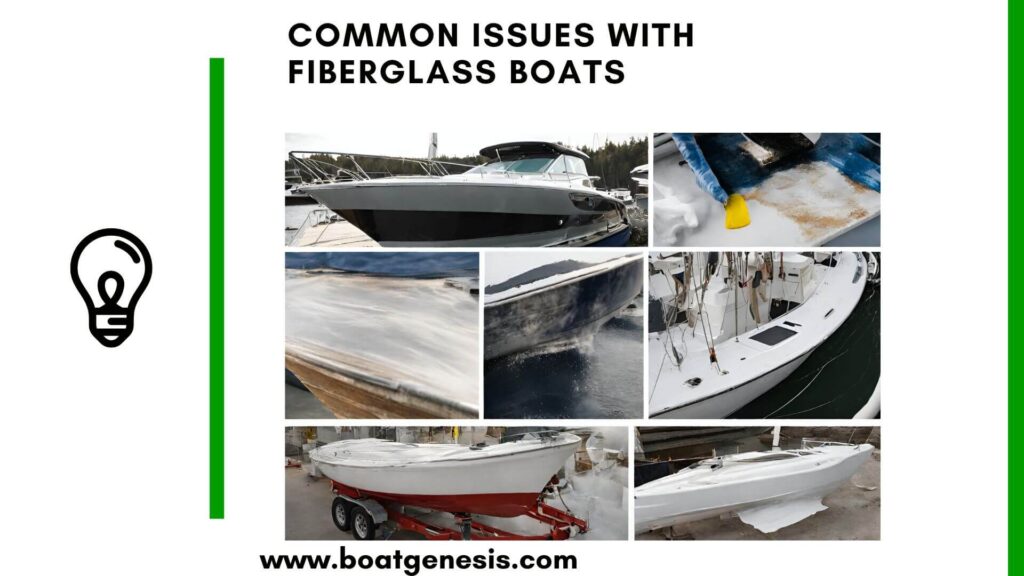
Types of Deck Damage
Fiberglass boat decks can suffer from a variety of ailments:
- Cracks and Scratches: These are the common cold of boat deck issues. They’re usually cosmetic but can lead to more serious problems if water seeps in.
- Soft Spots: This is like finding out there’s a weak plank on a pirate ship’s deck – not good news. Soft spots indicate rot or delamination within the core material.
- Holes: Whether from an accident or hardware failure, holes are serious breaches that need immediate attention.
- Delamination: This is when the fiberglass layers separate from each other or the core, compromising the deck’s structural integrity.
Accessing the Damage
Getting to the heart of the problem might require some cutting. If the damage is extensive or if there’s core rot, you’ll need to remove a section of the deck.
This requires careful measuring and a steady hand with a saw. Always cut smaller than you think; you can always enlarge the hole, but you can’t uncut fiberglass.
So, have this in mind.
Fiberglass Boat Deck Repair Process
1. Clean Slate
After you’ve cleared the deck and identified the damage, it’s time for a thorough cleaning.
Any successful repair starts with a clean surface. Use a grinder or sander to remove the damaged material and feather the edges around the damage to create a smooth transition for the new material to bond properly.
And remember, dust and debris are the enemies of adhesion, so clean the area with acetone after sanding.
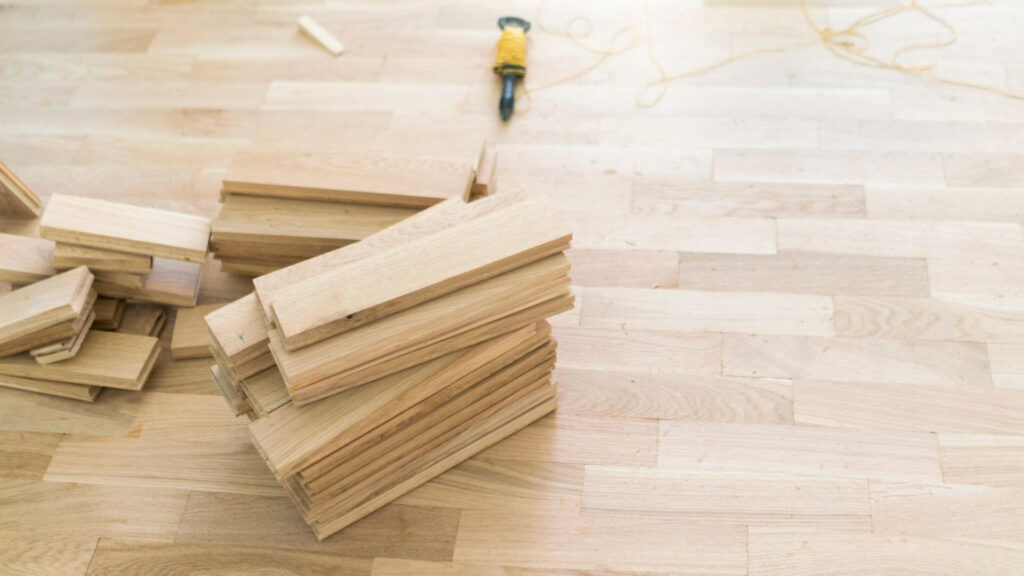
2. Core Replacement
If you’ve discovered a soft spot, it’s likely the core is compromised.
You’ll need to cut out the damaged core after removing the top layer of fiberglass. Be cautious not to cut too deeply and damage the bottom layer.

This guide helps boat owners understand fiberglass damage clearly — what matters, what doesn’t, and when repairs are truly necessary, so small issues don’t turn into expensive mistakes.
See What Every Boat Owner Should Know →Replace the rotten core with new marine plywood or foam core, ensuring it’s cut to fit snugly in place. Secure it with a high-quality resin, making sure there are no gaps or air pockets.
==>>Also read: Fiberglass boat deck replacement
3. Laminating with Fiberglass
Now, apply a new fiberglass mat or cloth over the repaired core.
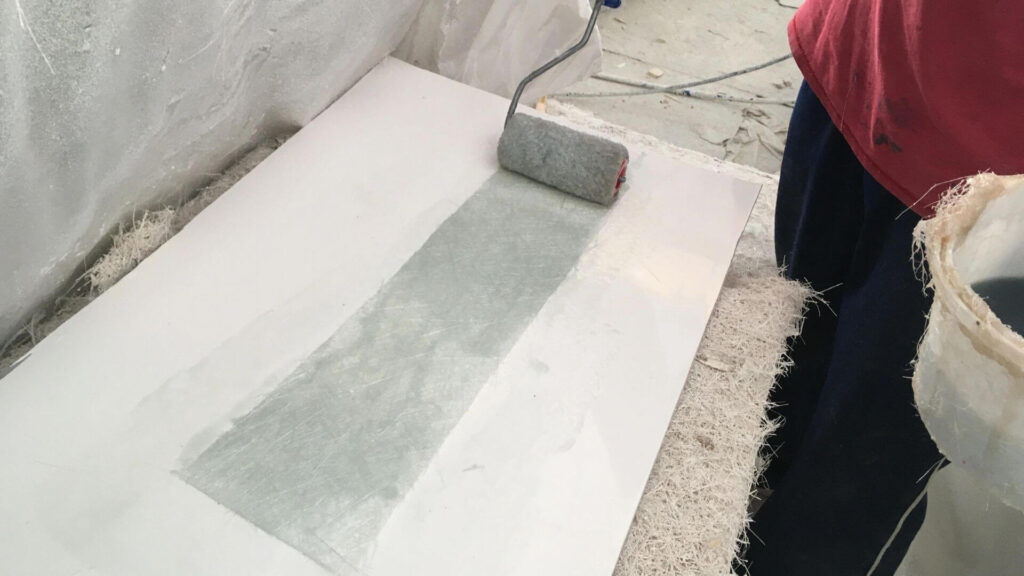
Use a laminating resin to wet out the fiberglass, applying it layer by layer until you’ve built up the thickness to match the surrounding deck. Use a roller to work out any air bubbles with each layer you add.
4. Sanding and Fairing
Once the laminate has cured, you’ll need to sand the area to ensure it’s level with the rest of the deck.
Start with a coarse grit and work your way to a finer grit for a smooth finish.
A fairing compound can be used to fill any low spots or imperfections. Sand the fairing compound once cured, checking that the surface is fair and even.
5. Gelcoat Application
The final step is to apply gelcoat to protect the repair and restore the deck’s appearance. Color matching is key here for an invisible repair.
Apply the gelcoat with a brush or spray gun, depending on the size of the repair. After it cures, sand it with increasingly finer grits until smooth, then polish to a high shine.
==>> Also read: How to repair fiberglass boat hull from the outside?
Conclusion
Fiberglass boat deck repair can be a complex process, but with patience and attention to detail, you can achieve professional results.
Regular maintenance and quick action on minor damage can prevent larger issues, so keep an eye on your deck’s condition.
With the right approach, you can keep your boat looking great and seaworthy for years to come.
Now, grab your tools and show that deck who’s boss!

Warren is the founder of BoatGenesis and brings practical experience in fiberglass boat repair, marine equipment testing, and powerboat building. He has worked on a range of repair and restoration projects and now focuses on creating clear, research-based guides to help boat owners avoid costly mistakes and make smarter maintenance decisions. Learn more about Warren.