
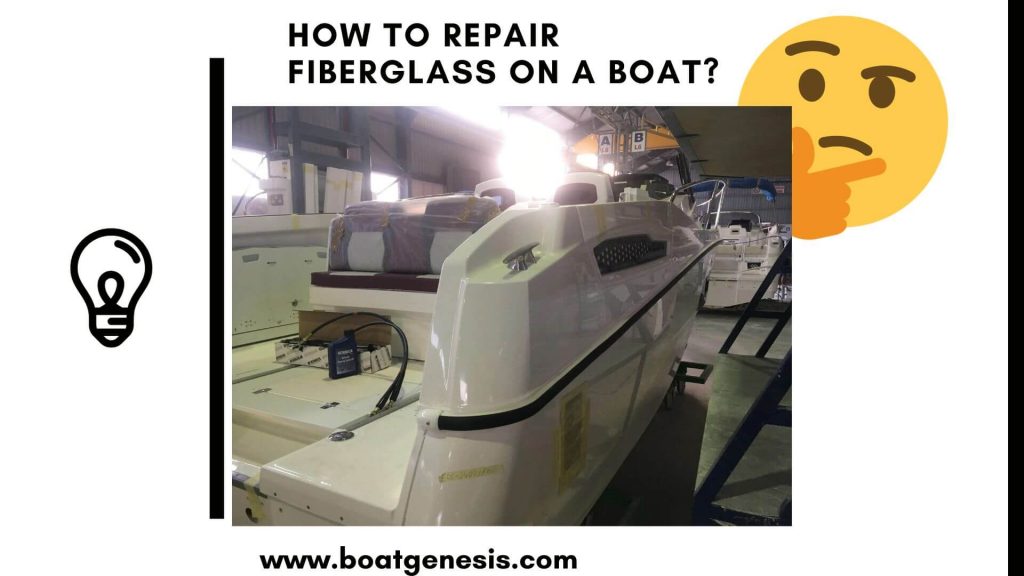
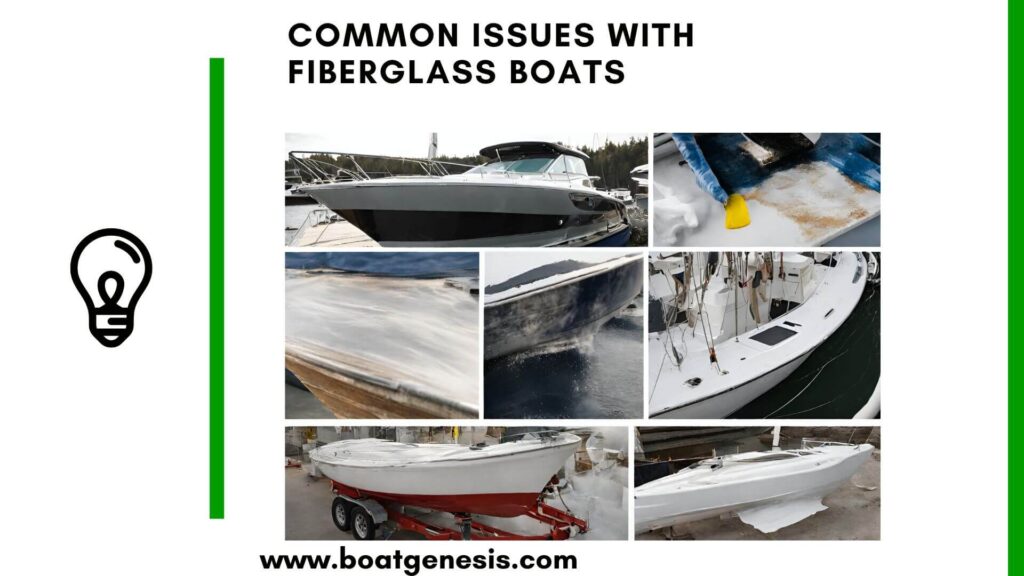
If you have a fiberglass boat, chances are it might need repairs at some point due to cracks, gouges, or holes from various causes. Doing fiberglass repairs yourself might seem intimidating initially, but with the proper materials, tools, and techniques, it’s possible.
The guide details everything there is to know on how to repair Fiberglass on a boat. This includes: assessing damage, preparing, applying resin and material, sanding, and finishing.
Follow along with these fiberglass boat repair tips and you’ll have your boat looking good as new in no time.
How to Repair Fiberglass on a Boat?
Here are the main steps to repair fiberglass on a boat:
1. Gather the Recommended Materials and Tools
Before starting any fiberglass repair, you’ll need to gather all the necessary materials and tools. Having everything ready beforehand will make the repair process faster and easier.
Here’s an overview of the basic fiberglass repair supplies you’ll need:
- Fiberglass repair resin (polyester or epoxy)
- Catalyst (MEKP)
- Fiberglass mat and/or woven fiberglass cloth
- Acetone
- Mixing containers and sticks
- Paint brushes and rollers
- Mixing cups
- Sandpaper (various grits)
- Dust masks and gloves
For tools, basic household items like paint scrapers, scissors, and a heat gun or hair dryer should suffice.
You’ll also need things like stir sticks, painter’s tape, plastic sheeting, and containers to hold all your materials. Having a perfectly smooth, flat work surface is also recommended.
Once you’ve gathered all your fiberglass repair supplies and tools, you can get started fixing that damage on your boat.
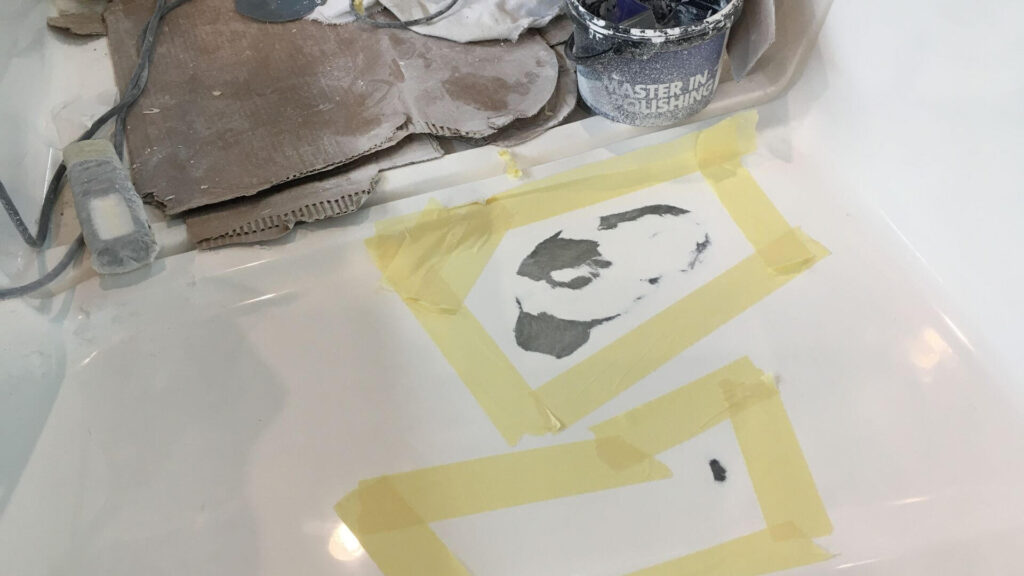
2. Prep the Damaged Area
The first step when repairing fiberglass is to thoroughly examine the damaged area so you understand the full scope of repairs needed.
Want to avoid costly fiberglass boat repair mistakes?
Learn how to inspect damage properly, decide when to DIY, and prevent expensive fiberglass problems before they start.
Remove any loose pieces hanging by a thread and use a rag with acetone to clean the area of any contaminants. This helps the repair resin adhere directly to the fiberglass.
If the damage is on a gelcoat surface, Sand and scuff it around the damaged area with 80-120 grit sandpaper, creating a rough surface for the repair resin to grip.
Use acetone to wipe away sanding residue and debris until the surface is thoroughly clean for better resin adhesion.
Finally, tape off the repair zone using painter’s tape to prevent resin seepage. Offer an additional buffer of at least 3 inches with the tape.
Mix your chosen fiberglass resin per the instructions and get ready to wet out the repair fabric.
3. Wet Out the Fiberglass Fabric
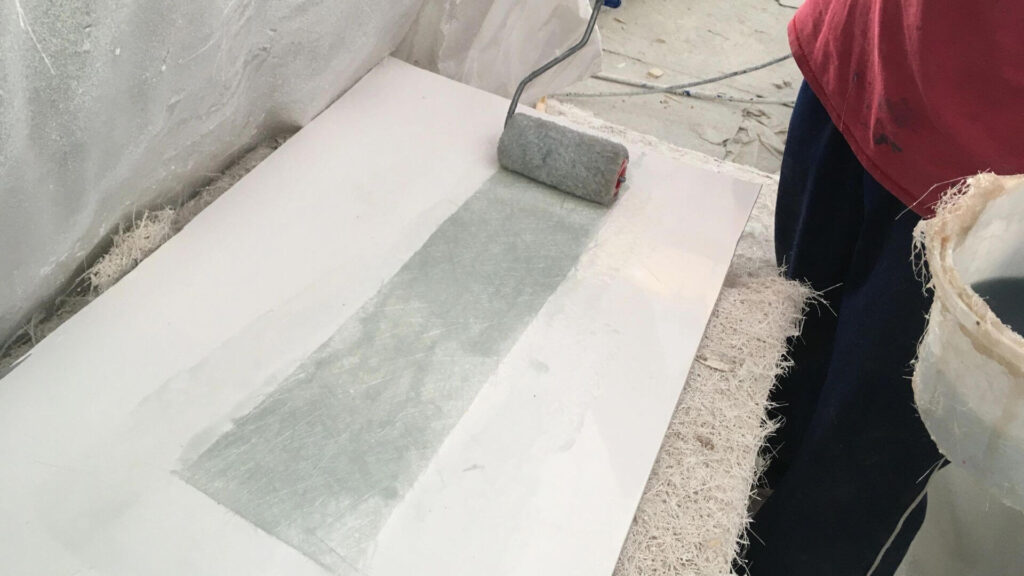
With your surface prepped, it’s time to wet out the fiberglass fabric. This refers to saturating the cloth or mat with catalyzed resin. Measure out fiberglass resin per the recommendations on the container, using clean mixing containers and sticks.
Add in the appropriate amount of MEKP catalyst and thoroughly mix it together.
Most small repairs only require a couple of layers of 4 to 6-ounce fiberglass mat or cloth. Align your fabric over the damaged area and use a roller, brush or gloved hands to fully saturate the material with resin.
Work from one side to the other while gently pressing out any air pockets or wrinkles. The mat should darken as it gets thoroughly wet. Add additional coats of fiberglass resin until the fabric is fully saturated if needed.
For unusually large holes and gaps, apply a thicker resin mixture called fiberglass putty before adding mat/cloth layers. Mix it to a peanut butter-like consistency and use a putty knife to completely fill any holes or gaps. This prevents weak spots in the finished repair. Let the putty cure before fiberglassing over it.
Once your fiberglass fabric layers are in place and saturated with resin, it’s time to let the magic happen.
4. Allow Proper Curing Time
Don’t rush the repair; proper curing is crucial for strong fiberglass.
In most cases, you’ll need to allow a minimum of 24 hours for the new fiberglass and resin to fully harden and cure.
Cooler temperatures generally necessitate longer cure times, so check your resin’s label.

This guide helps boat owners understand fiberglass damage clearly — what matters, what doesn’t, and when repairs are truly necessary, so small issues don’t turn into expensive mistakes.
See What Every Boat Owner Should Know →Use a heat gun, fan, or hair dryer to gently apply heat as specified to accelerate curing if desired. But avoid overheating as that can also negatively impact curing.
Once cured, the new fiberglass patch should be hard, glossy, and well-bonded to the prepared surface.
If any stickiness or soft spots remain after a full 24-hour ambient temperature cure, allow additional time before sanding or finishing. Rushing this step can undermine the integrity of your completed fiberglass boat repair.
5. Sand and Shape the Repair
With your boat fiberglass repair fully cured, it’s time to blend and smooth the area so it integrates seamlessly with the surrounding hull or deck gelcoat. This requires sanding the cured patch down flush with the existing fiberglass surface.
We recommend starting with 80 to 120-grit sandpaper to remove the majority of excess material. Move up to 220 and 400 grit when getting close to flush to prevent sanding too aggressively.
When shaping repairs along curved surfaces like hull sides, use a sanding block that matches the curved contour.
Take your time and sand evenly across the repair zone until no ridges or holes exist. Blow off dust and debris periodically so you can accurately judge smoothness.
Use painter’s tape with light pencil hatch marks to also check for flatness across repairs on flat deck surfaces. Blend and taper the edges so no hard transitions between the patch and the original fiberglass exist.
For small pinhole flaws, air pockets or minor craters in the cured fiberglass patch, apply a thin skim coat of resin once initial sanding is complete. Let it cure fully, then do the final sanding for a flawless finish.
6. Finish the Repair Area
At this point, the structural fiberglass repair is complete and smooth, but the visual appearance may still look a bit rough. To restore the nice uniform sheen of the surrounding gelcoat, you need to properly finish the repair area.
Clean and dry the area after sanding, then apply multiple coats of matching gelcoat repair resin for a smooth, glossy finish. Allow each coat to cure properly.
Once the visual appearance matches the surrounding area, you may choose to wax and buff out the repair zone to restore any lost luster from the sanding/repair work.
If needed, very fine sanding with a high-grit paper pre-wax can help remove small imperfections. Use a dual-action polisher and fiberglass wax for best results.
Also, to prevent future damage to your boat, Fiberglass Warehouse recommends covering when not in use, cleaning regularly with mild detergents, waxing often, caulking holes around hardware, and following manufacturer’s guidelines.
Repairing a Fiberglass Boat Hull from the outside
Here are some steps to follow to repair your fiberglass boat hull from the outside:
- Determine the extent of damage to the fiberglass boat hull before starting repairs.
- Prepare the damaged area by cleaning it thoroughly and removing any loose fiberglass fragments.
- Apply a layer of fiberglass cloth and resin to reinforce the damaged area, ensuring proper adhesion.
- Smooth out the repaired area using sandpaper once the resin has cured.
- Apply a gel coat to the repaired area to provide a protective and aesthetic finish.
- Allow sufficient time for the repairs to fully cure before launching the boat back into the water.
==>> Read more about repairing a fiberglass boat hull from the outside here!
Deck Repair
Here is an overview of how to repair the deck of your fiberglass boat.
- Before starting, take off seats, bolts, and other parts from the deck, and keep them organized.
- You might need to cut to see the damage clearly, so cut carefully and smaller than you think.
- Fixing involves cleaning, swapping out damaged parts, covering with fiberglass, sanding, smoothing, and adding a protective layer.
- Being careful, patient, and looking after your boat regularly is key to making sure it stays in good shape and safe to use.
Read my more detailed guide about fiberglass boat deck repair here.
Final Thoughts
With some care and effort, and following this fiberglass boat repair guide, you now have the knowledge needed to tackle common fiberglass repairs on your boat yourself.
While the process involves some key steps – like ensuring the area is prepped, the resin is catalyzed properly, cure times are adhered to, and final sanding/finishing is done carefully – repairing fiberglass damage is very achievable for most do-it-yourselfers (DIY).
So now that you know the complete process of how to repair fiberglass on a boat, grab your materials and tools and get busy fixing your fiberglass woes.
Here’s hoping your next fiberglass boat repairs are quick and painless and get your watercraft back to looking and working like new again.
If you have tools to fix your boat but don’t know how to use them, check out my article on how to use Fiberglass repair kits here.

Warren is the founder of BoatGenesis and brings practical experience in fiberglass boat repair, marine equipment testing, and powerboat building. He has worked on a range of repair and restoration projects and now focuses on creating clear, research-based guides to help boat owners avoid costly mistakes and make smarter maintenance decisions. Learn more about Warren.


Howdy, i read your blog occasionally and i own a similar one and i was just wondering if you get a lot of
spam comments? If so how do you reduce it, any plugin or anything
you can suggest? I get so much lately it’s driving me mad so any help is very much appreciated.
Hey there!
Thanks for stopping by and for reading my blog! Yes, spam comments can definitely be a headache. I’ve had my fair share too.
A few things that have really helped me:
Akismet: This plugin does a great job filtering out spam automatically.
reCAPTCHA: Adding Google reCAPTCHA to your comment form helps stop bots before they even post.
Comment moderation: I have it set so the first comment from any new visitor needs approval.
Since I started using these, the spam problem has gone way down. Hope that helps, and good luck with your blog!
Doing a fiberglass job on the bottom of a boat. Started with a 3×4′ patch across the centre of the boat. Prepared area and applied fiberglass and apoxy. After 3 days and using a heat gun it is oily. Should I pull it off and start over!
Hi Patrick, before pulling it off, check whether you’re seeing an oily/waxy film on the surface (often called amine blush), which can happen with epoxy as it cures. If the fiberglass is firmly bonded and the epoxy underneath is hard, you may only need to wash and sand the surface before continuing. If the epoxy is still soft, sticky, or not curing properly after 3 days, then there may have been a mix ratio or curing issue, and removal could be necessary. A little more detail on the epoxy brand, temperature, and whether it’s hard or still tacky would help diagnose it.