Has your fiberglass been damaged? Cracks, holes, and gouges in fiberglass can happen easily. Luckily, fiberglass repair kits make fixing the damage yourself easy.
So, after picking our recommended repair kit, now it’s time to learn how to use it.
With some basic supplies and a few simple steps, you can repair fiberglass damage and get your boat looking good as new again.
In this guide, I’ll walk through everything you need to know on how to use a fiberglass repair kit for boats or any other item.
I’ll cover how to prepare the damaged area, mix the repair resin, apply fiberglass cloth, and sand the repair smooth.
Want to avoid costly fiberglass boat repair mistakes?
Learn how to inspect damage properly, decide when to DIY, and prevent expensive fiberglass problems before they start.
How to Use a Fiberglass Repair Kit?
Here are my recommended steps for using a fiberglass repair kit.
1. Assessing the Damage
Start by examining the damaged fiberglass closely. Look at the size, shape, and depth of any cracks or holes.
This will help determine how much repair material you need.
Thoroughly clean the area with acetone or alcohol to remove any wax, grease, or mold release. This helps the repair resin adhere properly.
2. Mixing the Resin
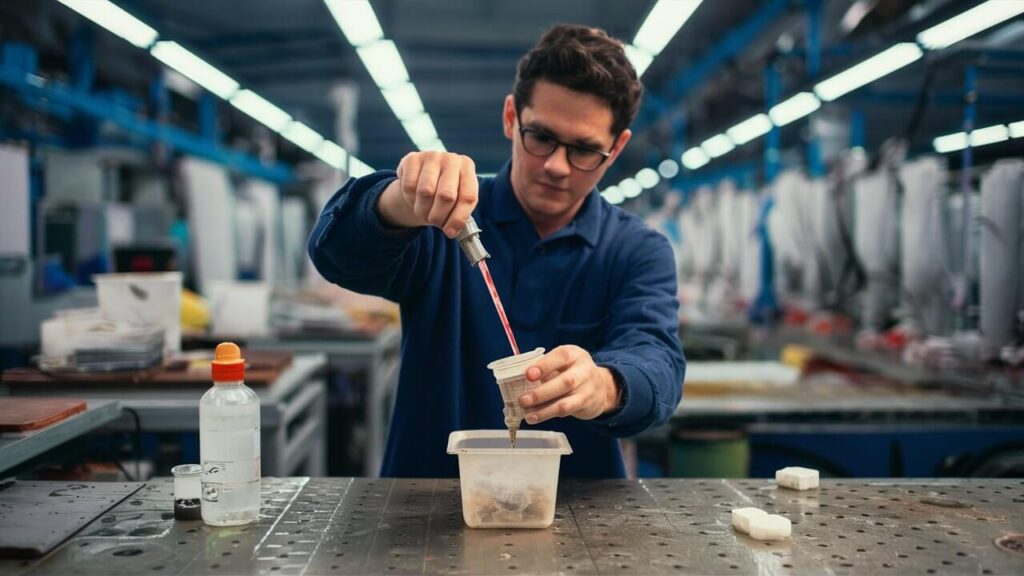
Measure out the repair resin and hardener according to the kit directions. Thoroughly mix the resin and hardener together in a disposable container.
Mix only as much as you can use in the working time of the resin. Work in a well-ventilated area and wear protective gloves and eyewear.
==>> You should also read my article on how to repair fiberglass on a boat here.

This guide helps boat owners understand fiberglass damage clearly — what matters, what doesn’t, and when repairs are truly necessary, so small issues don’t turn into expensive mistakes.
See What Every Boat Owner Should Know →3. Applying the Fiberglass Repair
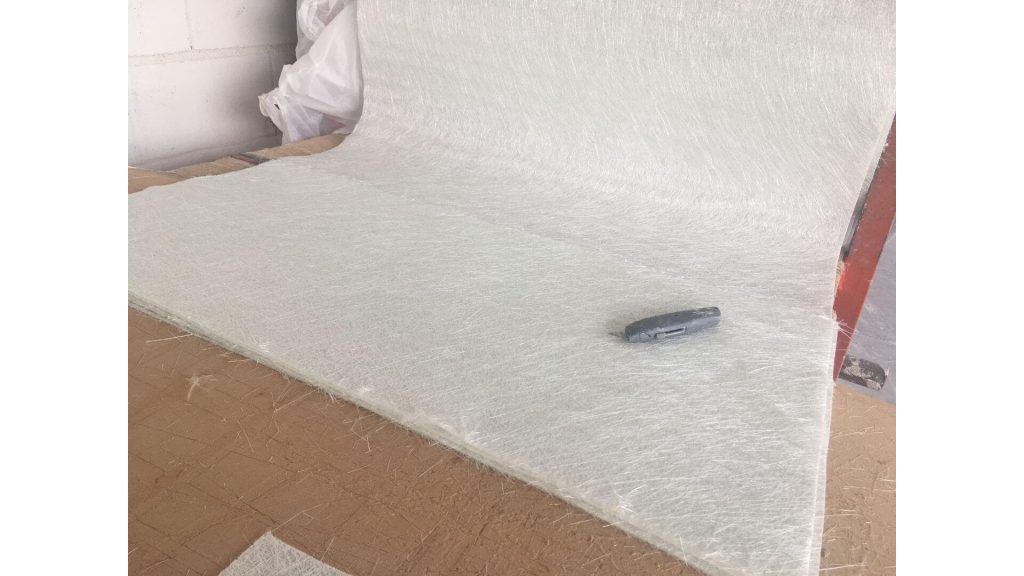
Cut a piece of fiberglass mat or cloth slightly larger than the damaged area. Soak the cloth with the resin mixture until fully saturated.
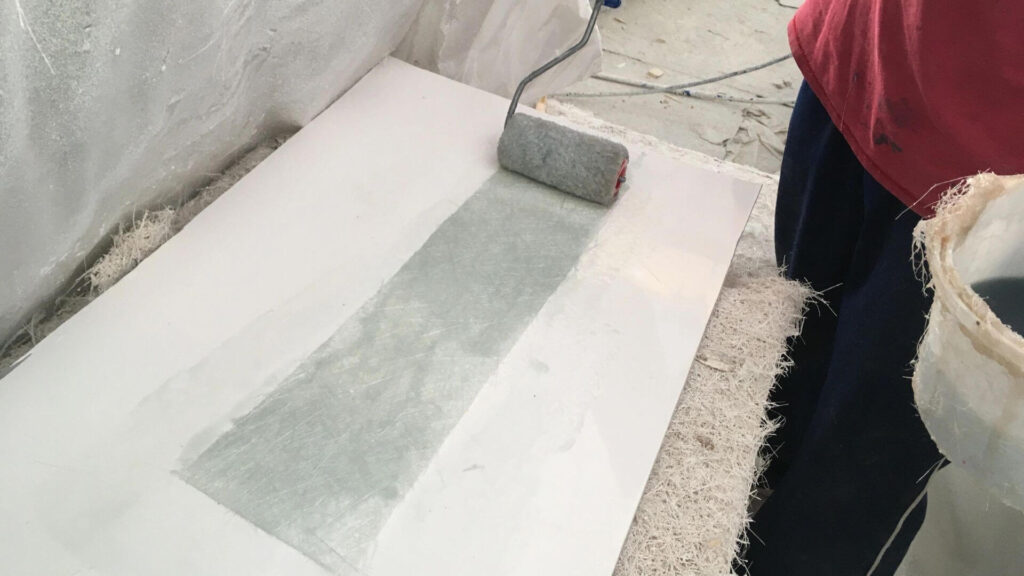
Apply it directly over the damage, smoothing out any air pockets or wrinkles. Add more resin as needed for complete saturation. Let the resin cure thoroughly.
4. Sanding & Finishing
Once cured, use increasingly finer grit sandpaper to smooth and shape the repair. Sand until flush with the surrounding area.
Clean away dust and apply a finishing resin or gel coat if needed to restore the original appearance. Allow time to fully cure.
You can also check out the Instructables website for more tips on how to use fiberglass repair kit.
Final Thoughts
With the right materials and techniques, fiberglass damage can be repaired successfully.
Just take your time and use safety gear when working with resin.
Follow these fiberglass repair steps, and you’ll have your item looking brand new again. Let us know if you have any other fiberglass repair tips in the comments!
We hope these tips help you repair fiberglass damage with ease. If you have any other suggestions or fiberglass repair tricks, make sure to leave them in the comments below! We’d love to hear what has worked for you.
Sharing your experiences can help others learn new techniques.

Warren is the founder of BoatGenesis and brings practical experience in fiberglass boat repair, marine equipment testing, and powerboat building. He has worked on a range of repair and restoration projects and now focuses on creating clear, research-based guides to help boat owners avoid costly mistakes and make smarter maintenance decisions. Learn more about Warren.