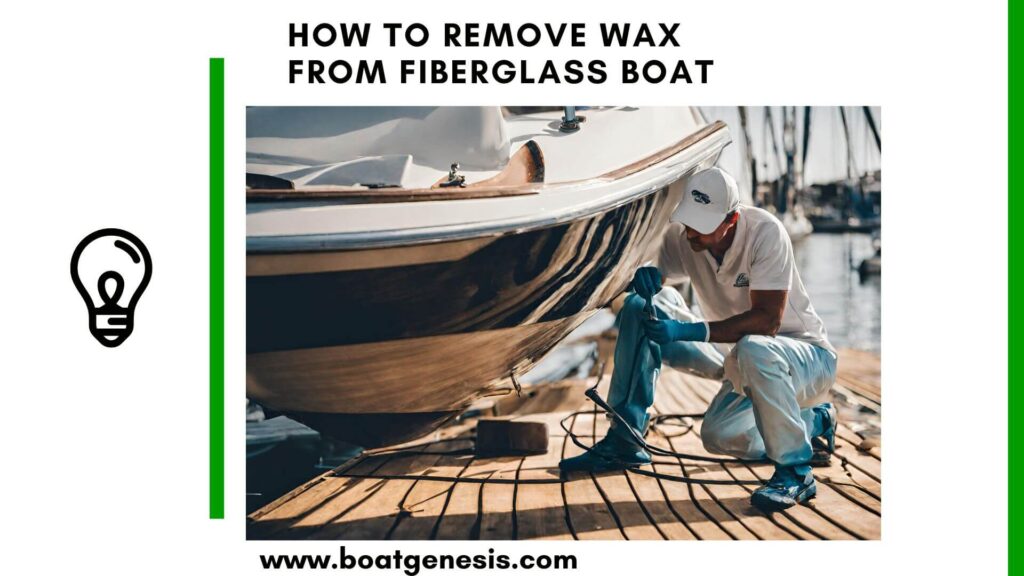
Your fiberglass boat needs regular care to stay looking good, and sometimes that means removing the old wax buildup before you can apply a fresh coat. To remove wax from a fiberglass boat, you need to use a wax-removal product that is safe for fiberglass, apply it with a non-abrasive cloth or sponge, and work in small sections until all the old wax is gone. Wax buildup happens over time and can make your boat’s surface look dull and discolored.

The process takes some effort, but it’s not complicated when you have the right supplies and know what to do.
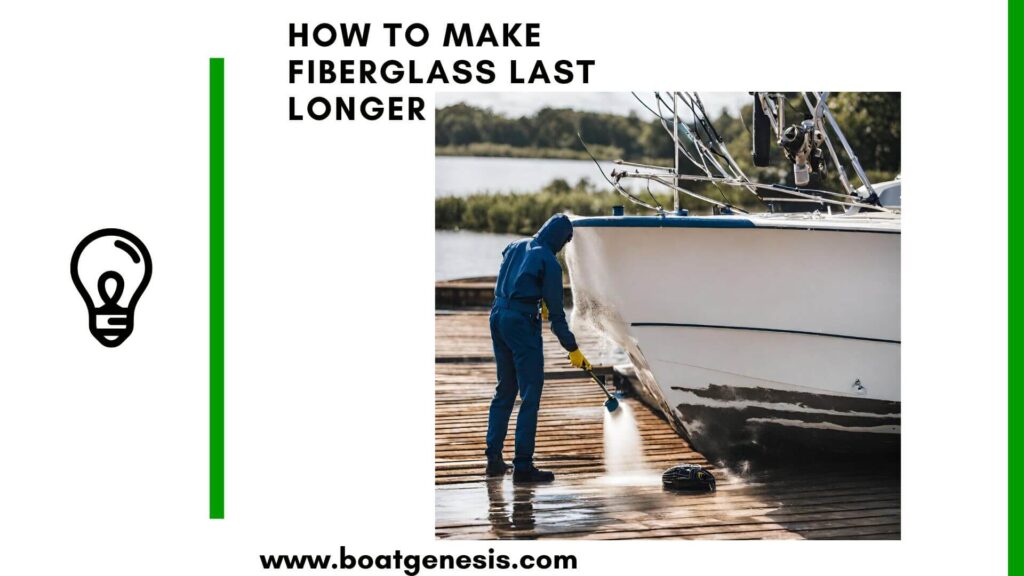
You’ll need to start with a clean, dry boat in a protected area where you can work without weather getting in the way. The key is choosing products that will remove the wax without damaging the fiberglass underneath.
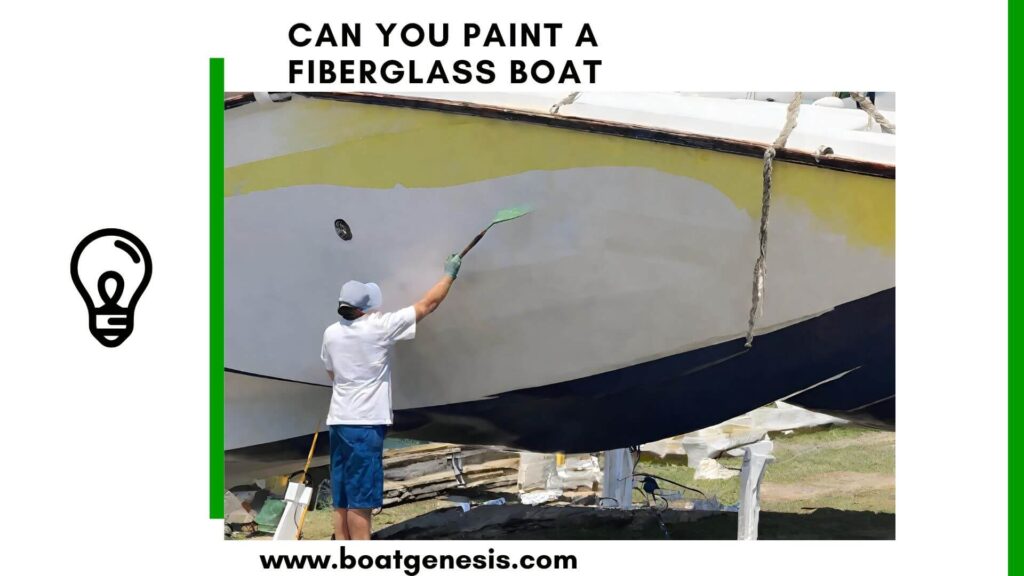
Once you strip away the old wax, your boat will be ready for a fresh application or even a new coat of paint. Taking care of your fiberglass properly means using the right tools and techniques from start to finish.
Key Takeaways
- Remove old wax using a fiberglass-safe wax remover and non-abrasive cloth before applying fresh wax or paint
- Always work with a clean, dry boat in a protected area to get the best results
- Choose products carefully by checking that they remove wax and are safe for fiberglass surfaces
Why Removing Old Wax Is Essential for Boat Care
Old wax doesn’t protect your fiberglass boat the way it once did. Wax buildup creates problems that affect both appearance and protection, making removal necessary before applying new protective layers.
Impact of Aged Wax Buildup
Wax buildup accumulates over multiple applications and creates a dull, discolored surface on your boat’s gelcoat. The wax fills microscopic pits in the finish, but as layers stack up over seasons, exposure to sun and saltwater causes yellowing and cloudiness.
This buildup prevents new wax from bonding properly to the fiberglass surface. When you apply a fresh coat of wax over old layers, it sits on top of degraded material instead of adhering to clean gelcoat. The result is poor protection and wasted effort.
Old wax also traps contaminants beneath its surface. Salt deposits, dirt, and oxidation get sealed under successive wax layers. These trapped elements continue damaging the gelcoat even though the surface appears protected.
Benefits of a Fresh Wax Application
When you remove old wax before applying new protection, you create optimal bonding conditions. A fresh coat of wax adheres directly to clean gelcoat, providing maximum UV protection and water resistance. This direct contact creates a barrier that actually shields your boat from environmental damage.
Fresh wax restores the glossy appearance your boat had when new. Without layers of discolored buildup, the gelcoat’s original color and shine come through clearly. Your boat looks better and maintains higher resale value.
New wax also provides consistent protection across the entire surface. You eliminate weak spots where old wax has degraded. A new coat of wax or paint gives you a uniform protective layer that performs reliably throughout the season.
Essential Tools and Supplies You Will Need

Getting the right tools and supplies makes removing old wax from your fiberglass boat much easier and safer. You need solvents that won’t damage the gel coat, the right cleaning equipment to apply and remove products, and safety gear to protect yourself during the process.
Want to avoid costly fiberglass boat repair mistakes?
Learn how to inspect damage properly, decide when to DIY, and prevent expensive fiberglass problems before they start.
Choosing Safe and Effective Solvents
You need a wax remover or solvent specifically designed for marine fiberglass to remove old wax without harming the gel coat. Look for products labeled as marine-grade wax removers or dewaxing solvents.
Mineral spirits work well for basic wax removal and are less harsh than acetone. Acetone is more aggressive and removes heavy buildup faster, but it can dull the finish if left on too long. Never use household cleaners with ammonia or bleach, as these can damage fiberglass.
For heavy oxidation along with wax buildup, you may need a rubbing compound or cutting compound. These products contain mild abrasives that remove both wax and oxidized gel coat layers. Test any solvent on a small hidden area first to make sure it doesn’t cause discoloration or damage.
Selecting Cleaning Equipment
Microfiber towels are essential because they won’t scratch the fiberglass surface and absorb solvents well. Buy at least a dozen clean towels so you can switch to fresh ones as they become saturated with old wax.
You’ll need application pads made of foam or soft cloth to spread the solvent evenly. A bucket filled with warm soapy water helps you clean the surface before and after wax removal. Soft-bristled brushes work for textured or non-skid areas where towels can’t reach effectively.
For larger boats, a buffer or polisher with soft pads speeds up the work significantly. Choose variable-speed models so you can control the intensity and avoid burning the gel coat.
Recommended Safety Gear
Safety glasses protect your eyes from solvent splashes and wax particles that can flake off during removal. Chemical-resistant gloves keep solvents off your skin and prevent irritation or chemical burns.
Wear long sleeves and pants to minimize skin exposure. A respirator mask is important when working with strong solvents in enclosed spaces or when the ventilation is poor. Work in a well-ventilated area whenever possible to reduce fume inhalation.
Preparation Steps for Optimal Results

Getting your boat ready before you start wax removal makes the job easier and delivers better results. Proper positioning and cleaning create the foundation for successful boat detailing work.
Positioning and Drying the Boat
You need to work on your fiberglass boat in the right location before you begin any wax removal. Park your boat in a shaded area away from direct sunlight. Heat from the sun makes wax stripper products dry too quickly, which reduces their effectiveness.
Make sure your boat is completely dry before you start. Water on the surface dilutes chemical strippers and prevents them from working properly. Use clean towels to wipe down any wet spots after moving your boat to its work location.
Check that you have good access to all areas where you need to remove old wax. You should be able to reach the sides of your boat comfortably without straining. Set up a stable ladder or platform if you need to work on higher sections of larger boats.
The temperature matters too. Work when it’s between 60 and 80 degrees Fahrenheit for best results. Chemical strippers don’t work well in cold weather and can evaporate too fast when it’s hot.
Surface Cleaning Before Wax Removal
Wash the boat thoroughly with soap and water before attempting to remove old wax. Use a mild detergent or boat-specific cleaner to get rid of dirt, grime, salt, and loose debris. This step prevents you from grinding contaminants into your gelcoat during the wax removal process.
Rinse your boat completely after washing. Leftover soap residue interferes with wax strippers and other removal products. Pay extra attention to seams, hardware, and tight corners where soap tends to collect.
Dry the surface again with clean towels after rinsing. A clean, dry surface lets you see the condition of the gelcoat more clearly. You’ll be able to identify areas with heavy wax buildup that need extra attention during the removal process.
Step-By-Step Wax Removal Process
Once you’ve gathered your supplies and washed your boat, you can begin removing the built-up wax using a systematic approach that ensures even results across the entire surface.
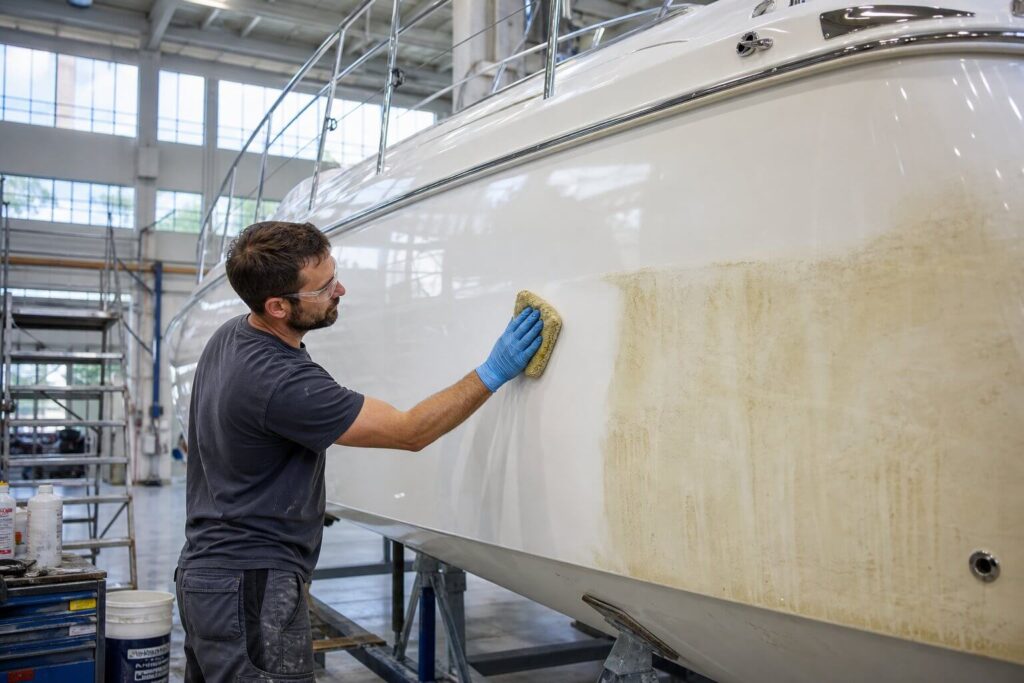
Applying Wax Remover or Stripper
Start by pouring a small amount of wax remover onto a clean microfiber towel. Acetone or specially formulated boat wax removers work well for breaking down old wax layers. Apply the remover to the fiberglass surface using firm, circular motions.

This guide helps boat owners understand fiberglass damage clearly — what matters, what doesn’t, and when repairs are truly necessary, so small issues don’t turn into expensive mistakes.
See What Every Boat Owner Should Know →Press down with moderate pressure as you work the remover into the gel coat. The chemical will dissolve the wax, causing it to become soft and sticky. You’ll notice the microfiber towel picking up the dissolved wax as you continue rubbing.
Reapply fresh remover to your towel frequently. Using a saturated towel prevents you from spreading dissolved wax back onto cleaned areas. Wear safety glasses during this process to protect your eyes from splashes, especially when working on vertical surfaces or overhead areas.
Working in Sections for Consistency
Divide your boat into manageable sections of about 2 to 3 square feet. Working in small sections at a time keeps the remover from drying on the surface before you can wipe it away.
Complete each section fully before moving to the next one. This approach ensures consistent coverage and prevents streaking. Use fresh microfiber towels for each new section to avoid reapplying old wax residue.
Check your progress by running your hand over the cleaned area. The surface should feel smooth, not waxy or sticky. If you still detect wax buildup, repeat the application process on those spots.
Final Cleaning and Rinse
After removing old wax from all sections, wash the entire boat again with marine soap and water. This step removes any remaining chemical residue from the wax remover. Use a soft brush or sponge to scrub the surface gently.
Rinse thoroughly with clean water, making sure no soap or remover remains on the fiberglass. Any leftover chemicals can interfere with your new wax application. Dry the boat completely with clean microfiber towels before applying fresh wax.
Inspect the gel coat closely in bright light. The surface should look uniform without cloudy spots or streaks.
Dealing With Common Gelcoat Challenges
Old wax removal often reveals underlying gelcoat problems like oxidation and dullness that need attention before you apply fresh wax. These issues require specific treatments to restore your boat’s protective gel coat surface.
Handling Oxidized Gelcoat
Oxidation appears as a chalky, faded surface on your fiberglass boat. This happens when UV rays break down the gelcoat over time, creating a dull appearance that wax alone cannot fix.
You need to address oxidation before applying new wax. Start by washing the surface with boat soap and water. Then apply a rubbing compound designed for marine gelcoat using a buffer or by hand with a foam applicator pad.
Work in small sections using circular motions. The compound removes the oxidized layer and exposes fresh gelcoat underneath. You’ll notice the chalky residue coming off on your applicator pad.
For heavy oxidation, you may need to repeat this process multiple times. Use medium-cut compound for severe cases and fine-cut compound for lighter oxidation. After compounding, wipe the surface clean with a microfiber cloth before moving to the polishing stage.
Restoring Shine and Smoothness
Polishing restores your boat’s gelcoat after you’ve removed oxidation and old wax buildup. This step smooths out minor scratches and creates the glossy finish you want.
Apply marine polish with a clean foam pad using your buffer on low speed. Work in two-foot sections to prevent the polish from drying out. The polish fills microscopic imperfections in the gelcoat surface.
Increase your buffer speed gradually as you work. Keep the pad flat against the surface to avoid burning through the gelcoat. Buff until you see a deep, wet-looking shine appear.
Remove all polish residue with clean microfiber cloths before waxing. Your gelcoat should feel smooth when you run your hand across it. Any rough spots need additional polishing attention before you apply protective wax.
Applying a Fresh Coat: Polishing and Waxing Tips
Once you’ve removed the old wax, your fiberglass needs proper preparation before applying new protection. The right techniques for polishing and waxing will give your boat a lasting shine and protect the gelcoat from damage.
Surface Preparation After Dewaxing
After dewaxing, inspect your fiberglass for oxidation, fading, or a chalky texture. These problems mean the surface needs polishing before you apply wax.
Oxidation appears as a dull, hazy finish on the gelcoat. If you see this, you need to use a rubbing compound or polish to restore the surface. Apply the compound with a soft cloth or buffer, working in small sections.
Wax won’t stick properly to a surface that hasn’t been corrected first. Polish the entire hull until it has an even appearance and smooth feel.
Let the boat dry completely after polishing. Any moisture trapped under wax can cause problems later. Clean off any polish residue with a clean microfiber towel before moving to the waxing step.
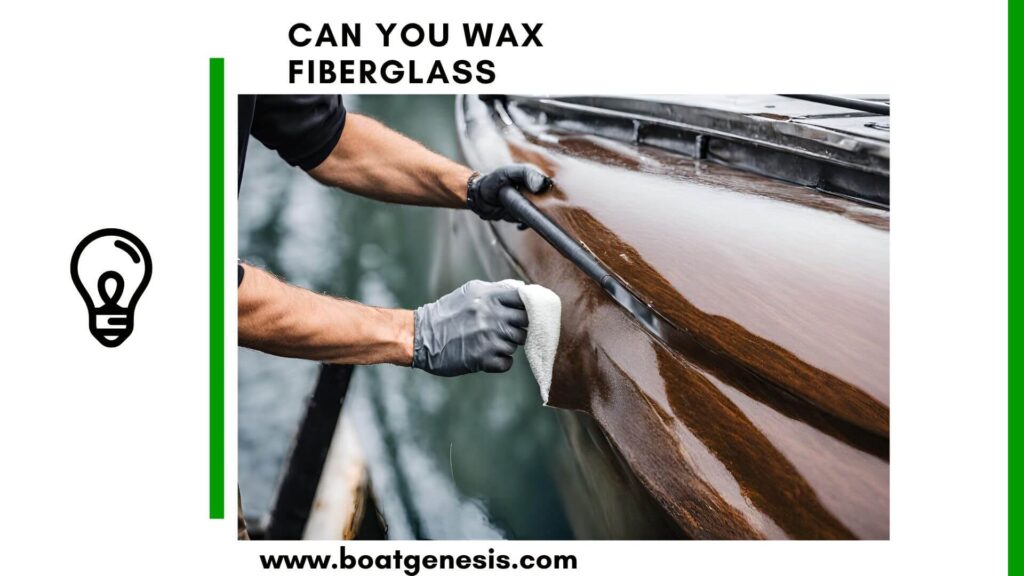
How to Wax a Boat Effectively
Apply wax in thin, even layers using a foam applicator pad or microfiber towels. Work in 2-3 foot sections to keep the wax from drying too quickly.
Use circular motions when applying the wax. Let it dry to a light haze before buffing. This usually takes 5-10 minutes depending on temperature and humidity.
Buff off the dried wax with clean microfiber towels. Use straight, overlapping strokes for best results. Boat detailing requires patience, so don’t rush through sections.
Check your work by looking at the surface from different angles. You should see a consistent shine without streaks or missed spots. Apply a second coat if needed for extra protection.
Maintaining Results Between Waxes
Apply a fresh coat of wax every 2-3 months to maintain protection. More frequent waxing may be needed if you keep your boat in direct sunlight or saltwater.
Rinse your boat with fresh water after each use. This removes salt, dirt, and other debris that can wear down the wax layer. Use a gentle boat soap for regular cleaning between wax applications.
Avoid abrasive cleaners or rough scrubbing tools that can damage the wax. Soft sponges and microfiber towels work best for routine maintenance. Watch for areas where the water no longer beads up, as this signals the wax is wearing thin.

Warren is the founder of BoatGenesis and brings practical experience in fiberglass boat repair, marine equipment testing, and powerboat building. He has worked on a range of repair and restoration projects and now focuses on creating clear, research-based guides to help boat owners avoid costly mistakes and make smarter maintenance decisions. Learn more about Warren.