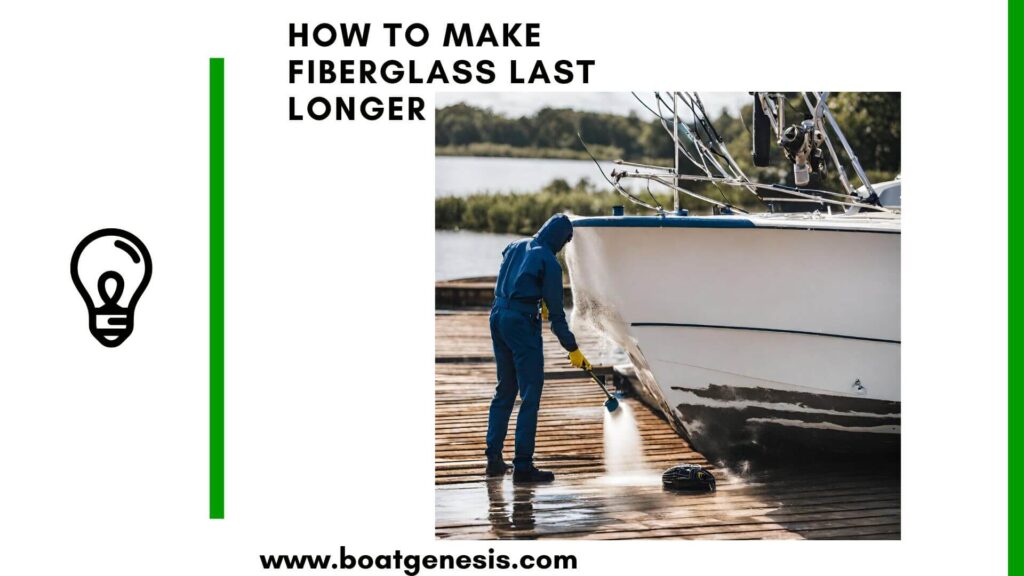
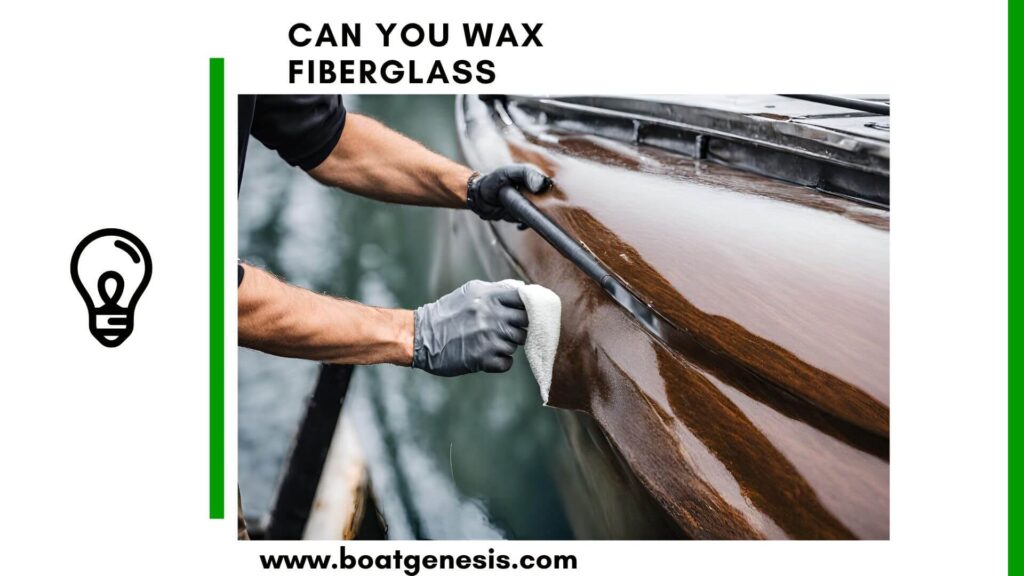
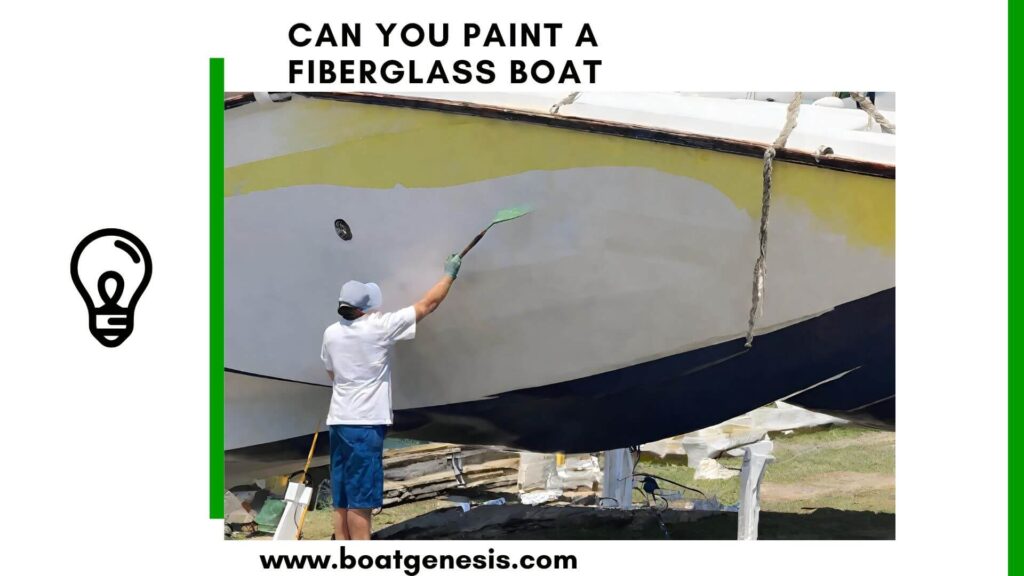
To protect the bottom of your fiberglass boat, repair damaged areas, keep an appropriate epoxy barrier coat intact to limit water entry, and apply compatible antifouling paint to control marine growth. Bottom paint helps keep the hull clean, but it does a different job from the barrier coat beneath it.
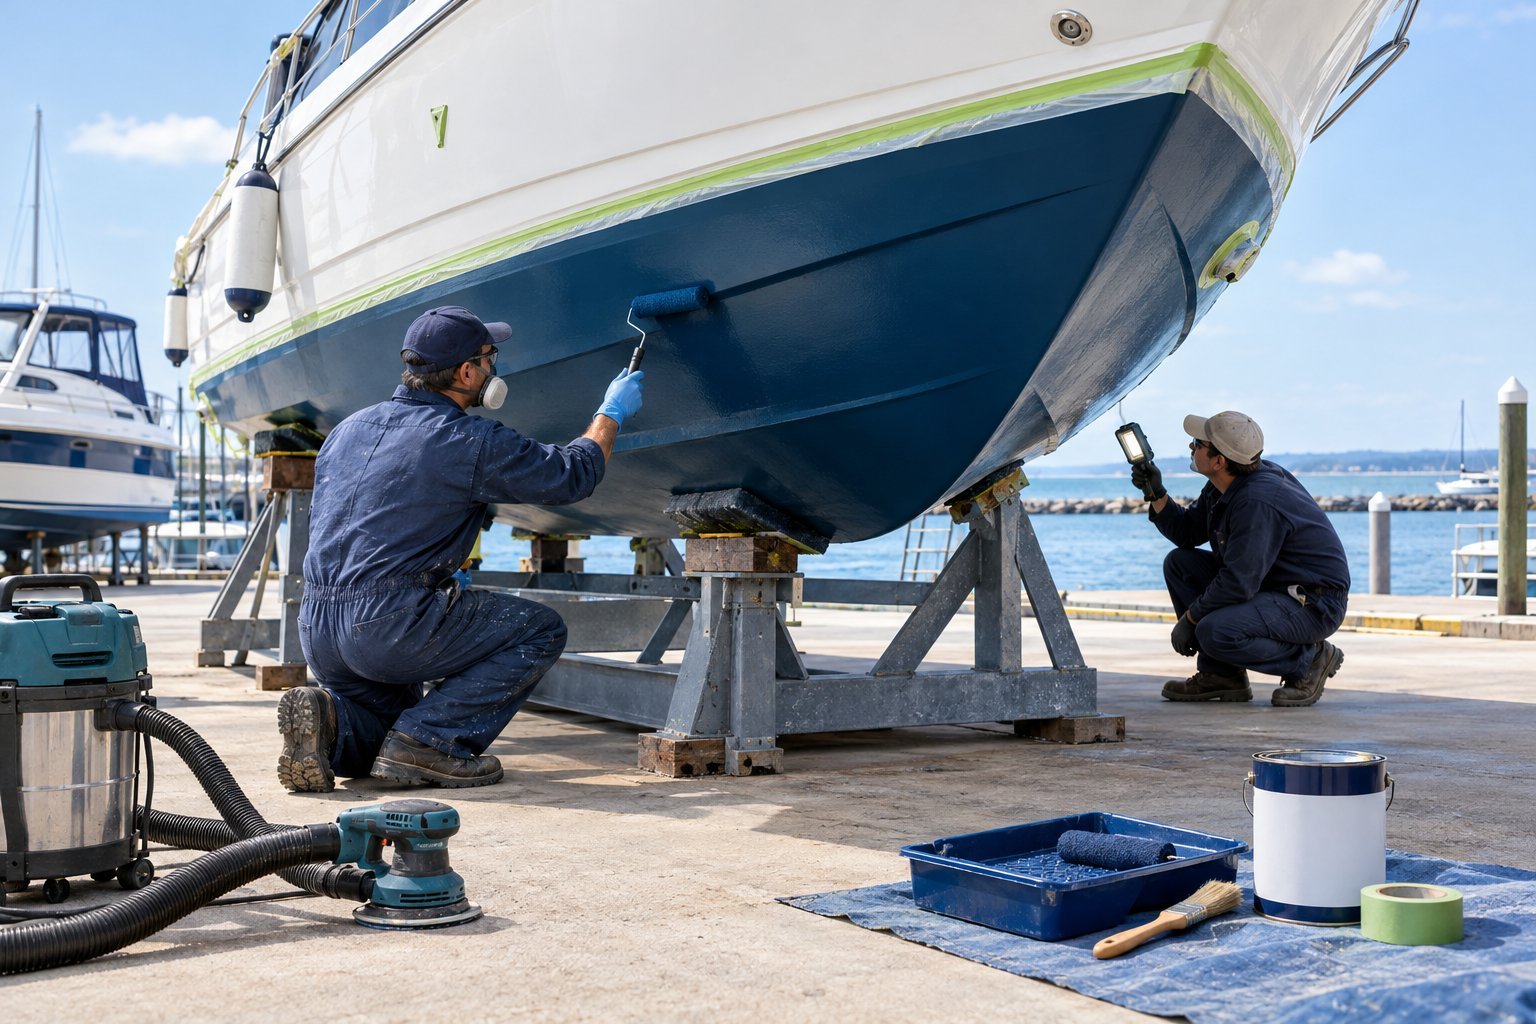
Your next haul-out is the time to check both layers. A fresh coat of paint will cover a bare patch, but it will not repair exposed fiberglass or a blister. Deal with the surface first, then build the coating system your boat needs.
Inspect and Prepare the Hull
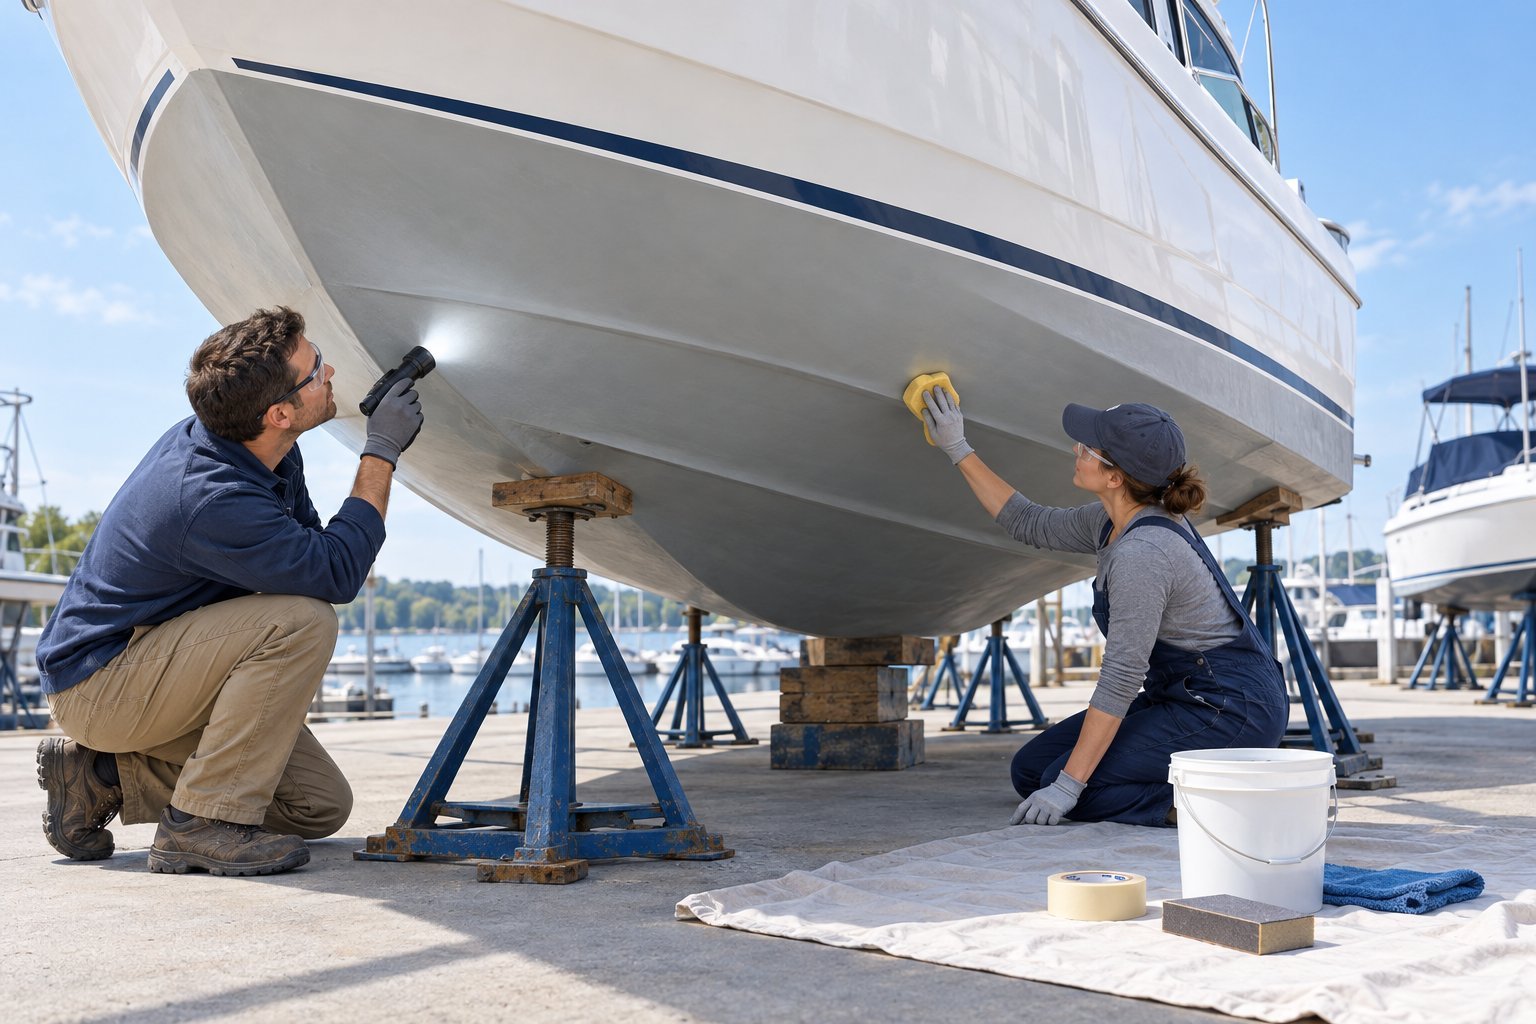
Start with a close look at the clean, dry hull. Sound surface preparation gives each new coating a firm base, while a careful inspection tells you where painting must wait for repairs.
What Should You Look for After Haul-Out?
Walk the hull from bow to stern and mark loose paint, bare patches, cracks, gouges, and raised blisters. Check high-wear spots around the keel and leading edges, then look near through-hulls and other fittings for damage.
If you know little about the boat’s coating history, record what you find before scraping or sanding. Photos and past yard invoices will help you inspect your fiberglass boat hull and identify areas that have changed since the previous haul-out. Ask the yard or a marine repair professional to assess deep damage or widespread blistering.
How Do You Clean and Sand the Bottom Safely?
Remove growth and loose coating with methods your yard permits. Wash off dirt and residue, let the hull dry, and remove mold-release wax from a new bare hull before sanding. Pettit’s bare-fiberglass painting instructions call for thorough cleaning and dewaxing before you apply a coating.
Where the chosen coating calls for sanding, 80-grit sandpaper gives a sound surface some tooth. Keep the work light so you do not cut through intact gelcoat or a barrier coat. Wear eye protection, gloves, protective clothing, and a respirator suited to the dust; collect sanding waste under your yard’s rules. Finish by removing dust as the coating instructions direct. Careful fiberglass hull cleaning makes it easier to see what needs repair.
When Do Blisters or Exposed Fiberglass Need Repair?
Repair exposed fiberglass, open blisters, and damaged barrier coating before you apply antifouling paint. Mark each area and determine how deep it goes. A small surface flaw and a crack into the laminate call for different work, so get a qualified assessment when the depth or cause is unclear.
Want to avoid costly fiberglass boat repair mistakes?
Learn how to inspect damage properly, decide when to DIY, and prevent expensive fiberglass problems before they start.
For a repair, follow the chosen epoxy or fiberglass repair system through cleaning, drying, filling, and fairing. Let the repair cure as directed before restoring the barrier coat. If a crack reaches the laminate, plan the fiberglass hull repair before you plan a launch date.
Seal the Fiberglass Against Water
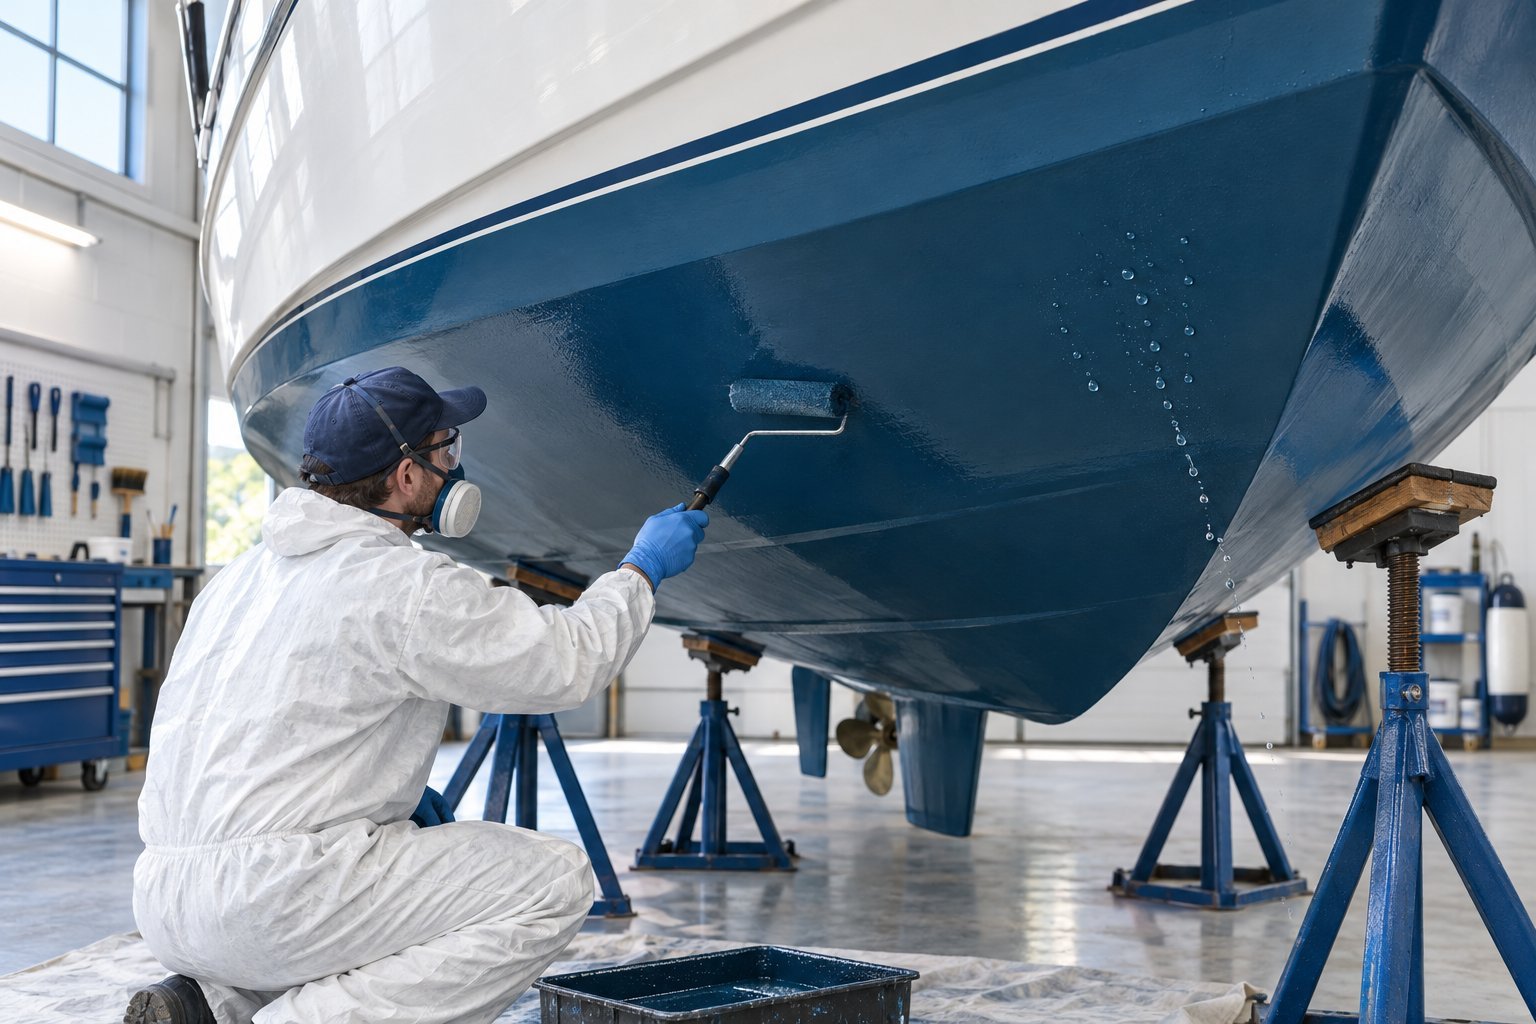
An epoxy barrier coat is the moisture-resistant layer beneath the antifouling paint. It needs a properly prepared surface and the film thickness specified for the product.
When Does a Fiberglass Hull Need a Barrier Coat?
Consider a full barrier-coat system when you prepare bare fiberglass for regular in-water storage, strip an old bottom to its base, or address a hull with a history of blisters. If an existing barrier coat is sound, you may only need to restore damaged spots. Confirm what is already on the hull before covering it.
A barrier coat is part of the moisture-protection system; antifouling paint serves the separate task of limiting growth. For example, one epoxy barrier-coat product is specified to seal fiberglass beneath bottom paint. Use the requirements for your selected system, since products differ.
How Do You Apply an Epoxy Barrier Coat?
Prepare the hull to the barrier-coat maker’s instructions. Measure and mix the components at the stated ratio, make only what you can apply within the working time, and roll on even coats. Pay close attention to repaired areas and edges without leaving runs.
Track coverage and coats against the product’s required dry-film thickness, which is the thickness left after curing. A coat count alone cannot tell you whether you have built enough protection. Respect the temperature, drying, and recoat limits on the label.
When Can You Apply Paint Over the Barrier Coat?
Apply bottom paint within the barrier coat’s stated overcoat window. Some systems call for paint while the last coat remains tacky; others set a different interval or require more preparation after the window closes.
Check both products before mixing anything. If you miss the window, follow the barrier-coat maker’s directions for cleaning or sanding before painting. Your yard’s application and launch rules also apply.
Choose Antifouling Paint for Your Boat
Choose antifouling paint for how you store and use your boat, the growth in your waters, and the coating already on the hull. Boat bottom paint limits fouling; it does not take the place of an epoxy barrier coat.
Do You Need Hard or Ablative Bottom Paint?
Ablative bottom paint wears away gradually in the water and exposes fresh biocide as it wears. A copolymer ablative paint can suit a boat that is hauled or stored out of the water, provided its label allows that schedule. Hard bottom paint keeps a firm film as its biocide releases, which suits some boats kept in the water and surfaces that need abrasion resistance.
Check the exact formulation before deciding. Hard paint leaves an old film that builds up over repeated repainting, while an ablative needs enough remaining thickness to keep working. Compare the products’ stated use and storage limits when you consider bottom paints for your boat.
This guide helps boat owners understand fiberglass damage clearly — what matters, what doesn’t, and when repairs are truly necessary, so small issues don’t turn into expensive mistakes.
See What Every Boat Owner Should Know →Which Biocide Suits Your Waters and Local Rules?
Copper-based antifouling paint commonly uses cuprous oxide to deter growth. Copper-free formulas may use econea, while zinc pyrithione appears in some paints to help control slime. These ingredients have different jobs, so choose a paint labeled for the fouling you face.
Check state and marina rules before buying, especially where copper use or in-water hull cleaning is restricted. Keep cuprous oxide paint off aluminum outdrives and other aluminum parts; use a coating approved for those surfaces. Antifouling products include different biocides for growth and slime control, and the paint label identifies where each product may be used.
Will the New Paint Bond to the Existing Coating?
Identify the old paint from records or cans left by the previous owner, then check the new paint maker’s compatibility chart. A clean, firmly attached coating may accept a suitable new paint after the specified preparation.
If the old coating is unknown, failing, or incompatible, ask the paint maker or yard whether you need a tie-coat primer or full removal. Do that before you buy paint: coating over a loose layer leaves the new film attached to a weak one.
Apply Bottom Paint Without Compromising Protection
Good bottom paint application starts with masking, thorough mixing, and a plan for the product’s recoat and launch windows. Work from the label and the yard’s rules, including its requirements for collecting paint waste.
How Do You Mask and Mix Before Painting?
Mask the waterline, transducers, through-hulls, and hardware that must stay free of hull paint. Confirm which fittings need their own approved coating. Set out a suitable roller, brushes for tight spots, protective gear, and the cleanup materials named by the paint maker.
Stir the antifouling paint thoroughly so settled ingredients are mixed through the can. Keep stirring as directed while you work. If the label permits thinning, use only its specified thinner and amount; unapproved thinning changes the coating you put on the hull.
How Many Coats Should You Apply?
Apply the number of coats and coverage rate stated for your paint. Roll an even film and avoid stretching a can beyond its listed coverage. Add coats at the waterline and high-wear areas when the product instructions recommend them.
Keep track of areas hidden by stands or pads. Have the yard move supports safely so you can prepare and paint those spots, then give them their required dry time. When you paint a fiberglass boat, treat those patches as part of the job, not a touch-up to do after launch.
How Long Must the Paint Dry Before Launch?
Let each coat dry for the time specified at the temperature you are working in. Check the minimum time before launch and any maximum time the painted boat may remain out of the water. Both limits belong to the chosen product, so avoid setting your haul-out schedule from a different paint’s label.
Before launch, remove masking tape, inspect for missed spots, and confirm that paint and cleanup waste have been handled under yard rules. Delay the launch if the coating has not reached its required dry time.
Keep the Coatings Effective Between Haul-Outs
Regular boat maintenance lets you spot fouling and coating damage while they are still manageable. Record what you see so the next haul-out addresses worn areas instead of covering them blindly.
How Often Should You Inspect and Clean the Bottom?
Inspect the bottom during your normal in-water checks and after a grounding, impact, or noticeable change in handling. Look for growth near the waterline and fittings, and check for exposed coating where you can see it safely.
Match cleaning to the paint. Heavy scrubbing wears an ablative coating, and local rules may limit in-water cleaning. Ask your yard or diver for a method approved for your paint and location. At haul-out, wash and inspect the full hull once the growth is off.
When Is It Time to Touch Up or Repaint?
Touch up coating lost to a scrape after you inspect and repair the surface beneath it. Plan a broader repaint when antifouling coverage is worn, growth returns despite suitable cleaning, or the product’s service guidance calls for another coat.
At each haul-out, check the barrier coat wherever bottom paint has lifted or worn through. If you keep a record of the paint used and the date applied, your next fiberglass boat repaint starts with a known coating system. Protect high-wear contact areas during trailering, and inspect them before deciding whether a keel guard for a fiberglass boat fits your use.
A Sound Barrier and the Right Paint Protect the Hull
Your bottom job starts with a clean inspection and sound repairs. Keep the epoxy barrier coat intact where your hull needs moisture protection, then apply compatible antifouling paint for the growth in your waters.
Before you launch, check the coating instructions one more time for coverage, recoat limits, and dry time. Keep the paint name and haul-out notes with your boat records so you know what you are working over next time.

Warren is the founder of BoatGenesis and brings practical experience in fiberglass boat repair, marine equipment testing, and powerboat building. He has worked on a range of repair and restoration projects and now focuses on creating clear, research-based guides to help boat owners avoid costly mistakes and make smarter maintenance decisions. Learn more about Warren.