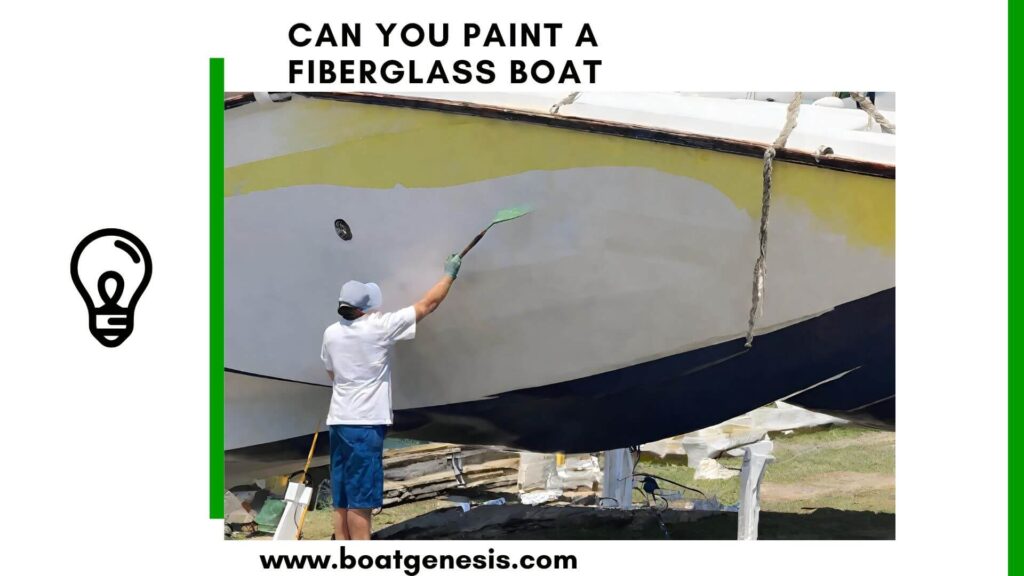
Repainting a fiberglass boat restores its look and protects the hull from sun, salt, and water damage. You do not need a shipyard crew, but you do need the right steps and materials. When you paint a fiberglass boat the right way, you improve both its appearance and its life on the water.

To repaint a fiberglass boat, you must clean and sand the surface, repair flaws, apply the right primer, and use a marine paint system made for fiberglass. Each step builds on the last, so careful prep and correct products matter more than speed.
You also need to choose between bottom paint and topside paint, based on where you apply it. If you want a clear overview before you start, review this step-by-step guide to repainting a fiberglass boat to understand the full scope of the job.
Key Takeaways
- Prepare the surface well to help new paint bond and last.
- Use marine primers and paints made for fiberglass and water exposure.
- Apply paint with care and maintain the finish to extend its life.
Essential Preparation Steps

Proper prep work controls how well your new paint bonds and how long it lasts. You need to inspect the hull, remove all wax and oils, and create a clean, sanded surface that supports strong paint adhesion.
Inspecting and Assessing Hull Condition
Start with a close inspection of the entire hull. Look for cracks, chips, blisters, deep scratches, and loose old paint.
Run your hand across the surface. You will feel rough spots and raised areas that your eyes might miss. Mark problem areas with painter’s tape so you do not forget them.
Repair damaged spots with fiberglass filler or marine epoxy. Press the filler firmly into cracks and gouges. Let it cure fully based on the product directions.
Sand repaired areas smooth using 120 grit sandpaper first. This grit levels filler and removes loose paint. Then switch to 400 grit sandpaper to smooth the edges so they blend into the surrounding gelcoat.
If you skip repairs, paint will highlight flaws instead of hiding them.
Cleaning With Boat Soap and Wax Remover
Wash the hull before sanding the entire surface. Dirt and salt can clog sandpaper and grind contaminants deeper into the fiberglass.
Use a dedicated boat soap mixed with clean water. Scrub with a soft brush or sponge. Focus on the waterline and transom where grime builds up.
Rinse well and let the hull dry completely. Moisture trapped under primer can cause blistering later.
After washing, apply a wax remover made for marine surfaces. Many fiberglass boats carry years of wax buildup. Even a thin layer can block proper paint adhesion.
Wipe the surface with clean rags and change them often. If the rag turns yellow or brown, wax is still present. Keep cleaning until the cloth stays clean.
Using Wax and Grease Remover for Decontamination
Once the hull is clean and dry, remove invisible oils. Fuel residue, sunscreen, and engine fumes leave a film that soap cannot fully remove.
Apply a wax and grease remover using the two-cloth method:
Want to avoid costly fiberglass boat repair mistakes?
Learn how to inspect damage properly, decide when to DIY, and prevent expensive fiberglass problems before they start.
- Cloth one: apply the remover and loosen contaminants
- Cloth two: wipe dry before the solvent evaporates
Work in small sections. Do not flood the surface. Controlled wiping prevents streaks and residue.
Turn your cloths often. Dirty rags spread grease instead of lifting it. Wear gloves to avoid adding skin oils back onto the hull.
This step directly affects paint adhesion. If oils remain, even high-quality paint or marine-grade primer can peel.
Masking, Sanding, and Tack Cloth Application
Mask off rails, fittings, decals, and hardware with painter’s tape and plastic sheeting. Remove hardware when possible for cleaner lines.
Sand the full surface to create a mechanical bond for the new coating. Use:
- 120 grit sandpaper to remove failing paint
- 400 grit sandpaper to scuff intact gelcoat or old paint
Sand evenly. Do not press too hard. Uneven sanding causes low spots that show through gloss finishes.
After sanding, vacuum the hull or blow it off with clean, dry air. Then wipe every surface with a tack cloth. This sticky cloth lifts fine dust that you cannot see.
Apply your marine-grade primer soon after final cleaning. A clean, dull, and dust-free surface gives the primer the best chance to bond tightly to the fiberglass.
Surface Repairs and Priming Techniques

You need to fix every flaw before you paint. Clean repairs, the right marine primer, and proper sanding between coats control how smooth and durable the final finish will be.
Filling Imperfections With Fiberglass Filler
Start by inspecting the hull in bright light. Mark chips, cracks, deep scratches, and worn gelcoat areas with tape so you do not miss them.
Grind damaged spots with 120 grit sandpaper to remove loose material and rough edges. Wipe the area with a solvent that removes dust and wax. The surface must stay clean and dry before you apply any fiberglass filler.
Mix the fiberglass filler or epoxy filler based on the label. Spread it with a plastic spreader and press firmly so it fills the void completely. Slightly overfill each repair so you can sand it flush later.
After it cures, sand the patch smooth. Follow the grit steps used in most step-by-step repair guides such as this fiberglass boat painting guide, which stresses proper surface prep before paint. The repair should feel level with the surrounding gelcoat when you run your hand over it.
Selecting and Applying Marine Primer
Use a marine-grade primer made for fiberglass. Standard household primers do not bond well to gelcoat or sealed filler.
Choose a primer that matches your paint system. One-part paints use compatible one-part marine primer. Two-part polyurethane paints require a matching two-part marine primer for proper adhesion and durability.
Apply primer to all bare fiberglass, repaired spots, and heavily sanded areas. Use a foam roller and tip with a brush, or spray if you have the right setup. Many pros recommend priming after full surface prep, as shown in this guide on prepping and painting a fiberglass boat.
Let the primer cure based on temperature and humidity. Do not rush this step. Soft primer can clog sandpaper and weaken the paint bond.
Sanding Between Coats for Optimal Smoothness
Sanding between coats levels dust, brush marks, and small surface waves. It also gives the next layer a surface it can grip.
After the primer cures, sand it lightly with 400 grit sandpaper. Use a sanding block on flat areas to keep the surface even. On curves, use flexible sanding pads so you do not cut through edges.
Wipe the hull with a clean cloth and solvent after sanding. Remove all dust before applying the next coat of primer or paint.
Repeat light sanding between coats if the product label requires it. Controlled sanding between coats improves gloss and helps you achieve a smooth, even finish without visible repair lines.
Choosing the Right Marine Paint System
You need a marine paint system that bonds well to fiberglass, resists UV light, and fits your skill level. The right choice depends on finish quality, durability, and how much time you can spend on prep and application.
Comparing Marine Enamel, Polyurethane, and Gelcoat Options
You have three main options for a fiberglass boat paint system: marine enamel, polyurethane, and gelcoat. Each serves a different purpose.
Marine enamel is a one-part marine-grade paint. It is easy to apply with a brush or roller and works well for DIY projects. It costs less than other systems, but it does not last as long in strong sun or heavy use.
Polyurethane paint gives better gloss and durability. It resists fading and holds color longer than enamel. Many guides, such as this step-by-step overview on how to paint a fiberglass boat, recommend marine-grade polyurethane for restoring shine and protecting the hull.

This guide helps boat owners understand fiberglass damage clearly — what matters, what doesn’t, and when repairs are truly necessary, so small issues don’t turn into expensive mistakes.
See What Every Boat Owner Should Know →Gelcoat matches the original finish on many fiberglass boats. You spray or roll it onto properly prepared fiberglass. It builds thickness and allows sanding and polishing, but it requires more skill and equipment than standard marine paint.
Choose based on the boat’s condition, your tools, and how long you want the finish to last.
Understanding Two-Part Polyurethane Paint
Two-part polyurethane paint contains a base and a hardener. When you mix them, a chemical reaction starts. This reaction forms a hard, cross-linked surface.
You get a deep gloss and strong resistance to scratches and fuel spills. That makes two-part polyurethane popular for topsides.
However, you must apply it with care. Temperature and humidity affect curing. The surface must be sanded smooth and cleaned fully. Many technical paint guides, including the West Marine boat paint system guide, stress that compatibility between primer and finish coat matters. If you apply two-part polyurethane paint over an incompatible base, it can peel or wrinkle.
You also need proper safety gear. The hardeners often contain isocyanates, which require a respirator rated for paint fumes.
Considering Pot Life and Environmental Factors
Pot life is the amount of time you have to use mixed paint before it hardens in the can. With two-part polyurethane paint, pot life may range from 30 minutes to a few hours.
You must plan your work in small batches. Mix only what you can apply within the stated pot life. If the paint thickens, do not thin it beyond label limits. Discard it and mix fresh material.
Environmental factors also affect results:
- Temperature: Most marine paint applies best between 50°F and 85°F.
- Humidity: High humidity can cause blushing or dull spots.
- Wind and dust: Airborne debris will stick to wet fiberglass boat paint.
Work in a dry, shaded area when possible. Follow the manufacturer’s instructions for recoat windows and drying times. Careful control of these details leads to a smoother and longer-lasting finish.
Applying Paint to Fiberglass for Lasting Results
You get lasting results when you apply marine paint with control, build thin layers, and respect drying times. Careful technique improves paint adhesion and reduces defects like runs, bubbles, and rough texture.
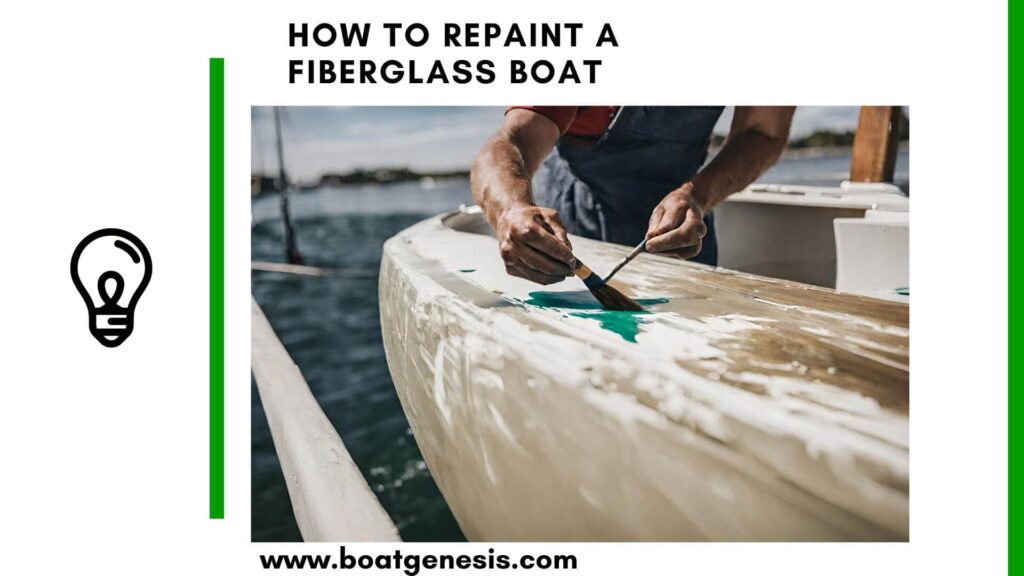
Best Practices for Rolling, Brushing, and Spraying
Choose your method based on the size of the boat and your skill level. For most DIY jobs, rolling and tipping gives you strong control when painting a fiberglass boat.
Use a high‑density foam roller to spread fiberglass boat paint in thin, even coats. Then lightly drag a quality brush over the wet paint to smooth out bubbles. Work in small sections, about 3–4 feet wide, and keep a wet edge so lap marks do not form.
If you spray, adjust the gun for a fine, even fan pattern. Hold it 6–8 inches from the surface and move at a steady speed. Overlap each pass by about 50 percent.
No matter the method, stir the marine paint often. Do not whip air into it. Apply thin coats to improve paint adhesion and prevent sagging.
Proper Layering and Drying Times
Thin layers build strength and reduce problems. Most guides on how to paint a fiberglass boat recommend several light coats instead of one heavy coat.
Follow the paint maker’s recoat window exactly. Some marine paint allows recoating when the surface feels tacky. Others require full drying before the next coat.
Use this simple approach:
- Apply 2–3 light base coats.
- Let each coat dry as directed.
- Lightly sand with 320–400 grit if the surface feels rough or if you miss the recoat window.
- Wipe clean before adding more paint.
Sanding between coats removes dust and helps the next layer bond. Do not sand through the color layer. If you expose primer, touch it up before continuing.
Temperature and humidity matter. Paint in dry weather, ideally between 60°F and 85°F, to avoid slow curing or surface defects.
Final Clear Coat Application
A clear coat protects your work from UV light, salt, and wear. It also adds gloss and makes cleaning easier.
Wait until the final color coat cures as directed, often 24–48 hours. Lightly sand with 400 grit paper to remove small bumps or dust. Wipe the surface with a clean tack cloth.
Apply 1–2 thin coats of clear using a foam roller or spray gun. Keep each layer even and avoid heavy buildup along edges.
Let the clear coat cure fully before launching the boat. Some products require several days of curing for full hardness. Respecting this time protects the finish and locks in the results of your fiberglass boat paint job.
Aftercare and Longevity Tips
Protect your new finish with steady cleaning, fast repairs, and smart use habits. Good care keeps your fiberglass boat paint smooth, glossy, and firmly bonded for years.
Routine Cleaning and Inspection
Wash your boat often with boat soap made for marine use. Do not use household cleaners. They strip wax and can dull marine-grade paint.
Rinse with fresh water after every trip, especially if you boat in salt water. Salt dries on the surface and pulls moisture into small flaws. That can weaken fiberglass boat paint over time.
Use a soft brush or sponge. Avoid stiff bristles that can scratch marine enamel.
Inspect the hull each time you clean it. Look for:
- Small chips along the bow and chines
- Blisters or bubbles in the paint
- Cracks near fittings and hardware
- Rust stains from metal parts
Fix small issues early. A quick repair prevents larger paint failure later.
Touch-Ups and Damage Repair
Repair chips and scratches as soon as you see them. Exposed fiberglass can absorb water, which leads to bigger problems.
Start by washing the area with boat soap and rinsing well. Lightly sand the damaged spot with fine grit sandpaper so the new fiberglass boat paint can bond.
Wipe the area with a clean solvent cloth. Apply primer if the repair goes down to bare fiberglass. Then brush or roll on matching marine-grade paint or marine enamel in thin coats.
Keep the edges smooth by feather sanding between coats. Let each layer cure based on the paint label. Pull any masking tape before the paint fully hardens to avoid lifting the edges.
For larger worn areas, follow a structured process like this step-by-step fiberglass boat painting guide.
Maximizing Finish Durability
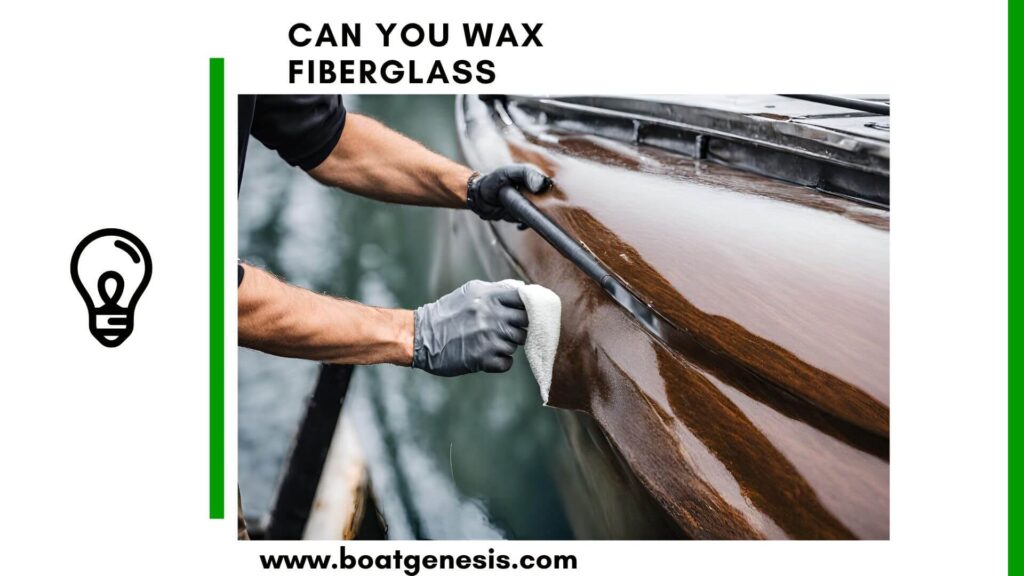
Give the paint full cure time before waxing or polishing. Waxing too early traps solvents and weakens the surface.
After full cure, apply a quality marine wax every few months. Wax adds a thin barrier that protects marine-grade paint from sun and water.
Limit long-term sun exposure when possible. Use a fitted boat cover that allows airflow. Heat and UV light break down marine enamel and fade color.
Also reduce stress on the finish:
- Install fenders before docking
- Check trailer bunks and rollers for rough spots
- Tighten loose hardware that may rub against paint
Store your boat on dry supports and shift trailer contact points when needed. Even pressure helps prevent dull spots and wear marks on your fiberglass boat paint.

Warren is the founder of BoatGenesis and brings practical experience in fiberglass boat repair, marine equipment testing, and powerboat building. He has worked on a range of repair and restoration projects and now focuses on creating clear, research-based guides to help boat owners avoid costly mistakes and make smarter maintenance decisions. Learn more about Warren.