Are you in the market for a used fiberglass boat? Before making a purchase, it’s crucial to thoroughly inspect the hull to ensure you’re getting a solid vessel.
In this guide, we’ll walk you through the steps to properly assess a fiberglass boat hull, so you can make an informed decision and avoid potential pitfalls.
Let’s get started.
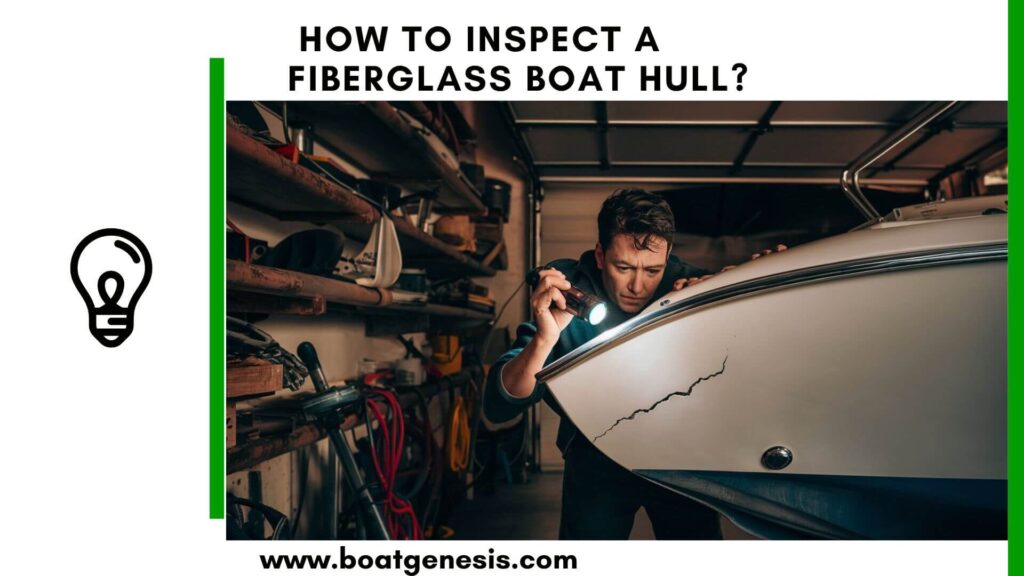
How to Inspect a Fiberglass Boat Hull?
Here are my recommended simple steps to inspect your boat hull.
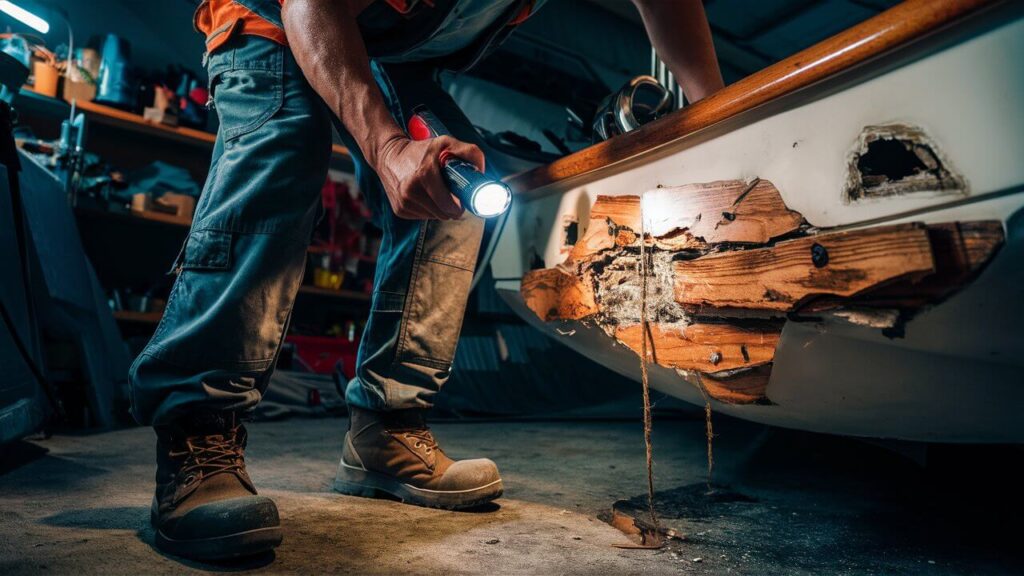
1. Visual Inspection
Begin by conducting a thorough visual inspection of the hull. Look for any obvious signs of damage, such as cracks, chips, or discoloration.
Pay close attention to the gelcoat, as any cracks or crazing could indicate underlying issues. Check for any repairs or patches and make sure they’ve been done properly.
Want to avoid costly fiberglass boat repair mistakes?
Learn how to inspect damage properly, decide when to DIY, and prevent expensive fiberglass problems before they start.
2. Tap Test
One tried-and-true method for detecting soft spots or delamination in a fiberglass hull is the tap test.
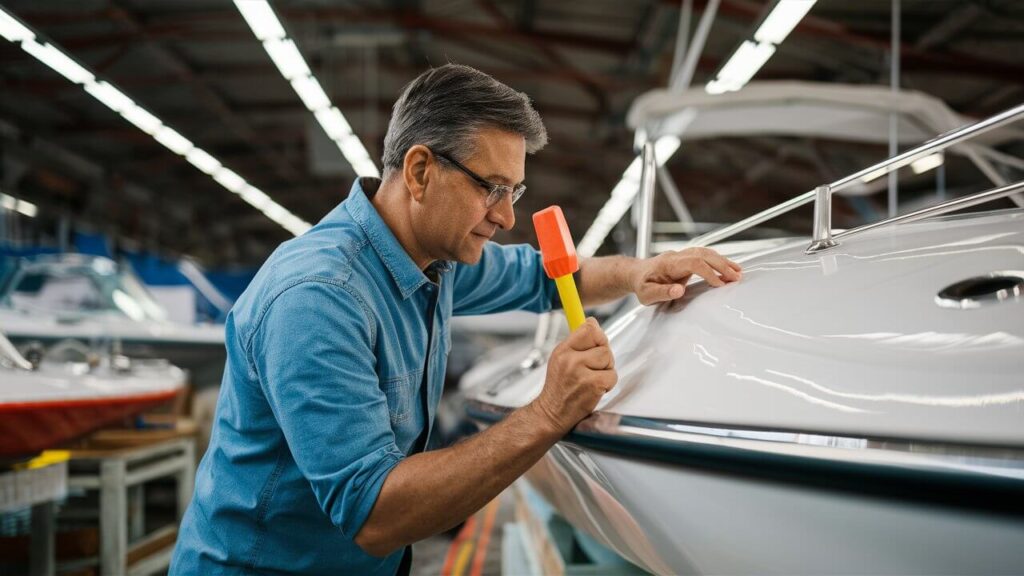
Use a small, hard object like a coin or a plastic hammer to gently tap along the hull. A consistent, solid sound indicates a healthy hull, while a dull or hollow sound may point to problem areas.
3. Moisture Meter
Investing in a moisture meter can help you detect any excess moisture within the fiberglass laminate.
High moisture readings could signify water intrusion or osmotic blistering, which can weaken the hull’s structural integrity.
Take readings at various points along the hull, paying extra attention to areas around through-hulls, fittings, and below the waterline.
4. Transom Inspection
The transom is a critical area to inspect, as it bears the weight of the outboard motor(s) and is prone to water intrusion.
Check for any soft spots, delamination, or signs of rot. If possible, remove the transom bolt and probe the hole with your finger to feel for moisture or deterioration.

This guide helps boat owners understand fiberglass damage clearly — what matters, what doesn’t, and when repairs are truly necessary, so small issues don’t turn into expensive mistakes.
See What Every Boat Owner Should Know →==>> Also read: How to check a fiberglass boat transom?
5. Deck and Stringers
While inspecting the hull, don’t forget to assess the deck and stringers.
Walk the deck, feeling for any soft spots or flexing. Examine the stringers (the internal structural reinforcements) for any cracks, separation, or water damage.
Any issues with the deck or stringers can compromise the boat’s overall integrity.
==>> Also read: How to check a fiberglass boat for leaks?
6. Hidden Areas
Don’t neglect the less visible areas of the hull. Check behind liners, under floorboards, and in lockers for any signs of water intrusion or structural issues.
Use a flashlight and a mirror to get a good look at hard-to-reach spots.
Professional Survey
If you’re unsure about your ability to thoroughly inspect a fiberglass hull, or if you’ve found potential issues during your assessment, consider hiring a professional marine surveyor.
They have the expertise and tools to provide a comprehensive evaluation of the boat’s condition.
Conclusion
Inspecting a fiberglass boat hull may seem daunting, but with a systematic approach and a keen eye, you can identify potential problems and make a well-informed purchase decision.
Remember to be thorough, patient, and don’t hesitate to seek professional advice if needed.

Warren is the founder of BoatGenesis and brings practical experience in fiberglass boat repair, marine equipment testing, and powerboat building. He has worked on a range of repair and restoration projects and now focuses on creating clear, research-based guides to help boat owners avoid costly mistakes and make smarter maintenance decisions. Learn more about Warren.