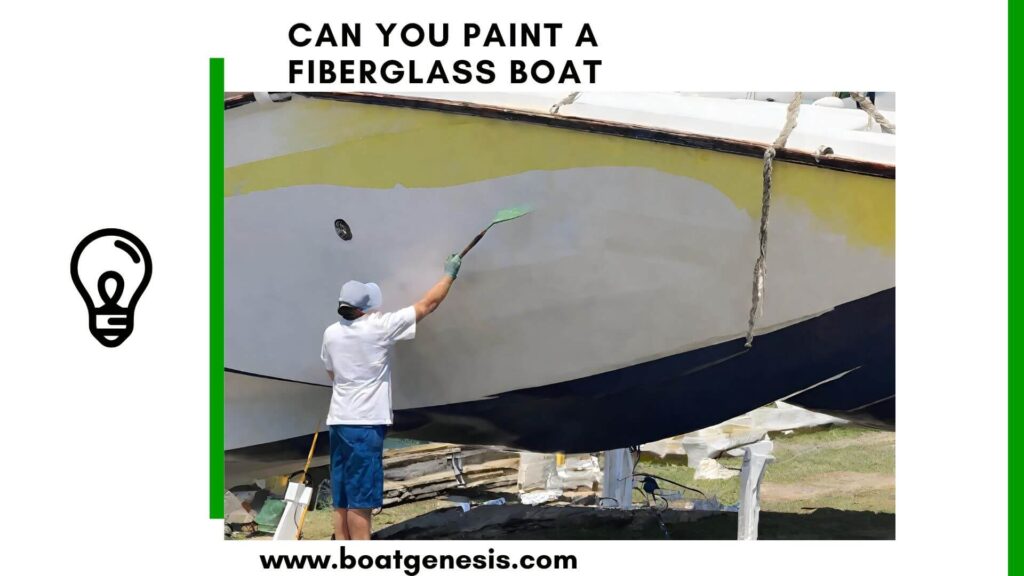
Painting a fiberglass boat can give an ageing, faded hull a brand-new look.
With some simple tools and materials, you can easily refresh your boat’s gelcoat finish.
The key steps include thoroughly cleaning the hull, sanding to improve adhesion, applying several coats of marine-grade primer and paint, and finishing with a clear sealant for protection.
This guide will walk through each step of prepping, painting, and sealing a fiberglass boat hull to achieve a vibrant, glossy finish that makes it look like new again.
Properly preparing the surface and using quality marine paints suited for fiberglass will ensure maximum durability and a beautiful, lasting result.
How To Paint a Fiberglass Boat?
Here are my recommended simple steps on how to paint a fiberglass boat.
1. Taking Stock of the Damage
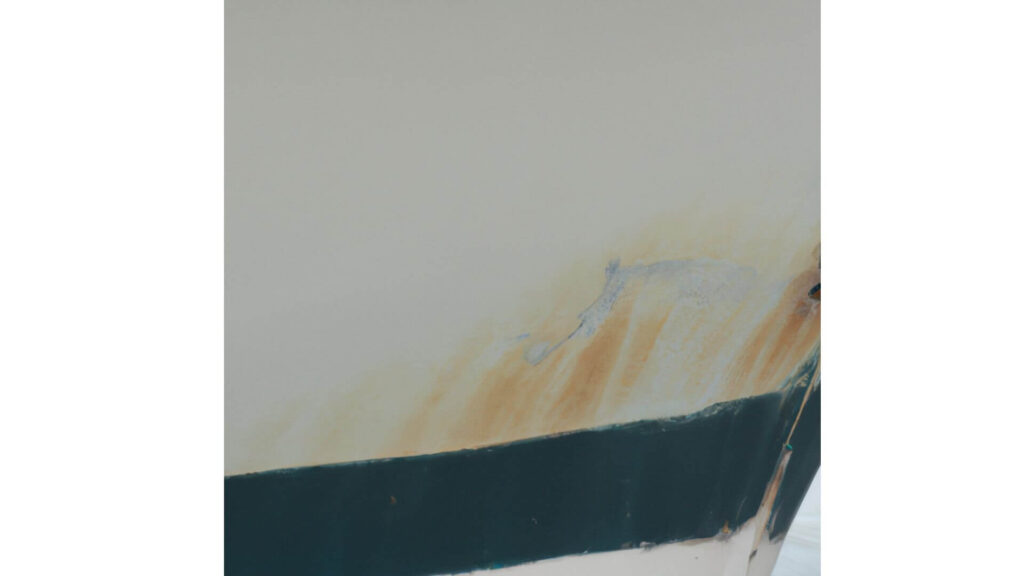
Without understanding the current state of your boat’s gel coat, it’s tough to know where to start.
Walk around the entire boat and note every scratch, crack, section of oxidation, and any other imperfections. This helps create a plan of action.
Want to avoid costly fiberglass boat repair mistakes?
Learn how to inspect damage properly, decide when to DIY, and prevent expensive fiberglass problems before they start.
Pay special attention to the hull sides, as these broad expanses see the most sun exposure and tend to show age faster.
Check around hardware like cleats, rails and lights, as the curvature around these pieces leads to thinning or cracking gel coat.
2. Get your Supplies ready
Before getting to work, assemble all the necessary supplies:
• Paint brushes, foam rollers, paint trays
• 220 and 400 grit sandpaper
• Masking tape and plastic sheeting
• Tack cloth
• Gel coat primer
• Gel coat paint
• Clear coat sealant
• Personal safety gear (gloves, goggles, mask/respirator)
3. Preparing the Surface
Just like painting any other surface, preparing the gel coat properly is crucial for getting that smooth, factory-like finish.
Luckily fiberglass boat refinishing doesn’t require the intensive surface scraping other DIY paint jobs might.
Here are the key steps:
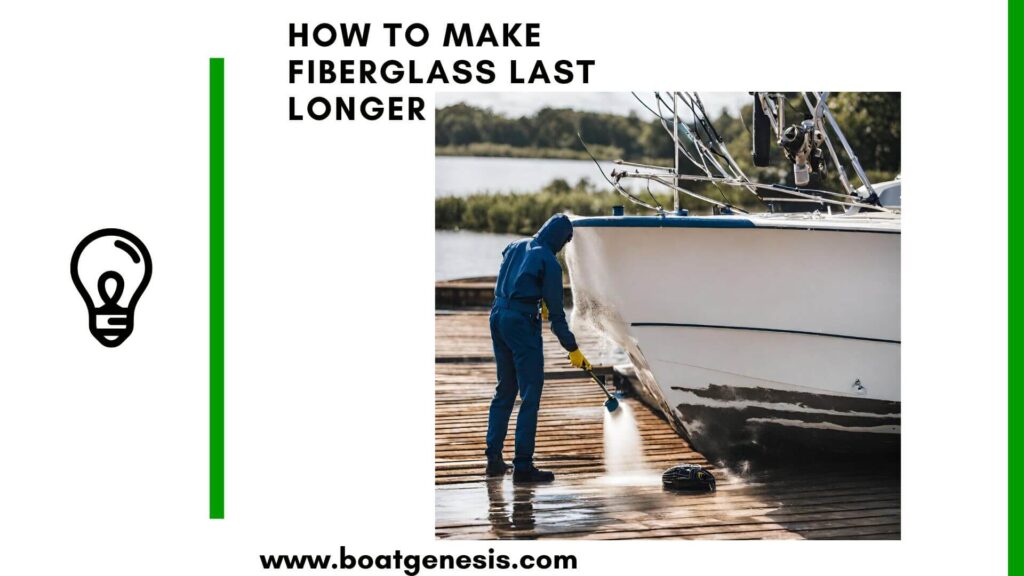
- Wash the entire boat using a pressure washer or hose to remove surface dirt, grime, and loose paint. Let it dry completely.
- Sand the gel coat lightly using 220 grit paper to rough up the surface and help the paint adhere. Avoid sanding through the gel coat into the fiberglass.
- Wipe away all sanding residue with a tack cloth. Apply masking tape for crisp paint lines along waterlines, stripes, registration numbers and logos you don’t intend to repaint. Drape plastic sheeting to protect areas not being refinished.
- Apply 1-2 thin coats of gel coat primer, allowing proper dry time between coats. For a smoother finish, sand the primer gently with 400 grit paper once fully cured. Wipe clean.
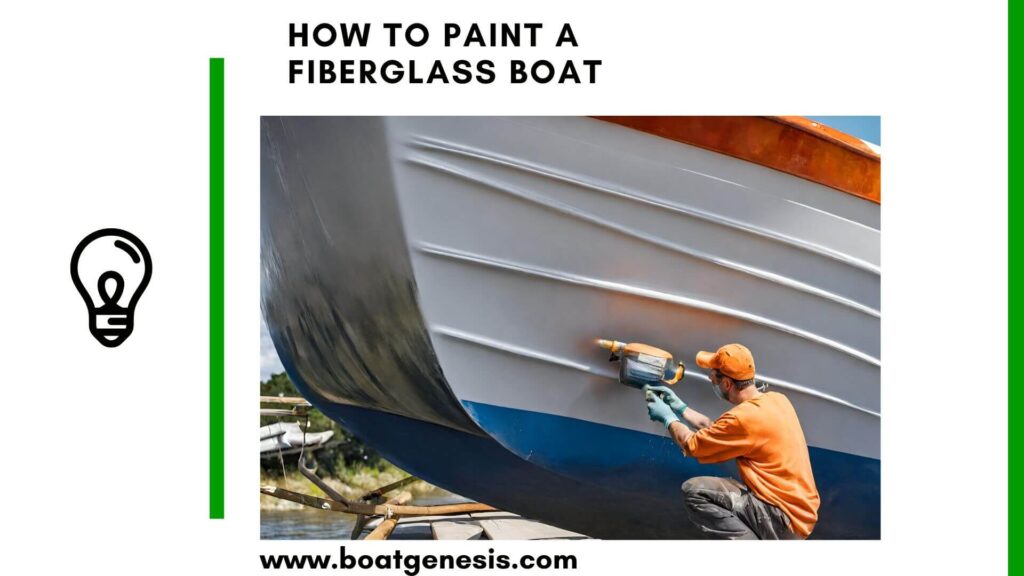
4. Spraying On Fresh Paint

With a prepped surface and primer hardened, now the fun starts. Break out the paint supplies!
When spraying gel coat paint, work in sections for the best control and results:
- Apply 2-3 thin mist coats first to establish an even base, allowing each coat to dry enough to lose its sheen before adding another. Avoid drips.
- Followed by applying slightly heavier coats, allowing proper cure time between each. Adding many gradual layers prevents sagging and runs.
- Finish with 1-2 full wet coats to build the final desired thickness, waiting for the proper drying time between coats.
The number of layers needed varies based on coverage area, paint used, and tool (brush, roller or sprayer). Follow your product’s recommendations.

This guide helps boat owners understand fiberglass damage clearly — what matters, what doesn’t, and when repairs are truly necessary, so small issues don’t turn into expensive mistakes.
See What Every Boat Owner Should Know →Pro Tip: Only mix as much paint as you can use fully mixed within its pot life to prevent wasting leftovers that harden.
5. Clear Coat Protection
Once your paint layers have hardened in 24-48 hours, adding a clear coat protects that fresh shine from sun damage and oxidation. It also makes washing and general upkeep easier.
For the smoothest finish:
- Lightly sand the final coat using 400 grit sandpaper to remove any debris or dust particles stuck in the paint.
- Clean the sanded surface with a tack cloth.
- Apply 2-3 thin clear coast layers with shine enhancers using a foam roller or paintbrush. Avoid drips by applying thin coats.
Let cure 1 week before launching your revived vessel!
Caring Long-Term for the New Finish
You put all that effort into DIY boat painting – now keep it looking pristine! Here are pro tips:
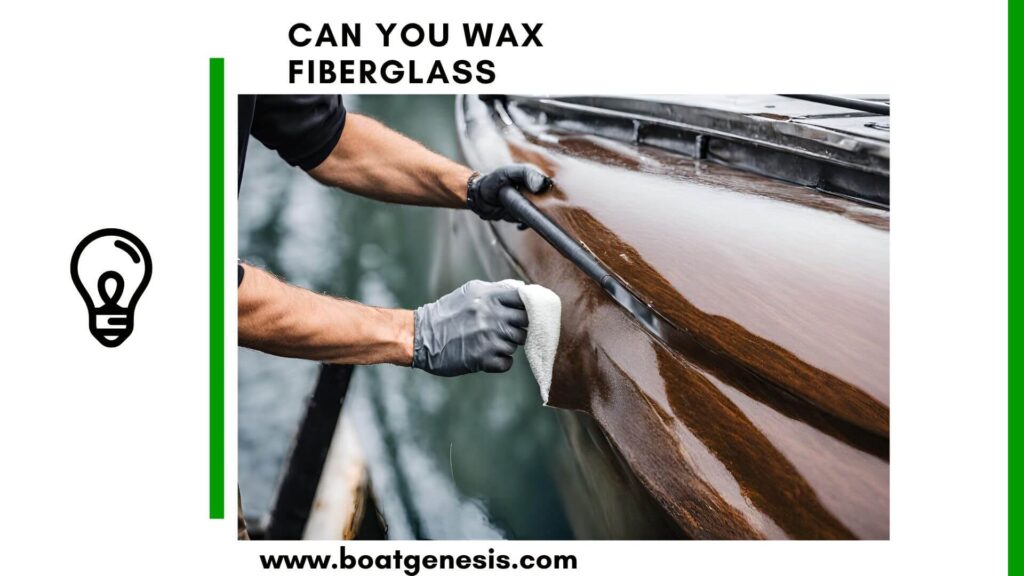
• Wax at least once a year. This protects the clear coat from oxidation and sun damage.
• Remove hull debris like dead bugs or tree sap immediately to prevent staining.
• Use microfiber towels and a mild boat soap for washing. Avoid harsh cleaners.
• If storing on a trailer or lift, keep covered to prevent sun bleaching.
Choosing the Right Paint for Your Fiberglass Boat
Selecting the best marine paint is crucial for a professional-looking, long-lasting finish. Not all paints adhere well to fiberglass, so choosing the right type ensures durability and protection from harsh marine conditions. Here are the most common options:
- Single-Part Polyurethane Paint
- Easiest to apply, making it ideal for DIYers.
- Provides a glossy, durable finish.
- Requires minimal preparation but may not last as long as two-part paints.
- Two-Part Polyurethane Paint
- Offers a tougher, more professional-grade finish.
- Requires careful mixing and application.
- More resistant to UV damage and chemicals but has a longer curing time.
- Epoxy-Based Paint
- Highly durable and great for underwater hull sections.
- Best paired with a UV-resistant topcoat for longevity.
- Ideal for boats exposed to harsh environments or frequent use.
- Gelcoat Restorers vs. Paint
- If your fiberglass boat’s gelcoat is still in decent shape, a gelcoat restorer may rejuvenate the finish without full repainting.
- These products work by reactivating the existing gelcoat’s color and shine.
Common Painting Mistakes and How to Avoid Them
Even with careful preparation, some common pitfalls can affect the final result. Here’s how to troubleshoot and prevent these issues:
1. Paint Runs and Drips
- Caused by applying paint too thickly or failing to maintain an even spray/brush stroke.
- Solution: Apply thin, even coats and allow proper drying time between layers.
2. Orange Peel Texture
- Often results from improper rolling technique or incorrect thinning of the paint.
- Solution: Sand lightly between coats with 400-grit sandpaper and use a foam roller for a smoother finish.
3. Poor Adhesion
- If the paint peels or flakes, the surface was likely not prepped correctly.
- Solution: Ensure thorough sanding and priming before applying paint.
4. Bubbling or Blistering
- Can be caused by painting in high humidity or applying too many coats too quickly.
- Solution: Paint in dry, moderate weather and allow each coat to dry fully before adding another.
By choosing the right paint and avoiding common mistakes, you’ll achieve a long-lasting, professional finish that keeps your fiberglass boat looking new for years!
Final Thoughts
Breathing new life into a faded boat is fast and rewarding without paying a boatyard.
Prepping the gel coat properly so the paint adheres well is the key skill, while applying thin, even layers makes for a flawless DIY paint job. Get ready to float in style!

Warren is the founder of BoatGenesis and brings practical experience in fiberglass boat repair, marine equipment testing, and powerboat building. He has worked on a range of repair and restoration projects and now focuses on creating clear, research-based guides to help boat owners avoid costly mistakes and make smarter maintenance decisions. Learn more about Warren.