Revamping your fiberglass boat floor with a fresh coat of paint is not just about aesthetics; it’s about protection and durability too.
A well-executed paint job can prevent wear and tear, minimize maintenance, and give your vessel that brand-new look. Ready to tackle this DIY project?
Let’s dive in and learn how to paint a fiberglass boat floor.
Gather Your Supplies
Before you begin, ensure you have all the necessary supplies. You’ll need:
- Marine-grade paint and primer
- Sandpaper (various grits)
- Solvent for cleaning (acetone or a specialized fiberglass cleaner)
- Paint rollers and brushes
- Paint trays
- Masking tape
- Safety gear (gloves, goggles, and a respirator)
==>> See my recommended best fiberglass boat paints here.
How to Paint a Fiberglass Boat Floor?
1. Prepping the Deck
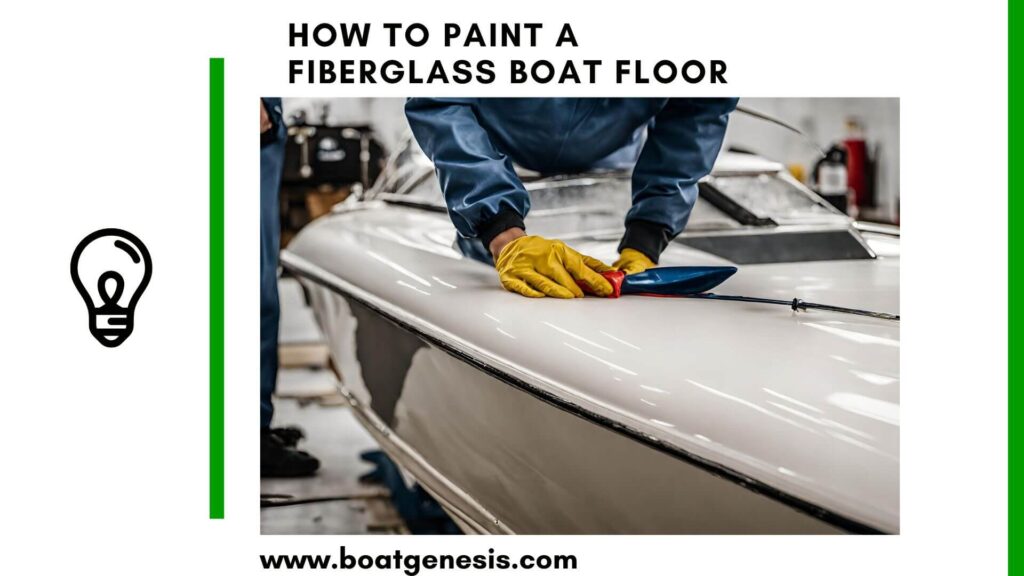
Preparation is key to a flawless finish. Start by removing any hardware from the boat floor to avoid painting around objects.
Next, give your deck a thorough wash to remove dirt, grease, and old wax.
==>> How to remove wax from a fiberglass boat gel coat?
After it’s clean, sand the surface with sandpaper to create a rough profile for the new paint to adhere to.
Begin with a coarser grit and work your way to a finer one for a smooth base. Wipe down the area with a solvent to remove any residual dust.
2. Masking Off Areas
Precision is the name of the game. Use masking tape to cover any areas you don’t want to be painted, such as trim, hatches, or the hull. This step will ensure sharp lines and a professional look.
3. Priming the Surface
A marine-grade primer is essential for longevity. It provides a protective layer and helps the paint stick better.
Apply the primer with a roller for larger areas and a brush for corners and edges. Allow it to dry as per the manufacturer’s instructions—usually a few hours.
4. Painting the Deck
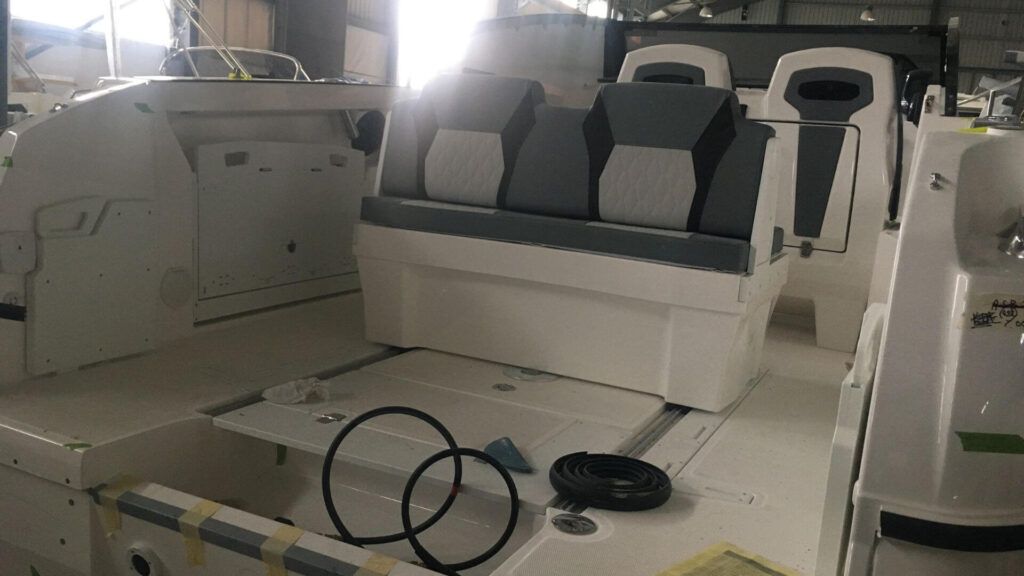
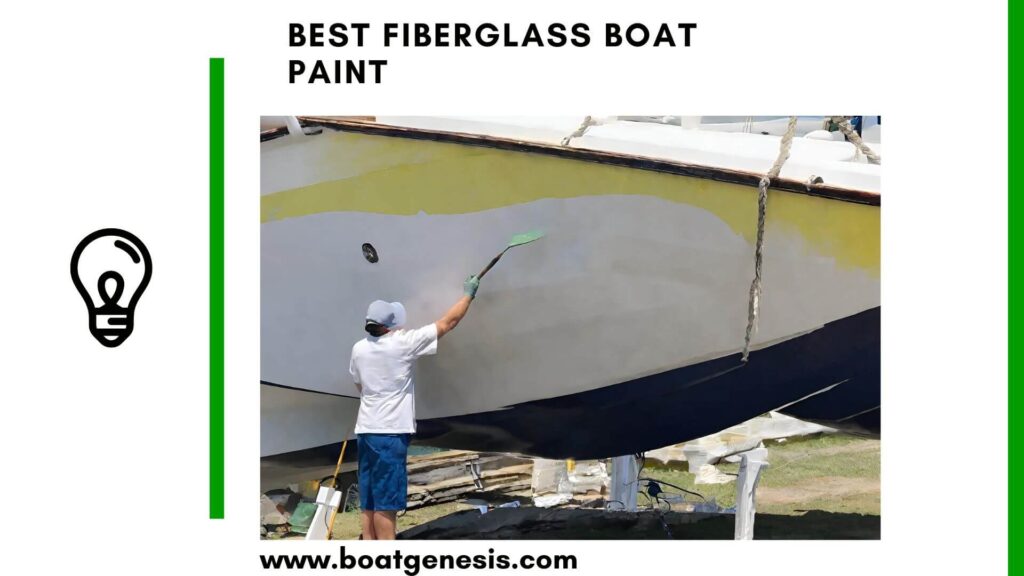
Now, for the main event—painting! Use high-quality marine paint designed for fiberglass surfaces.
Apply the first coat with a roller, using the “roll and tip” method mentioned by Boat Lover’s Towel.
This involves rolling on a thin, even coat and then following up with a brush to eliminate any bubbles or roller marks. Let the first coat dry completely, which might take several hours or as recommended by the paint manufacturer.
Patience is crucial; rushing this step could compromise the final result.
After the first coat has dried, inspect your work. Look for any imperfections or missed spots. If necessary, lightly sand the surface again with fine-grit sandpaper to ensure a smooth base for the second coat. Wipe down the surface with a clean cloth and solvent to remove dust from sanding.
Apply the second coat in the same manner as the first. The second layer will enhance the color and provide additional protection against the elements. Depending on the paint used and the level of traffic your boat floor receives, you might opt for a third coat for extra durability.
5. Finishing Touches
Once the final coat of paint is dry, carefully remove the masking tape.
Reattach any hardware you removed during the prep stage. If you desire a glossy finish, you can apply a marine varnish or sealant over the paint for extra shine and protection.
Maintenance and Care
Maintaining your freshly painted boat floor is simple but essential. Clean it regularly with mild soap and water to prevent dirt buildup.
Avoid using harsh chemicals or abrasive cleaning tools that can scratch or damage the paint.
Innovative Non-Skid Options
While a fresh coat of paint can make your boat floor look fantastic, safety is also a top priority. A unique addition to your painting project could be incorporating a non-skid additive into your paint mixture. This step is often overlooked but can significantly increase the safety and functionality of your boat deck.
Non-skid additives are granular materials that you mix with the paint before application or sprinkle onto the wet paint after application. They create a textured surface that provides traction underfoot, reducing the risk of slips and falls, especially when the deck is wet.
Here are a few innovative non-skid options to consider:
Pre-Mixed Non-Skid Paints
Some marine paints come pre-mixed with a non-skid compound, saving you the step of mixing it yourself. These products are engineered to provide optimum texture and are available in various colors to match your boat’s aesthetic.
Customizable Additives
If you prefer more control over the texture and the final look, you can opt for a clear non-skid additive that can be mixed with your choice of paint. Products like polypropylene beads, pumice, or rubber granules offer different levels of coarseness, depending on your preference.
DIY Non-Skid Patterns
For those who enjoy a bit of creativity, you can apply non-skid patterns using stencils or tape. Create designs like fish scales, waves, or even your boat’s name for a personalized touch that also serves a practical purpose.
Reflective Safety Features
Incorporating a reflective material into your non-skid additive can enhance safety during low-light conditions. This feature is particularly useful for marking edges and steps, helping you and your guests navigate the boat safely at night.
When applying non-skid additives, ensure even distribution across the deck for a uniform appearance and effective traction. Always follow the manufacturer’s instructions for the best results.
By adding a non-skid element to your boat floor painting project, you not only achieve a high-quality finish but also enhance the safety and usability of your boat.
Conclusion
Painting a fiberglass boat floor is a rewarding project that can breathe new life into your vessel. By following these detailed steps, you’ll achieve a professional-looking finish that will last for seasons to come.
Remember, the key to a successful paint job is the preparation and patience. Take your time, and you’ll be rewarded with a boat floor that looks as good as new.
So, grab your supplies, and let’s make your boat the envy of the marina!
You should also consider reading my full guide about painting the entire a boat gelcoat here.

Founder of BoatGenesis, Warren has hands-on experience in fiberglass boat repairs, marine equipment testing, and powerboat building. Learn more about Warren.

