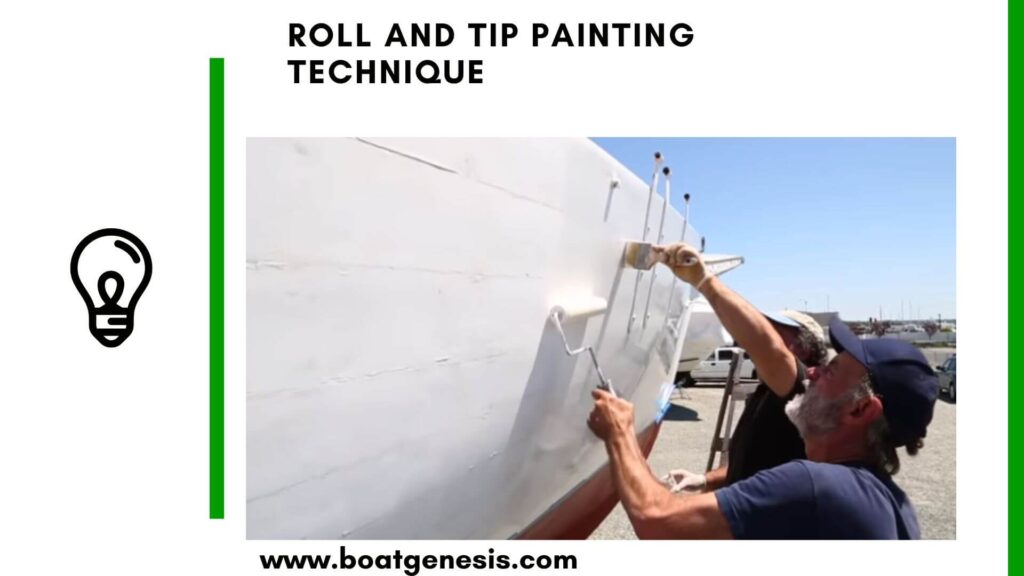
Roll and tip painting is your secret weapon for achieving a professional-looking finish on your boat’s topside with minimal brush marks.
This tried-and-true method delivers a smooth, high-gloss finish that can rival even the most skilled painter’s work.
Let’s dive into the world of roll and tip painting and unlock the techniques that will elevate your boat’s aesthetic to the next level.
Understanding Roll and Tip Painting
The roll and tip method is a dynamic duo of techniques that work together to produce a flawless finish.
It begins with rolling a thin layer of paint onto the surface, followed by a careful “tipping” with a high-quality brush.
This technique is not only effective for marine applications but also for any project where a superior finish is desired.
Tools of the Trade
Before we embark on our painting journey, let’s gather the necessary tools:
Want to avoid costly fiberglass boat repair mistakes?
Learn how to inspect damage properly, decide when to DIY, and prevent expensive fiberglass problems before they start.
- A high-density foam roller
- A high-quality, fine-bristle brush
- The paint of your choice, preferably marine grade for boats
- Thinner, if required
- A paint tray
- Protective gear (gloves, goggles, and a respirator)
Step-by-Step Roll and Tip Painting
Step 1: Surface Preparation
A pristine surface is key. Begin by cleaning and sanding your work area. Any imperfections can sabotage your efforts, so take the time to ensure a smooth canvas.
Step 2: Mixing Paint
Mix your paint according to the manufacturer’s instructions. If thinning is necessary, do it with precision to maintain the paint’s integrity.
Step 3: The Roll
Dip your roller in the paint tray, removing excess paint to avoid drips. Apply the paint in a thin, even coat over a manageable section. Work quickly to keep a wet edge; this is crucial for a seamless finish.
Step 4: The Tip
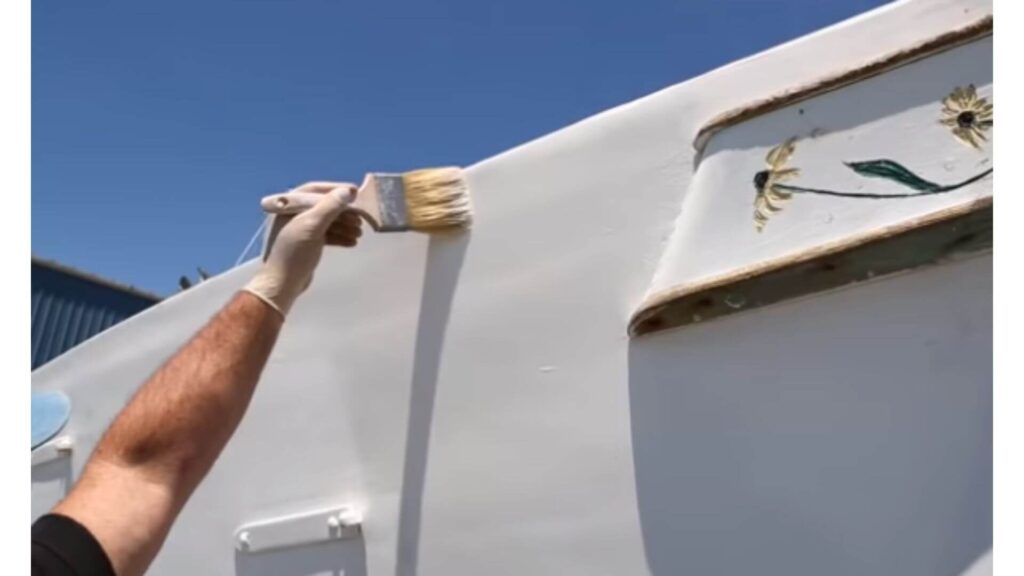
Immediately after rolling, use your fine-bristle brush to lightly drag over the wet paint.
This “tipping” technique smooths out the roller texture, leaving behind a flat finish with minimal brush marks. Remember, less is more; one light sweep should suffice.
Step 5: Repeat and Refine
Continue this process, working in sections, always maintaining a wet edge. Overlap your work slightly with each new section to avoid hard lines.
Step 6: Final Touches
Once you’ve completed the entire area, step back and inspect your work. Look for any spots that may need a touch-up and address them with the same careful roll and tip painting technique.
==>> Also read: How to paint a fiberglass boat?

This guide helps boat owners understand fiberglass damage clearly — what matters, what doesn’t, and when repairs are truly necessary, so small issues don’t turn into expensive mistakes.
See What Every Boat Owner Should Know →Tips for Roll and Tip Perfection
- Maintain a consistent pace and pressure with both rolling and tipping to avoid variations in texture and thickness.
- Tipping is best done with a light hand; too much pressure can leave brush strokes.
- Keep an eye on the weather. High humidity or direct sunlight can affect the drying time and final finish.
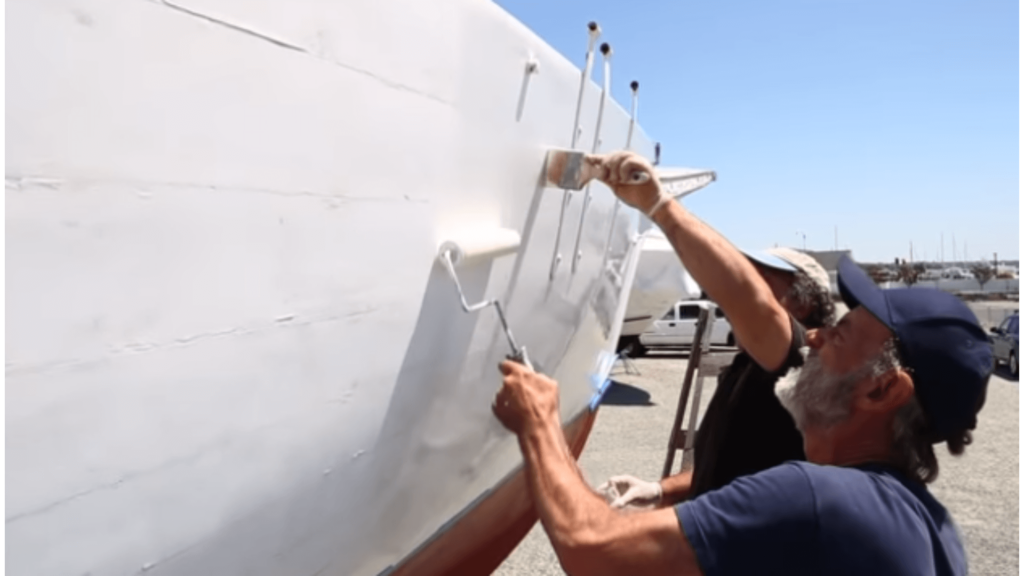
- For larger projects, consider enlisting a helper—one to roll and one to tip—to ensure a wet edge is always present.
==>> Also read: Is it better to spray or roll boat paint?
Common Mistakes to Avoid
- Avoid overworking the paint with the brush; it can cause more harm than good.
- Don’t let the paint dry before tipping, as this will result in a rough texture.
- Ensure your tools are clean and free of debris to prevent imperfections in the finish.
Lessons Learned when using Roll and Tip by Spoondrifters
Conclusion
Roll and tip painting is an art that requires patience and practice. By following these steps and embracing the process, you’ll achieve a professional-looking finish that will turn heads.
Whether you’re updating your boat or tackling a different painting project, the roll and tip method is your ticket to a stunning, smooth surface.
Remember, the beauty is in the details, and with roll and tip painting, those details matter. So, grab your roller and brush, and let the transformation begin!
Frequently Asked Questions About Roll and Tip Painting
Marine-grade paints, particularly two-part polyurethanes and enamels, are ideal for roll and tip painting due to their self-levelling properties and durable finish. Always follow the manufacturer’s recommendations for the best results.
Absolutely! While roll and tip is commonly associated with marine applications, it’s also effective for achieving a smooth finish on interior woodwork, doors, and cabinets.
To prevent bubbles, avoid overworking the paint with the roller. Use a high-density foam roller and apply the paint in a thin, even layer. If bubbles appear, they can often be smoothed out with the tipping brush.
Thinning paint should be done with care, following the manufacturer’s instructions. Typically, a small amount of thinner, such as a capful, is sufficient to improve workability without compromising the paint’s quality.
Ideal temperatures for roll and tip painting are usually between 50°F and 85°F (10°C to 29°C) with low humidity. Extreme temperatures can affect the paint’s drying time and final finish.
Use a high-quality, fine-bristle brush and apply the lightest pressure possible. The brush should glide over the surface, smoothing the paint without leaving marks. It’s important to tip the paint while it’s still wet.
While it’s possible for one person to roll and tip, having a helper can make the process smoother and ensure a wet edge is maintained, which is crucial for a flawless finish.
Wait times between coats can vary based on the type of paint, ambient temperature, and humidity. Refer to the paint manufacturer’s guidelines for recommended drying times.
Light sanding between coats can help achieve a smoother finish by removing any dust or imperfections. Use fine-grit sandpaper and clean the surface thoroughly before applying the next coat.

Warren is the founder of BoatGenesis and brings practical experience in fiberglass boat repair, marine equipment testing, and powerboat building. He has worked on a range of repair and restoration projects and now focuses on creating clear, research-based guides to help boat owners avoid costly mistakes and make smarter maintenance decisions. Learn more about Warren.