If you’ve discovered a leak in your fiberglass boat, it’s important to repair it promptly to avoid further damage.
This article provides a step-by-step guide for a perfect fiberglass boat leak repair using materials easily obtained at your local marine store or online.
Key Takeaways
- You can fix most fiberglass boat leaks yourself using marine-grade materials from local stores
- Proper surface preparation and following step-by-step repair methods ensure long-lasting results
- Regular inspections and maintenance help prevent future leaks from developing in your boat
- Key Takeaways
- 1. Identify the Exact Location of the Leak
- 2. Prepare the Fiberglass Surface
- 3. Mix the Repair Resin
- 4. Fill and Seal the Leak
- 5. Smooth and Finish
- 6. Refinish and Seal
- 7. Conduct a Final Leak Check
- 1. Not Sanding Enough
- 2. Mixing Too Much Resin at Once
- 3. Incorrect Hardener Ratio
- 4. Skipping the Acetone Wipe
- 5. Painting Before Full Cure
- 1. What type of fiberglass repair kit is needed for fixing boat leaks
- 2. Can flex seal be effectively used to fix leaks on fiberglass boats
- 3. Can I repair a fiberglass boat leak from the inside
- 4. Can I use Marine sealant instead of resin
- 5. How long before I can put the boat back in the water
- 6. Can I repair afiberglass leak without sanding
- 7. Is gelcoat waterproof
Common Causes of Fiberglass Boat Leaks
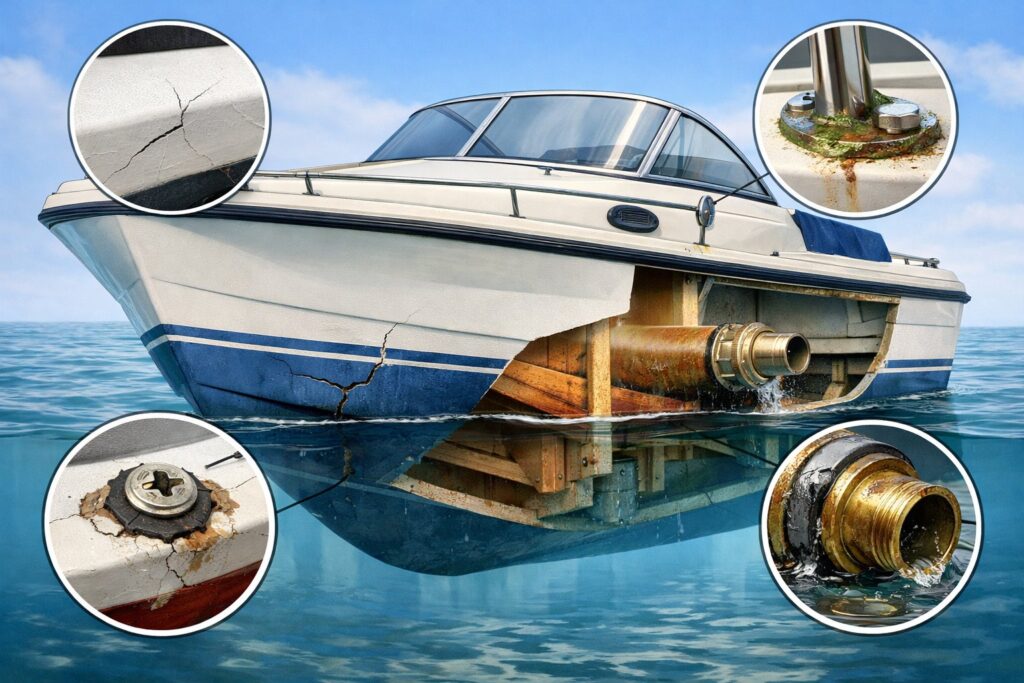
Fiberglass boats develop leaks from several common problems. Cracks in the gelcoat allow water to seep through the outer protective layer.
Through-hull fittings can fail when seals deteriorate over time. Loose deck hardware creates gaps where water enters the boat.
Transom stress fractures happen from engine torque and vibration. Osmotic blisters form below the waterline when water penetrates the fiberglass layers.
Old or poorly sealed drain plugs are another entry point for leaks.
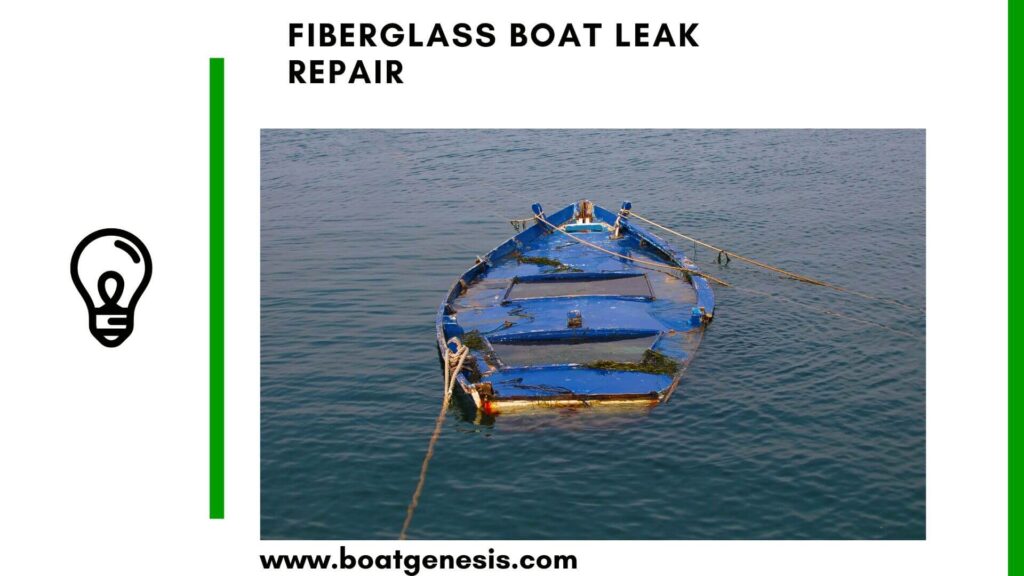
Fiberglass Boat Leak Repair
Here are my recommended steps to fix leaks on your fiberglass boat.
1. Identify the Exact Location of the Leak
Start by thoroughly cleaning, drying, and degreasing the area around the leak to remove any grime or sealants. This step is critical for fiberglass boat repair to work properly.
If the leak is large, you may need to drain water from the bilge and use a hose to pinpoint the exact spot where water is entering. Mark the area once you locate it. A fiberglass boat leak repair kit will work better when you know exactly where the damage is.
You should also consider reading a guide on how to check a fiberglass boat for leaks. This is an important step before the repair process.
==>> You should also consider reading my guide on how to check a fiberglass boat for leaks here. This is an important step before the repair process.
2. Prepare the Fiberglass Surface
Sand the area surrounding the leak with 80-100 grit sandpaper to rough up the gelcoat surface. This helps the repair resin adhere properly to the fiberglass damage. Wipe clean and dry the sanded area completely.
Proper surface preparation is essential for successful boat hull repair. Any moisture or debris left behind can prevent the resin from bonding correctly.
Want to avoid costly fiberglass boat repair mistakes?
Learn how to inspect damage properly, decide when to DIY, and prevent expensive fiberglass problems before they start.
==>> You can read more about sanding a fiberglass boat here.
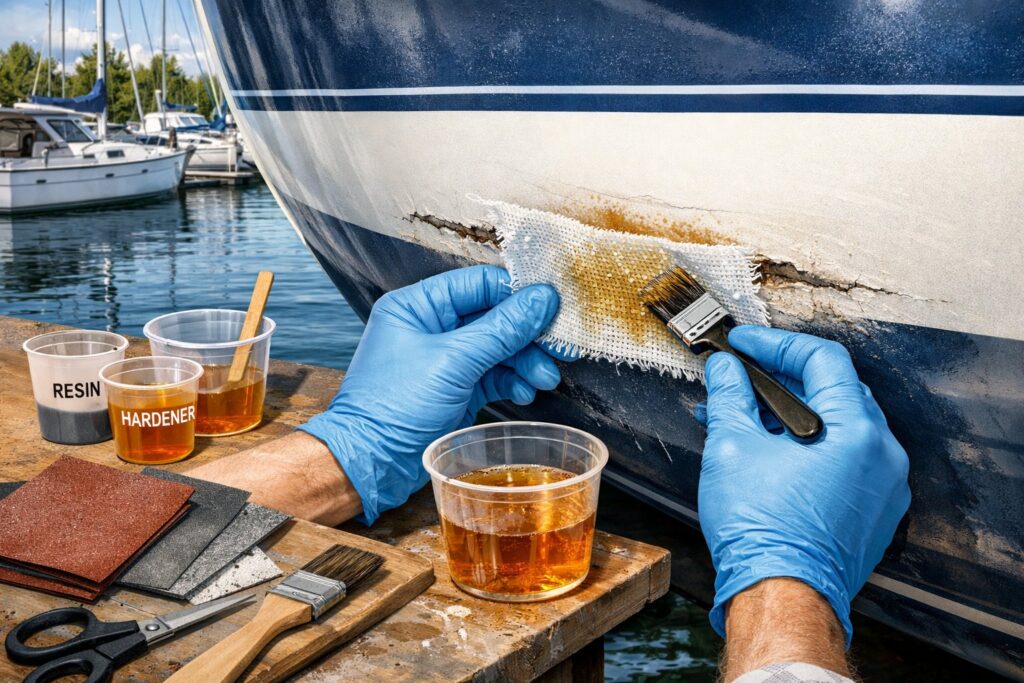
3. Mix the Repair Resin
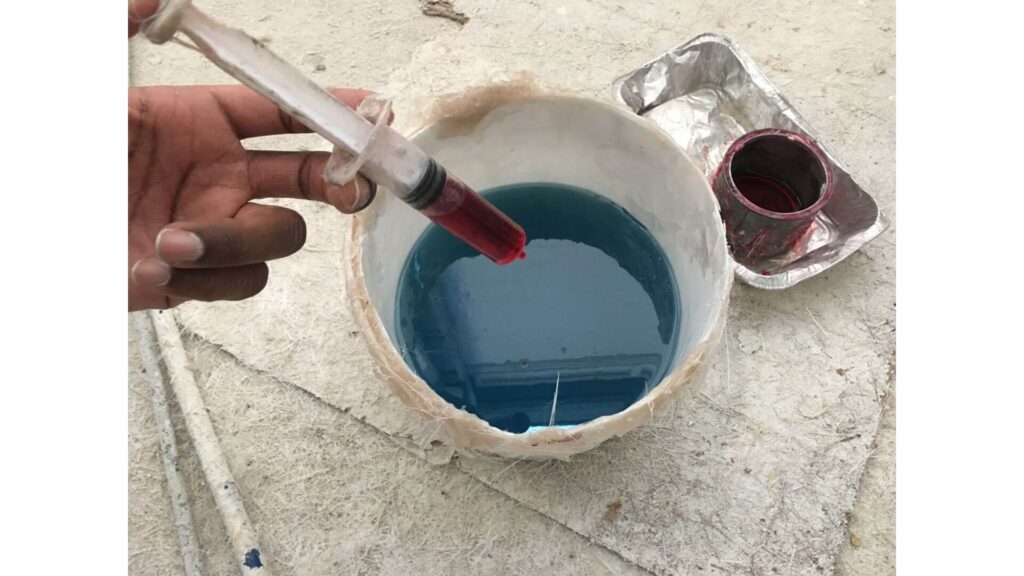
Choose a high-quality polyester repair resin specifically made for marine use. Marine fiberglass repair requires products designed to withstand water exposure.
Slowly mix in the hardener as directed on the product instructions, generally about 2-4% by volume. Only mix as much as you can use in 20-30 minutes. The resin will start to harden after this time period.
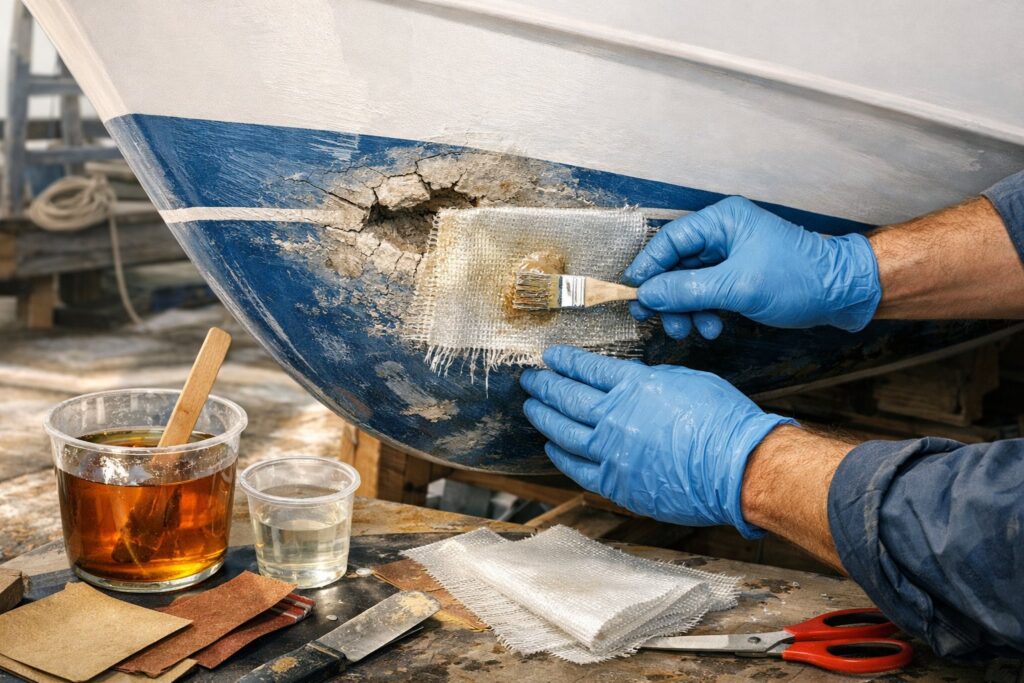
4. Fill and Seal the Leak
Use a plastic spreader to apply about 1/8 inch of thickened resin directly over the leak. Apply fibers or mesh cloth into the resin if it is a large crack or hole. This reinforces the repair area.
Allow the resin to cure per instructions, applying more layers if needed. Multiple thin layers create a stronger repair than one thick layer.
5. Smooth and Finish
Once fully cured, start with 80 grit sandpaper to smooth out the repair area. Then work up to 220-400 grit for a polished finish. This progression creates a smooth surface.
This will prep the surface for paint or gelcoat application. Clean and degrease the area again before moving to the next step.
6. Refinish and Seal
Use layers of an epoxy primer followed by marine-grade polyurethane topside paint in the color matched to your boat. This protects the repair from UV damage and water intrusion.
For small repairs below the waterline, apply several coats of bottom paint per manufacturer specifications to protect against corrosion. Professional fiberglass repair shops use this same approach.
7. Conduct a Final Leak Check
After thoroughly resealing and refinishing the repaired area, conduct another leak test by filling the boat with water and marking the water line. Confirm no additional water enters after several hours.
When NOT to DIY (When To Call a Pro)
You should call a professional for certain fiberglass repairs. Don’t attempt DIY fixes if the crack reaches structural fiberglass layers or if core material like balsa or foam is wet.
Contact an expert if damage appears near the keel or engine mounts. You need professional help when the hull flexes under pressure or when leaks occur below the waterline in structural areas.
Typical DIY Repair Costs
Small leak repairs you handle yourself typically cost $75 to $250 for materials. These DIY repairs usually range from $75 to $300 depending on the damage size and location.
You can fix boat scratches, deep gouges, and holes for less than $500 in materials. The cost drops even lower if you already own the necessary tools.
Common DIY repair costs include:
- Gelcoat scratch repair: $75–$150
- Small hole patches: $100–$250
- Minor crack fixes: $150–$300
Professional repairs cost significantly more at $500 to $3,000 or higher. Minor gelcoat repairs range from $500 to over $1,000 when done by professionals.
Your final cost depends on the damage extent and materials you choose. Simple surface repairs stay on the lower end while structural damage pushes costs higher.
Most Common Fiberglass Repair Mistakes
Even small mistakes can cause a repair to fail prematurely. Avoid these common fiberglass repair errors:

This guide helps boat owners understand fiberglass damage clearly — what matters, what doesn’t, and when repairs are truly necessary, so small issues don’t turn into expensive mistakes.
See What Every Boat Owner Should Know →1. Not Sanding Enough
Fiberglass repairs depend on proper surface adhesion. If you don’t sand aggressively enough (usually 80–100 grit), the resin won’t bond properly to the gelcoat. The repair may peel, crack, or delaminate later. When in doubt, sand a little more.
2. Mixing Too Much Resin at Once
Resin has a short working time (often 15–30 minutes). Mixing a large batch can cause it to kick (harden) before you finish applying it — wasting material and creating uneven layers. Always mix small batches you can use quickly.
3. Incorrect Hardener Ratio
Too much hardener makes the repair brittle and prone to cracking. Too little can prevent it from curing properly. Follow the manufacturer’s recommended ratio carefully — precision matters.
4. Skipping the Acetone Wipe
Dust, grease, or contaminants will weaken the bond. After sanding, always wipe the area with acetone to remove residue before applying resin. Skipping this step can lead to poor adhesion.
5. Painting Before Full Cure
If you apply primer or paint before the resin has fully cured, the finish may wrinkle, bubble, or fail to bond. Allow full cure time according to product instructions — patience ensures a durable repair.
Preventing Future Fiberglass Leaks
Inspect your hull every three to six months for early signs of damage. Reseal deck fittings once a year to maintain watertight seals.
Avoid beaching your boat on rocky shorelines, as this can cause cracks and punctures. Store your boat with a cover to protect it from weather damage.
Keep your bilge dry to prevent water from finding weak spots in the fiberglass.
Regular maintenance tasks:
- Check hull condition quarterly
- Reseal fittings annually
- Inspect after each trip
- Monitor bilge water levels
- Apply protective coatings as needed
Final Thoughts
Catching and repairing fiberglass boat leaks quickly saves your hull from serious issues down the road. When you notice water where it shouldn’t be, taking action right away prevents small problems from becoming expensive repairs.
The repair process involves identifying the leak source, drying the area completely, and applying the right materials for a lasting fix. Whether you choose marine-grade epoxy or a fiberglass patch kit depends on the size and location of the damage.
Key steps to remember:
- Inspect your boat regularly for signs of water intrusion
- Keep a repair kit on hand for quick fixes
- Allow proper drying time before applying any repair materials
- Sand and finish the repair area to restore appearance
Understanding when to handle repairs yourself versus calling professionals helps you make smart decisions about boat maintenance.
Let me know in the comment section if you need any clarification or have questions about other leak repair methods.
Frequently Asked Questions
1. What type of fiberglass repair kit is needed for fixing boat leaks
You need a fiberglass repair kit that contains epoxy or polyester resin, fiberglass cloth or mat, and hardener. The resin acts as the glue that bonds the fiberglass material together to seal the leak.
Most basic kits include these essential items:
- Resin (epoxy or polyester)
- Hardener or catalyst
- Fiberglass cloth or mat
- Mixing cups and stir sticks
- Gloves and applicators
Epoxy resin works better for structural repairs because it creates a stronger bond. Polyester resin costs less and works well for smaller cosmetic fixes.
Fiberglass boat repairs require different materials based on the damage type. For small punctures or cracks, you can use a simple gelcoat repair kit. For larger holes or structural damage, you need a full fiberglass repair kit with multiple layers of cloth.
Look for kits labeled as marine-grade. These products resist water better than general-purpose fiberglass repair materials.
2. Can flex seal be effectively used to fix leaks on fiberglass boats
Flex Seal can work as a temporary fix for minor leaks, but it should not be your permanent solution. The product creates a rubber coating that seals small cracks and holes on the surface.
Advantages of Flex Seal:
- Quick application
- No mixing required
- Works on wet surfaces
- Good for emergency repairs
Limitations of Flex Seal:
- Not structural
- May peel over time
- Cannot repair large damage
- Does not restore strength to the hull
You can use Flex Seal to stop a leak while you are on the water or until you can do a proper repair. Fixing a leak in a fiberglass boat requires addressing both the visible damage and any underlying structural issues.
For permanent repairs, you need to remove the Flex Seal and apply proper fiberglass repair materials. The rubber coating can prevent resin from bonding correctly if you leave it in place.
3. Can I repair a fiberglass boat leak from the inside
Yes — but only in certain situations. Small cracks or leaks above the waterline can sometimes be reinforced from inside the hull. However, for structural cracks or leaks below the waterline, repairs should be done from the outside to properly seal and restore strength.
4. Can I use Marine sealant instead of resin
Marine sealant can temporarily stop minor leaks around fittings or hardware, but it is not a permanent fix for cracks or holes in fiberglass. For structural repairs, you must use fiberglass resin and cloth to restore the hull’s strength and watertight integrity.
5. How long before I can put the boat back in the water
Most fiberglass repairs need 24–48 hours to fully cure before launching. Cure time depends on temperature, humidity, and the type of resin used. Always follow the manufacturer’s instructions and ensure the repair is fully hardened before water exposure.
6. Can I repair afiberglass leak without sanding
No. Sanding is essential for proper adhesion. Without roughing up the surface, the resin will not bond correctly and the repair may fail. Always sand with 80–100 grit before applying resin.
7. Is gelcoat waterproof
Gelcoat is water-resistant but not completely waterproof. Over time, moisture can penetrate damaged or cracked gelcoat. That’s why cracks and leaks should be repaired promptly to prevent water intrusion into the fiberglass layers beneath.

Warren is the founder of BoatGenesis and brings practical experience in fiberglass boat repair, marine equipment testing, and powerboat building. He has worked on a range of repair and restoration projects and now focuses on creating clear, research-based guides to help boat owners avoid costly mistakes and make smarter maintenance decisions. Learn more about Warren.