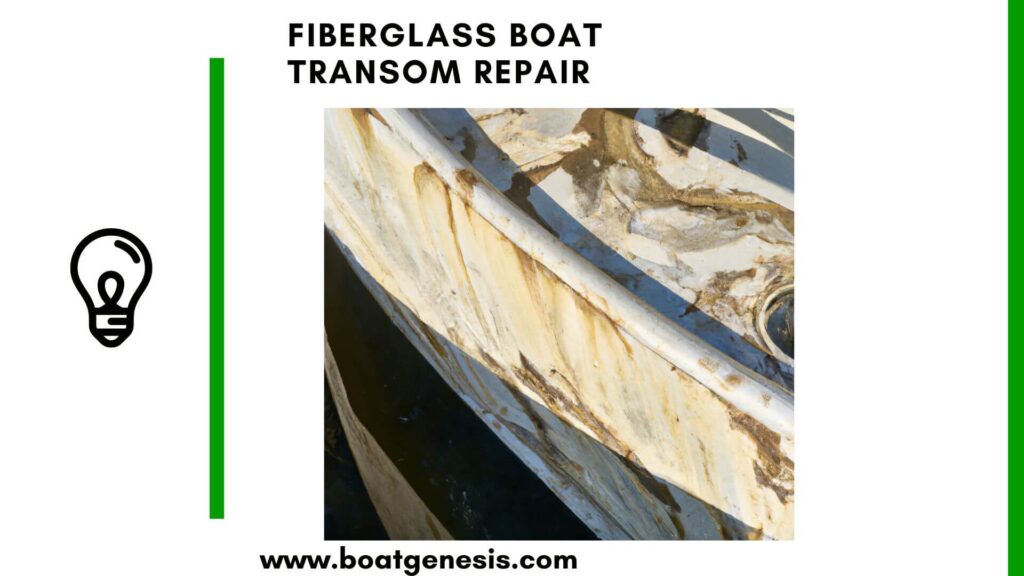
Has your boat’s transom (the rear crosspiece) seen better days? Cracks or soft spots in the fiberglass can allow water to seep in, eventually causing rot and more costly damage.
Thankfully, transom repairs are doable for the ambitious DIYer.
With a little time and elbow grease, you can get your boat back on the waves.
What Causes Transom Damage?
Fiberglass transoms can become damaged over time from:
- Repeated pounding into waves while powering through the water
- Towing strains from loading/unloading onto trailers
- Improper trailering support allows the transom to sag
- Direct impacts while docking
- Freeze/thaw cycles causing stress cracks
- Age and general weather exposure degrade the fiberglass
Catching and repairing transom damage early is key to preventing major repairs down the road.
6 Fiberglass Boat Transom Repair Tips
- Assess the Damage
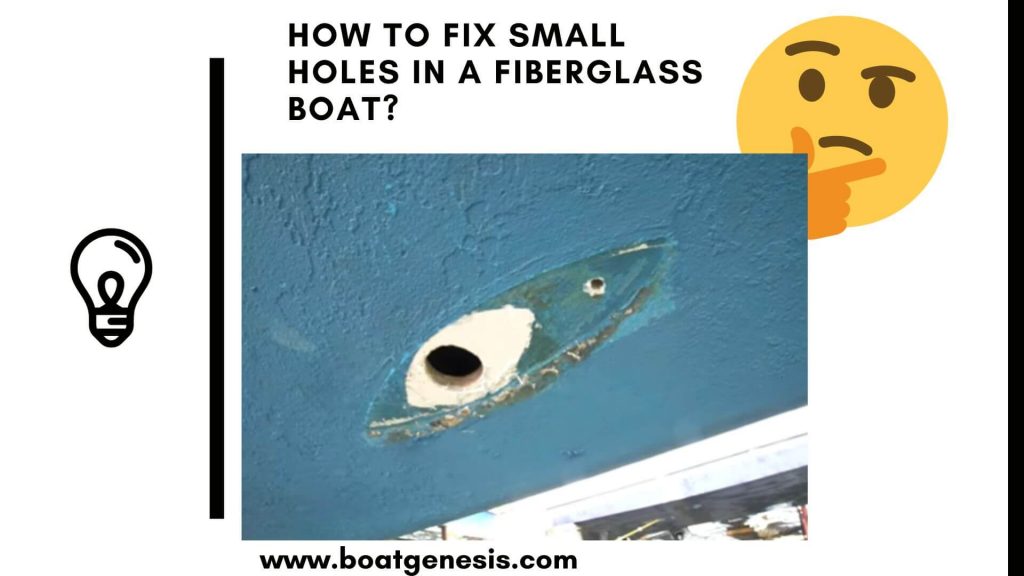
Check for cracks, delamination, or soft spots by pressing along the transom with your fingers. Spongy areas indicate moisture damage below the surface. Use an awl to test for rotten underlying wood. Mark any problem areas for grinding.
- Grind Away Damaged Areas

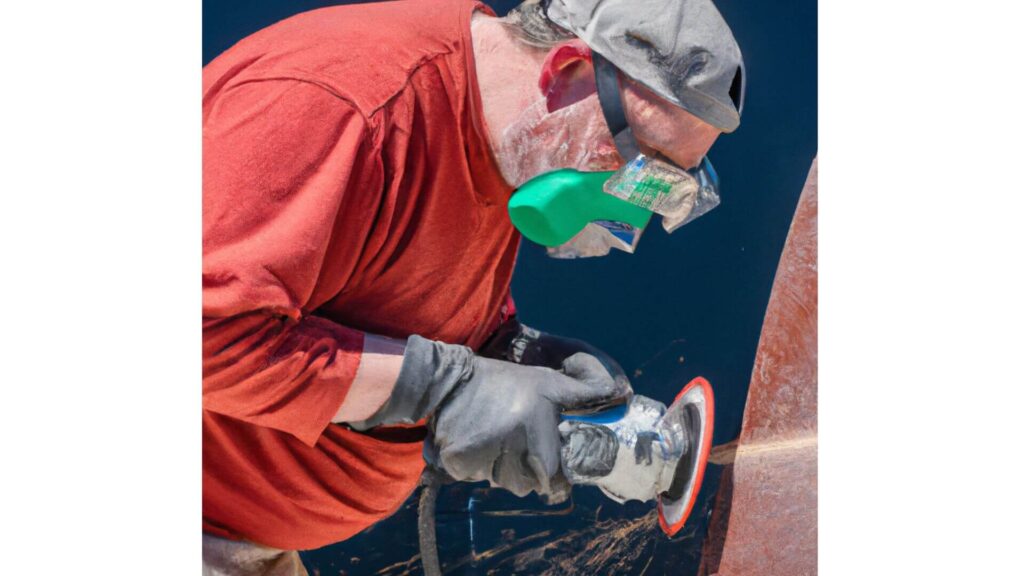
Wear your safety glasses and dust mask. Use a right-angle grinder with 36-grit paper to remove damaged fiberglass, exposing solid layers underneath. Grind past affected areas by several inches on all sides. Vacuum debris. Wipe clean with acetone.
- Seal and Rebuild the Transom
Seal exposed wood with epoxy to prevent future rotting. Apply epoxy putty to fill gaps or depressions. Allow to fully cure before sanding smooth.
- Laminate New Fiberglass Layers
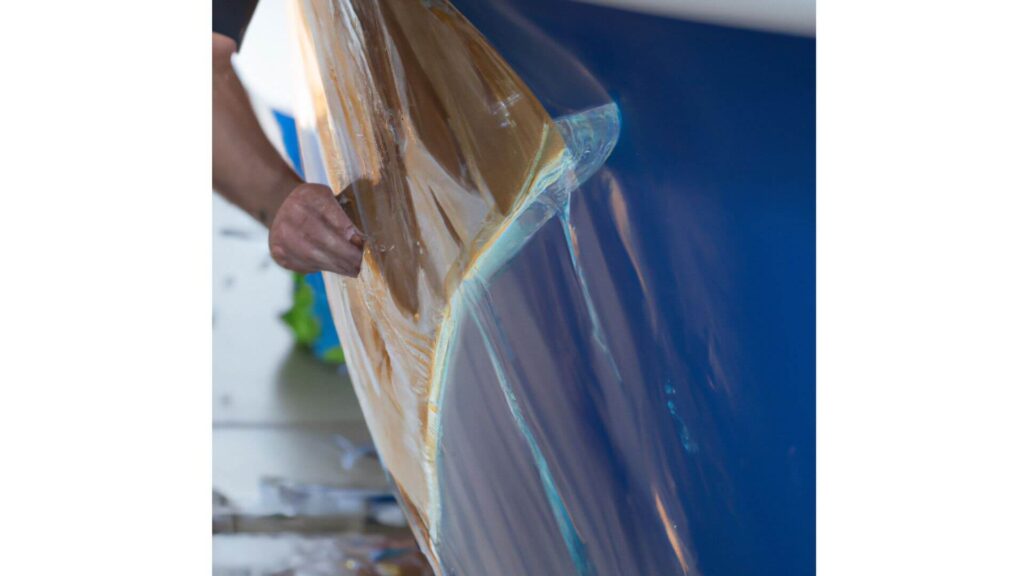
Laminate fiberglass mat/cloth using polyester resin. Saturate each layer, squeegeeing out bubbles and excess. Build up several reinforcing layers. Allow to fully cure before trimming or sanding.
- Apply Matching Gelcoat

Apply gelcoat in thin passes to match the original transom color. Allow each coat to partially cure before adding another. Achieve full coverage without drips or runs. After full curing, wet sand to restore smooth sheen.
- Wax Transom
Apply boat wax as the final step to protect the repair.
With some determination and these DIY steps, you can repair fiberglass transom damage and have your boat sailing again. Let us know in the comments if this guide helped get you back on the water!
==>> Also read: Is it worth replacing a transom on a boat?
Types of Damages on a Boat Transom
Here are the common types of damage that can occur on a fiberglass boat transom:
1. Cracks: Cracks are fissures that often start small but get larger over time, especially if not repaired. Repeated stress, impact damage, and freeze/thaw cycles can cause cracking.
2. Crazing: Small, interconnected surface cracks that look like spiderwebs(spider cracks). Typically caused by stress and UV exposure over long periods.
3. Delamination: When the fiberglass layers separate or peel away from each other. Creates soft spots and moisture entry points leading to rot and hidden damage. Improper bonding during manufacturing or repair work is often the cause.
4. Debonding: Similar to delamination but occurs when the fiberglass pulls away from the wooden transom frame underneath. Causes loose, hollow-feeling areas.
5. Rotting: If water seeps into the transom core or unsealed wood, rotting can occur. Leads to softened areas and structural weakening.
6. Impact Fractures: Direct collisions with docks, other boats, etc. can fracture the transom at any thickness. Heavier boats with more powerful engines are prone to fracturing over time.
Catching and properly repairing any of these issues early on is critical to avoid much more extensive repairs down the road that eventually require a full transom replacement if neglected.
FAQ
The transom is the flat stern board perpendicularly mounted to the back end of the boat. It provides structural support, houses engine mounting hardware, and may have a door to access storage space or mounting bolts.
With proper maintenance and support while trailering, a fiberglass boat transom should last approximately 15-20 years depending on usage and conditions. Following the maximum recommended engine weight limits extends transom life.
Definitely – fiberglass transoms are designed to be repaired. Even significant damage like large cracks, chunks missing or complete delamination can be fixed with the proper materials and techniques for grinding, sealing wood, laminating fiberglass, and applying cosmetic gelcoat.
Soft spots, cracking, water in bilge after runs, loose motor mounting hardware, visible gaps around edges, crazing, spongy feel when pressed on, or failing “tap tests” (hollow sounds when tapped) indicate transom work is needed.
Yes, using thickened epoxy is an effective way to fill any gaps, depressions or holes in a transom as part of the repair process to rebuild damaged areas. Be sure any rotted wood is addressed first.
Most factory transoms consist of 3-5 alternating layers of fiberglass cloth and woven roving. DIY repairs should aim for 4-6 layers to account for variation in hand work compared to molded transoms.
Ideally, transom repairs should be done on both the inside and outside surfaces to fully seal moisture entry points and restore exterior finish appearances.
Replacing a rotted transom averages $800-1,500 for materials and labor. The costs climb higher for larger boats or those requiring custom work. DIY repairs cost 30-50% less.
Yes, it is possible to reinforce and beef up an existing transom to support a larger outboard motor. This requires adding substantial amounts of overlapping fiberglass and ensuring full bonding to the existing inner laminate.
Yes! Putting off rot and damage repairs on your transom risks more serious structural issues and total replacement down the line at 5-10 times the cost of early repairs. Regular maintenance checks and addressing minor issues as they appear saves money and hassle.
Final Thoughts
We hope these fiberglass transom repair tips and answers help you assess damages and tackle DIY repairs to save your boat and money.
Let us know in the comments below if you have any other transom questions as you start your project!


