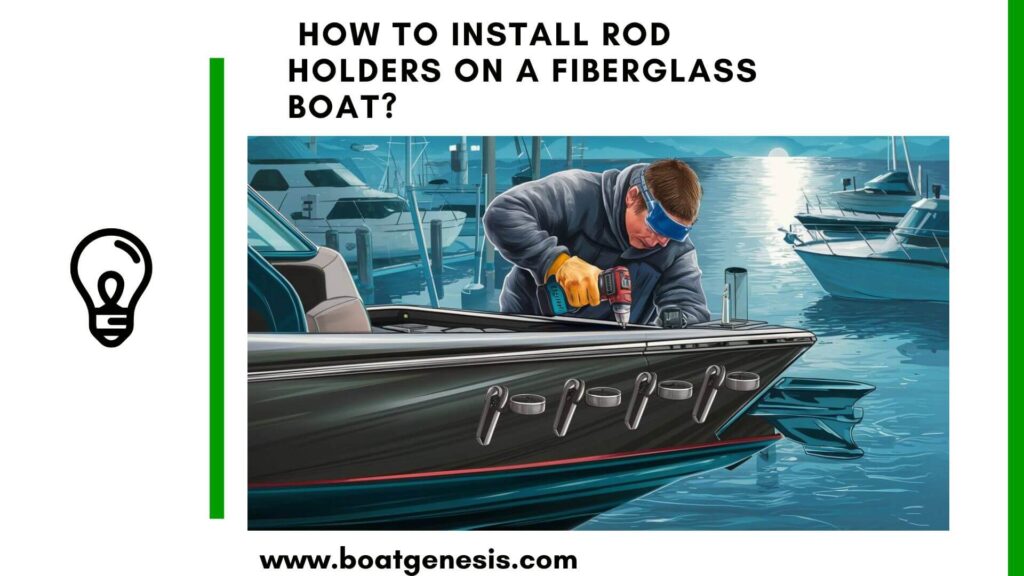
Installing rod holders on your fiberglass boat is a great way to customize it for fishing. Having dedicated spots to place your rods keeps them organized and secure while freeing up your hands.
Here’s a step-by-step guide on how to properly install flush mount rod holders in a fiberglass boat.
How to Install Rod Holders on a Fiberglass Boat?
1. Choosing Locations
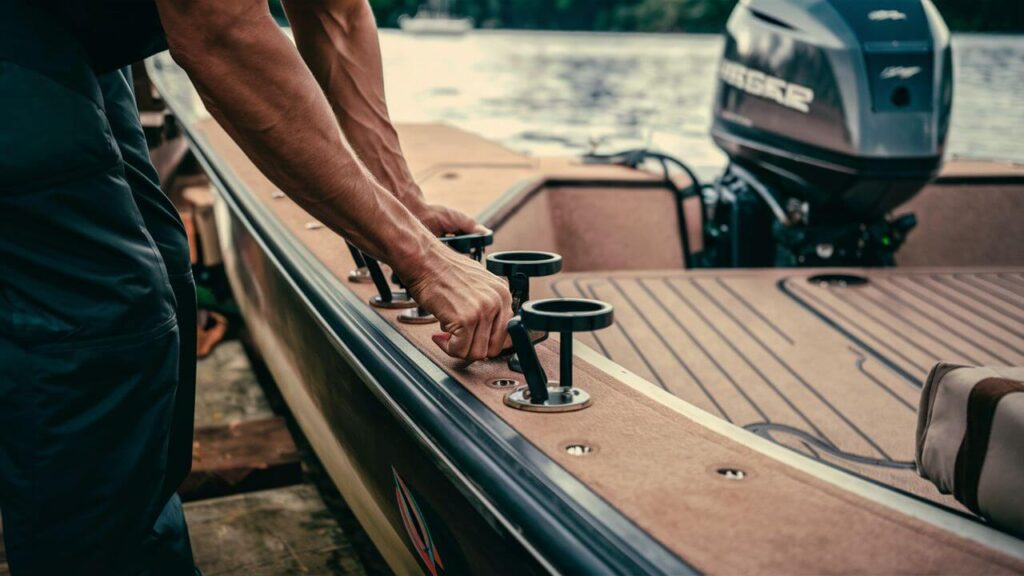
First, carefully plan out where you want to position the rod holders. Good locations are:
- Along the gunwales on the sides of the boat
- On the transom at the back
- Near seating areas for easy access
Make sure the rod holders will not interfere with operating the boat or moving around. Check underneath to verify there is clearance and support to install them. Walleye Central recommends measuring and cutting wood or composite blocks to reinforce the mounting locations if needed.
Want to avoid costly fiberglass boat repair mistakes?
Learn how to inspect damage properly, decide when to DIY, and prevent expensive fiberglass problems before they start.
2. Drill Pilot Holes
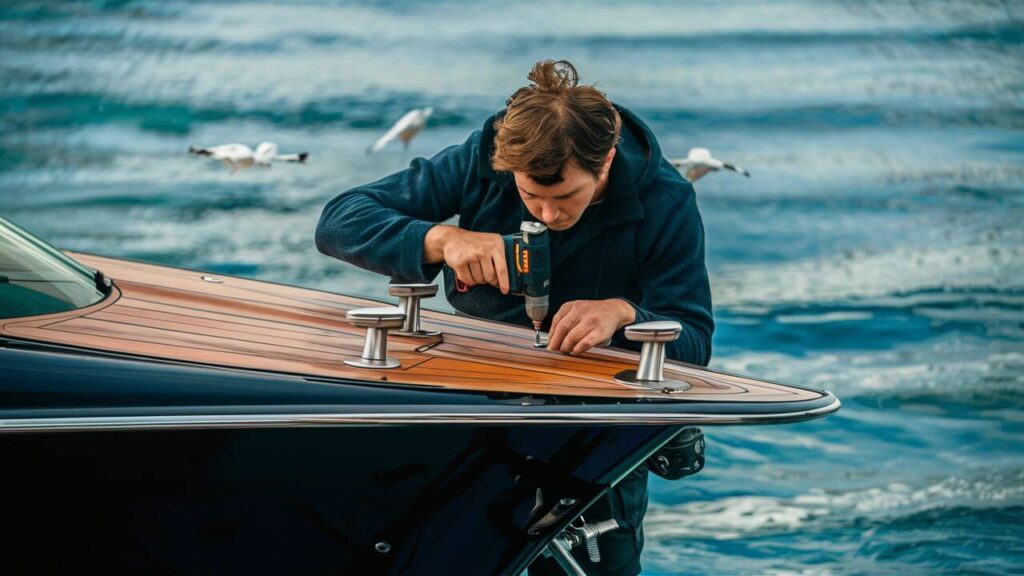
Once you’ve chosen the spots, it’s time to drill some pilot holes:
- Place the rod holder upside-down and flat against the fiberglass boat at the desired angle.
- Trace the outline with a pencil.
- Drill a pilot hole in the center using a drill bit slightly smaller than the rod holder’s diameter.
- This will guide the hole saw and prevent the fiberglass boat from chipping.
3. Cut Mounting Holes
Next, use a hole saw to cut the actual mounting holes for the rod holders:
- Select a hole saw with a center bit the same size (or slightly larger) than the rod holders.
- Carefully cut through the fiberglass at the marked locations. Let the weight of the drill do the work.
- Support the cutout piece so it doesn’t fall and crack the gel coat when the saw punches through.
- Clean up any rough edges with sandpaper.
==>>Also read: How to mount a transducer on a fiberglass boat?
4. Install the Rod Holders
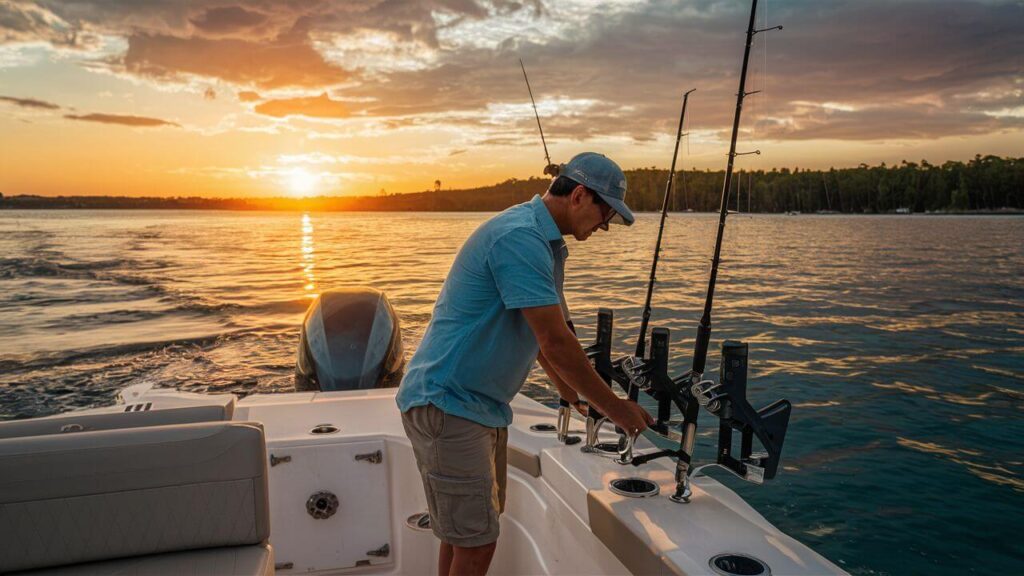
With the holes prepared, you can now secure the rod holders in place:
- Remove any protective tape and drop the holders into the holes.
- Install the plastic spacers and backing nuts that come with the rod holders. Only hand-tighten for now.
- Adjust the angle and position of the rod holders as desired.
- Fully tighten the locking nuts with a wrench. Be careful not to overtighten and crack the fiberglass.
- Apply marine sealant around the rod holders to prevent water intrusion.
Gemlux provides additional guidance on finishing the installation to get a clean, watertight fit.
This guide helps boat owners understand fiberglass damage clearly — what matters, what doesn’t, and when repairs are truly necessary, so small issues don’t turn into expensive mistakes.
See What Every Boat Owner Should Know →Alternative Mounting Options
Flush mount rod holders provide a sleek, snag-free setup. However, there are other mounting styles to consider:
- Surface mount rod holders
- Clamp-on or rail mount rod holders
- Removable rod holder mounts
- Fishing rod racks and storage
These give you more flexibility in positioning the rod holders and don’t require cutting permanent holes in the fiberglass. Born Again Boating demonstrates how track mounting systems make it easy to add and adjust rod holders without modifying the boat.
==>> Also read: Removing a transducer mounting plate
FAQ
How many rod holders should I install?
This depends on how many rods you typically use and the size of your boat. Space them out so the rods won’t tangle. 4-8 rod holders is usually plenty for most fishing boats under 25 feet.
Can I install rod holders myself?
Yes! With the right tools and some patience, installing rod holders is a straightforward DIY project. If you’re not confident cutting holes in fiberglass though, consider hiring a professional.
What tools do I need to install rod holders?
The main tools are:
- Drill with appropriate bits
- Hole saws sized for the rod holders
- Wrenches to tighten fasteners
- Marine sealant or caulk
How do I maintain my rod holders?
Rinse the rod holders with freshwater after fishing, especially in saltwater. Periodically disassemble to clean and grease the threads. Inspect for any cracks or corrosion. Touch up with marine-grade paint as needed.
Final Thoughts
With rod holders properly installed on your fiberglass boat, you’ll be all set for your next fishing trip! Take your time and measure carefully for a secure, professional-looking installation you can count on for years of fishing adventures ahead.

Warren is the founder of BoatGenesis and brings practical experience in fiberglass boat repair, marine equipment testing, and powerboat building. He has worked on a range of repair and restoration projects and now focuses on creating clear, research-based guides to help boat owners avoid costly mistakes and make smarter maintenance decisions. Learn more about Warren.

