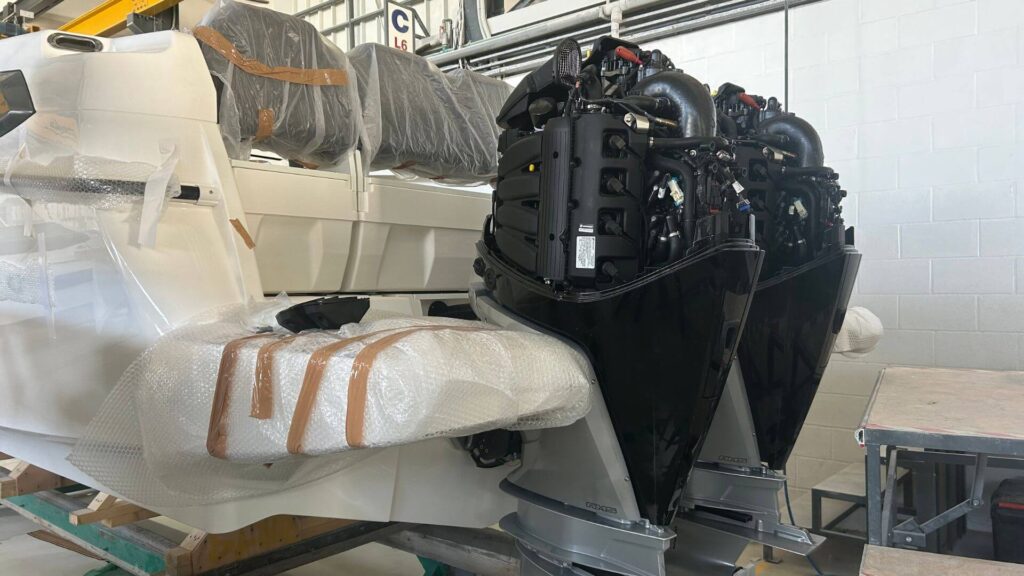
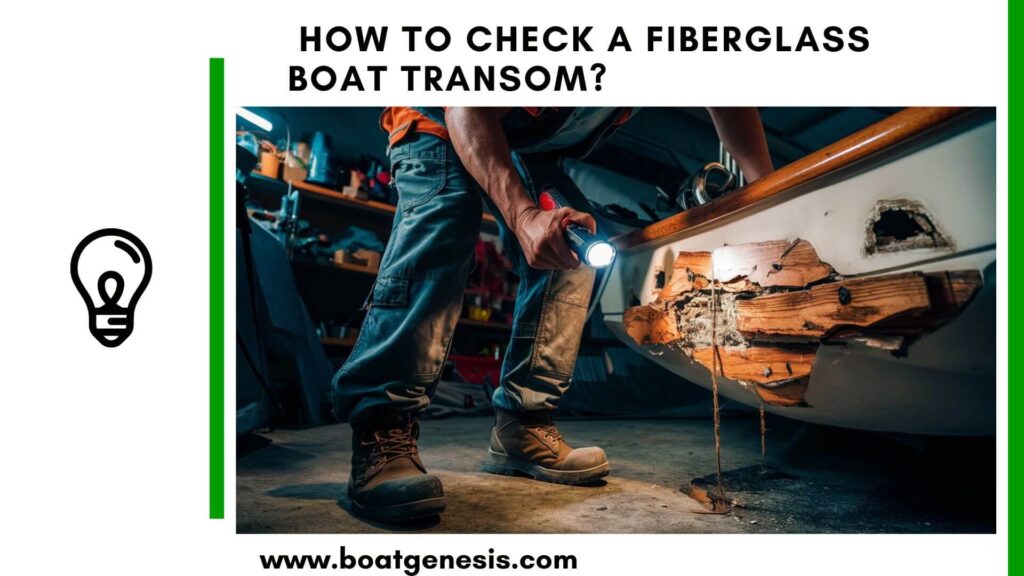
If you’re in the market for a used fiberglass boat, one of the most important things to inspect is the transom. The transom is the flat back section of the boat where the outboard motor is mounted.
Over time, exposure to water and vibration from the motor can cause the transom to rot or delaminate, leading to costly repairs.
In this article, we’ll explore how to thoroughly check a fiberglass boat transom for any signs of damage.
How to Check a Fiberglass Boat Transom
Follow these recommended steps to inspect your fiberglass boat transom.
1. Visual Inspection
Start by conducting a visual inspection of the transom, both inside and out.
Look for any obvious signs of damage, such as cracks, holes, or soft spots.
Pay close attention to the area around the motor mounting bolts and washers. If you notice any signs of the bolts being pulled into the transom, it could indicate a weakened or rotting structure.
Inside the hull, check for any water stains or brown discoloration near the transom. These signs could point to water intrusion, which can lead to transom damage over time.
2. Tap Test

One simple way to check for transom rot is the tap test. Use a small ball-peen hammer or even a coin to gently tap along the transom.
A solid, healthy transom should produce a sharp, distinct sound. If you hear a dull thud, it could indicate a soft spot or rot beneath the surface.
3. Drill Test
For a more thorough inspection, you can perform a drill test.
Use a small drill bit (1/8″ or smaller) to make a hole about 3/8″ deep near the bottom of the transom’s interior.
If you notice any moisture on the drill bit when you remove it, it’s a sign that water has penetrated the transom, and rot may be present.
4. Motor Test

Another way to check the transom’s integrity is by using the boat’s motor.
With the boat on a trailer, trim the motor all the way up and apply gentle pressure against the transom. If you feel the transom flexing or see any signs of movement, it could indicate a weakened structure.
5. Moisture Meter
For a more advanced and accurate assessment, consider using a moisture meter. These devices measure the moisture content in the fiberglass and can help detect any hidden water damage.
If the moisture levels are high, it’s a good indication that the transom may be compromised.
==>> Also read: How to inspect a fiberglass boat hull?
6. Don’t Forget the Floor
While inspecting the transom, don’t neglect the boat’s floor, especially near the transom area.
Soft spots or delamination in the floor could be a sign of water damage that might extend to the transom. Check underneath the boat for any cracks in the gelcoat. While small lengthwise cracks are generally okay, any cracks running across the boat could indicate a more serious structural issue.
The Importance of a Thorough Inspection
Taking the time to thoroughly inspect a used fiberglass boat’s transom can save you from unexpected and costly repairs down the line.
If you’re unsure about your ability to assess the transom’s condition, consider hiring a professional marine surveyor. They have the experience and tools necessary to provide a comprehensive evaluation of the boat’s overall condition, including the transom.
By following these steps and being diligent in your inspection, you can make a more informed decision when purchasing a used fiberglass boat.
Remember, a solid and healthy transom is essential for a safe and enjoyable boating experience.

Warren is the founder of BoatGenesis and brings practical experience in fiberglass boat repair, marine equipment testing, and powerboat building. He has worked on a range of repair and restoration projects and now focuses on creating clear, research-based guides to help boat owners avoid costly mistakes and make smarter maintenance decisions. Learn more about Warren.


