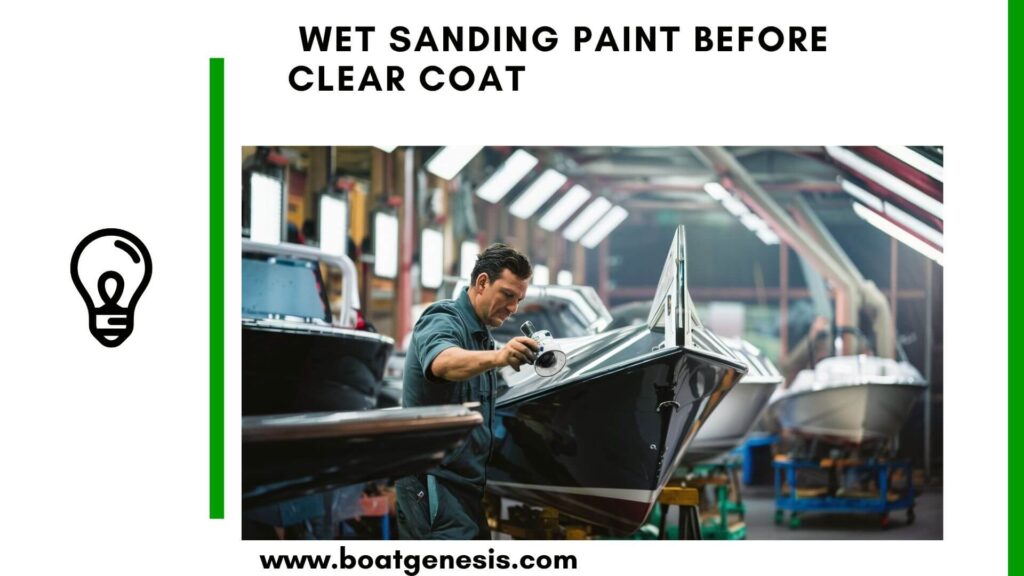
When it comes to achieving that glass-like finish on your boat’s paint job, wet sanding before applying a clear coat is the game-changer you’ve been looking for. This meticulous step might just be what separates a good paint job from a great one.
Let’s dive into everything there is to know about wet sanding paint before clear coat.
What is Wet Sanding?

Wet sanding is a technique used in the automotive and boat painting process to smooth out the surface of the paint before applying the final clear coat. It involves using waterproof sandpaper and water to gently abrade the surface, removing imperfections such as dust nibs, runs, and the notorious “orange peel” effect.
Why Wet Sand Before Clear Coat?
Imagine you’re about to seal a beautifully crafted wooden table with a varnish. You’d want the surface to be as smooth as possible to ensure a flawless finish, right?
Want to avoid costly fiberglass boat repair mistakes?
Learn how to inspect damage properly, decide when to DIY, and prevent expensive fiberglass problems before they start.
The same principle applies to painting a boat or a car. Wet sanding creates a uniform surface that enhances paint adhesion and lays the groundwork for a mirror-like clear coat.
It’s all about the prep work, and wet sanding is your best friend for a top-notch result.
How to Wet Sand Effectively
- Start with the Right Grit: Your choice of sandpaper grit should depend on the extent of the surface imperfections. Generally, a fine grit around 600-800 is ideal for gently smoothing out the base coat without causing damage.
- Keep it Wet: The key to wet sanding is, well, keeping the surface wet! The water acts as a lubricant, reducing friction and helping to clear away paint particles that could otherwise clog the sandpaper.
- Use Gentle, Circular Motions: Apply light pressure and work in circular motions or straight lines to evenly sand the surface. Being too aggressive can lead to scratches that might show through the clear coat.
- Clean and Check Your Work: Regularly rinse the area with clean water and check your progress. The goal is to achieve a smooth, matte finish without any glossy spots.
- Dry and Inspect: Once you’re satisfied with the sanding, dry the surface with a clean microfiber towel and inspect it for uniformity. Any remaining glossy spots indicate areas that need more sanding.
==>> Read also my full guide on how to wet sand a fiberglass boat here
After Wet Sanding
After the surface has been properly wet sanded, it’s essential to move on to the next steps with care to ensure the best possible outcome for your clear coat application.

This guide helps boat owners understand fiberglass damage clearly — what matters, what doesn’t, and when repairs are truly necessary, so small issues don’t turn into expensive mistakes.
See What Every Boat Owner Should Know →Prep for Clear Coat
- Thorough Cleaning: Any residual dust or debris from sanding can ruin your clear coat. Clean the surface thoroughly with a tack cloth or a gentle automotive or boat cleaner to ensure that it’s free of contaminants.
- Tape and Protect: Mask off any areas that you don’t want to clear coat with tape. This includes trim, windows, and other non-painted surfaces.
- Apply Primer if Necessary: If you’ve sanded down to the bare metal or used body filler, you’ll need to apply a primer before the clear coat. This ensures proper adhesion and a uniform color.
Applying the Clear Coat

- Choose the Right Clear Coat: Select a high-quality clear coat that is compatible with your base coat. This will ensure a durable finish and the desired level of gloss.
- Perfect Conditions: Temperature, humidity, and dust can all affect your clear coat. Aim to spray in a clean, ventilated area with a temperature between 65 and 75 degrees Fahrenheit and low humidity.
- Spray Evenly: Use a spray gun to apply the clear coat in even, overlapping strokes. Multiple light coats are better than one heavy coat, as this reduces the risk of runs and sags.
- Allow Adequate Drying Time: Follow the manufacturer’s instructions for drying times between coats. Rushing this process can compromise the finish.
- Cure and Polish: Once the final coat is applied, the clear coat needs to cure. This can take anywhere from a few hours to a few days. After curing, a final polish can be applied to bring out a high-gloss shine and eliminate any minor imperfections.
Tips for a Professional Finish
- Invest in Quality Sandpaper: Cheap sandpaper can wear out quickly and may not give you the smooth finish you’re after. High-quality sandpaper will last longer and provide a more consistent scratch pattern.
- Keep Your Sandpaper Clean: Frequently rinse your sandpaper during the wet sanding process. This prevents buildup and ensures a smoother finish.
- Be Patient: Wet sanding and clear coating are not processes to be rushed. Take your time and pay attention to detail for the best results.
Conclusion
Wet sanding paint before applying a clear coat is a crucial step that can elevate the quality of your boat or car’s paint job from average to exceptional.
It’s a testament to the power of preparation and attention to detail.
By smoothing out the base coat, you’re setting the stage for a clear coat that not only looks impeccable but also offers better protection and longevity for the paint beneath.
Remember, the art of wet sanding and clear coating is not just about following steps; it’s about understanding the nuances of the materials you’re working with and adapting your technique to the conditions at hand.
It’s about patience and precision, and when done correctly, the results speak for themselves—a dazzling, smooth, and resilient finish that stands out.
Whether you’re a seasoned professional or a DIY enthusiast, mastering wet sanding before the clear coat is a skill that will serve you well.

Warren is the founder of BoatGenesis and brings practical experience in fiberglass boat repair, marine equipment testing, and powerboat building. He has worked on a range of repair and restoration projects and now focuses on creating clear, research-based guides to help boat owners avoid costly mistakes and make smarter maintenance decisions. Learn more about Warren.