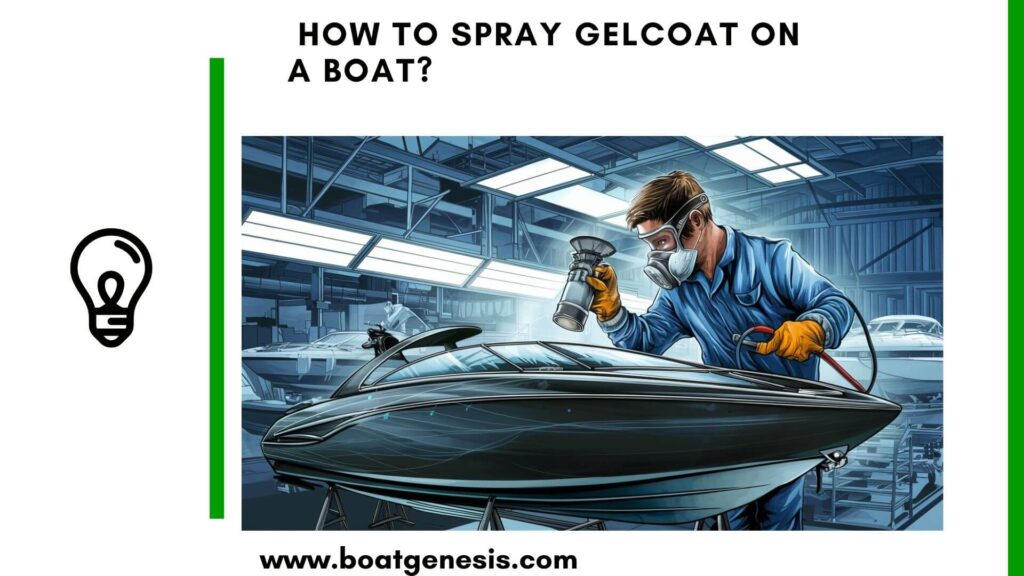
Are you looking to give your boat a fresh, shiny new finish? Spraying gelcoat is a great way to restore the appearance of your vessel.
In this guide, you will learn how to spray gelcoat on your boat like a pro.
Before we start the spraying process, it’s important to know why you would choose gel coat over paint for your boat so you don’t get confused.
Why Choose Gelcoat Over Paint for Your Boat?
When it comes to restoring or refinishing your boat’s surface, you might be wondering whether to choose gelcoat or marine paint. While both options have their merits, there are several key reasons why many boat owners prefer spraying gelcoat over painting:
- Durability: Gelcoat is incredibly durable and resistant to cracks, chips, and UV damage. When applied correctly, it can last for decades, providing long-lasting protection for your boat’s surface. In contrast, paint may need to be reapplied more frequently to maintain its appearance and protective qualities.
- Ease of Repair: If your boat’s gelcoat gets scratched or damaged, it’s relatively easy to repair. You can sand down the affected area and apply new gelcoat to blend seamlessly with the surrounding surface. With paint, repairs can be more noticeable and may require repainting larger sections for a uniform appearance.
- Original Finish: Since most boats are originally manufactured with a gelcoat finish, reapplying gelcoat allows you to restore your boat to its original look. This can be especially important if you want to maintain your boat’s classic appearance or adhere to class regulations for racing sailboats.
- Cost-Effective: While the upfront cost of gelcoat and the necessary equipment may be higher than paint, the long-lasting durability of gelcoat can make it a more cost-effective choice in the long run. You’ll likely need to reapply gelcoat less frequently than paint, saving you time and money over the life of your boat.
It’s important to note that spraying gelcoat is not the same as applying it to a mold during the boat manufacturing process. This guide focuses on reapplying gelcoat to an existing boat surface for restoration or repair purposes.
Want to avoid costly fiberglass boat repair mistakes?
Learn how to inspect damage properly, decide when to DIY, and prevent expensive fiberglass problems before they start.
Now that you understand the benefits of choosing gelcoat over paint for your boat, let’s dive into the step-by-step process of how to spray gelcoat like a professional.
Steps to Spray Gelcoat on a Boat
Here are my recommended steps to spray gelcoat on a boat.
1. Preparation is Key
Before you start spraying gelcoat, it’s essential to properly prep the surface. This involves:
- Clearing the boat hull of all debris and old tape
- Sanding the surface with 150 grit sandpaper to rough it up for better adhesion
- Filling any cracks or damaged areas with fiberglass
- Finishing with an acetone wash
Taking the time to thoroughly prep your boat will ensure the best results when applying the new gelcoat.
2. Choosing the Right Gelcoat
Not all gelcoats are created equal. For marine applications, you’ll want to choose a high-quality, UV-resistant gelcoat specifically designed for boats.

This guide helps boat owners understand fiberglass damage clearly — what matters, what doesn’t, and when repairs are truly necessary, so small issues don’t turn into expensive mistakes.
See What Every Boat Owner Should Know →Consider factors like color, finish (gloss or matte), and compatibility with your boat’s existing surface.
Pro tip: Order about 10% more gelcoat than you think you’ll need to account for overspray and waste.
3. Spray Like a Pro

When you’re ready to start spraying:
- Mix the gelcoat according to the manufacturer’s instructions
- Pour it into your spray gun
- Apply in thin, even passes, overlapping each pass by about 50%
- Build up the gelcoat gradually to a thickness of 20-25 mils
Remember, proper technique is key. Keep the spray gun perpendicular to the surface and maintain a consistent distance of about 6-8 inches. Avoid applying too much gelcoat in one spot, as this can lead to runs or sags.
4. Curing and Finishing
After spraying, allow the gelcoat to cure according to the product instructions, which can take anywhere from a few hours to a day. Once fully cured, you can wet sand and buff the surface to achieve a glossy, smooth finish.
For best results, start with 600 grit sandpaper and gradually work your way up to 1500 or 2000 grit before buffing with rubbing compound and polishing.
==>> Also read: Is it better to spray or roll boat paint?
Insider Tips for a Flawless Finish
Here are a few pro tips to take your gelcoat application to the next level:
- Strain your gelcoat before spraying to remove any clumps or debris
- Use a high-quality spray gun with a 2.0-2.5mm tip for best results
- Wear proper safety gear, including a respirator, gloves, and eye protection
- Work in a well-ventilated area and protect surrounding surfaces from overspray
With these tips and tricks, you’ll be able to spray gelcoat on your boat like a seasoned pro. Not only will you save money by doing it yourself, but you’ll also have the satisfaction of knowing you gave your beloved vessel a stunning new look.

Warren is the founder of BoatGenesis and brings practical experience in fiberglass boat repair, marine equipment testing, and powerboat building. He has worked on a range of repair and restoration projects and now focuses on creating clear, research-based guides to help boat owners avoid costly mistakes and make smarter maintenance decisions. Learn more about Warren.