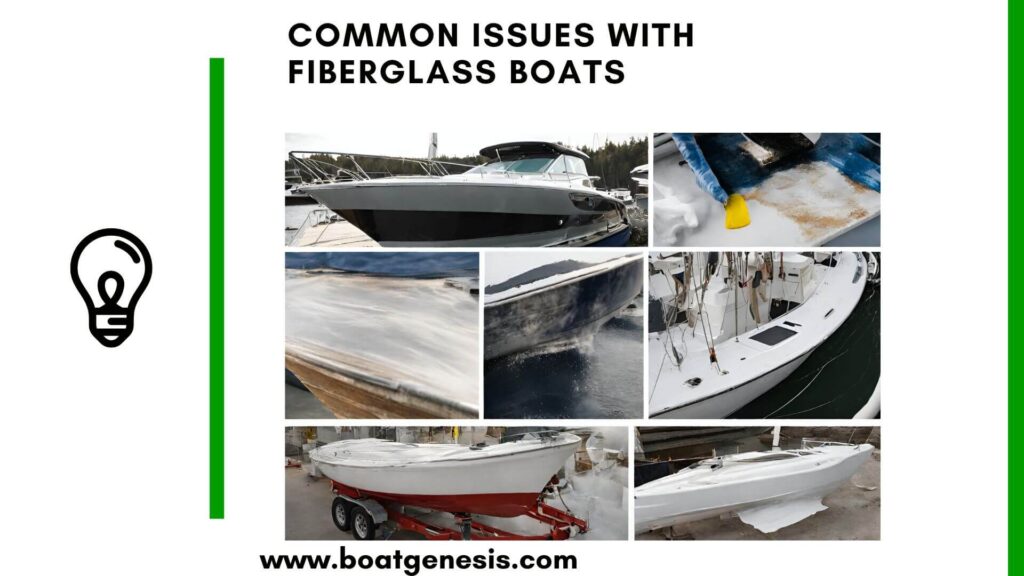
Are you noticing soft spots when walking across your boat deck? Has water damage compromised your boat floor?
Fiberglass boat floor replacement is a challenging but rewarding project that can breathe new life into your vessel and save you thousands in professional repair costs.
Whether you’re dealing with minor soft spots or need a complete overhaul, this comprehensive guide will walk you through every step of the process, from assessment to finishing touches.
Let’s get started.
Key Takeaways
- Proper assessment is crucial – identify all damaged areas before starting your replacement project
- Choose marine-grade materials specifically designed to withstand harsh water environments
- Moisture management is the most overlooked aspect of floor replacement but critical for longevity
- The right tools make the difference between a professional-looking job and a messy repair
- Preventative maintenance after replacement can extend your new floor’s life by 5-10 years
- Key Takeaways
- Understanding Fiberglass Boat Floor Construction
- Signs Your Boat Floor Needs Replacement
- Tools and Materials You'll Need
- Step-by-Step Replacement Process
- Common Mistakes to Avoid
- Advanced Tips for Professional Results
- Cost Comparison: DIY vs. Professional Replacement
- Preventative Maintenance After Replacement
- Environmental Considerations
- Is Fiberglass Boat Floor Replacement Right for You?
- Frequently Asked Questions
- Conclusion
Understanding Fiberglass Boat Floor Construction
Before diving into replacement, it’s essential to understand how fiberglass boat floors are constructed. Most fiberglass boats have a sandwich-style construction consisting of:
- Outer fiberglass hull
- Stringers (structural supports)
- Plywood or composite core
- Fiberglass top layer
When water infiltrates this structure, it can cause the core to rot, leading to those dreaded soft spots. Accurate assessment and preparation are crucial for a lasting repair, which is why understanding the original construction is your first step to success.
Signs Your Boat Floor Needs Replacement
Many boat owners miss the early warning signs of floor damage. Here’s what to look for:
- Soft or spongy areas when walking on the deck
- Visible cracks or discoloration in the fiberglass
- Unusual flexing of the floor during operation
- Musty odors inside the boat
- Visible water stains or warping
Catching these issues early can mean the difference between a partial repair and a complete floor replacement.
Tools and Materials You’ll Need
Essential Tools:
- Circular saw and jigsaw
- Angle grinder with cutting and grinding discs
- Belt sander or orbital sander
- Drill with various bits
- Putty knives and scrapers
- Measuring tape and straight edge
- Mixing containers and stir sticks
- PPE (respirator, gloves, eye protection, coveralls)
Materials:
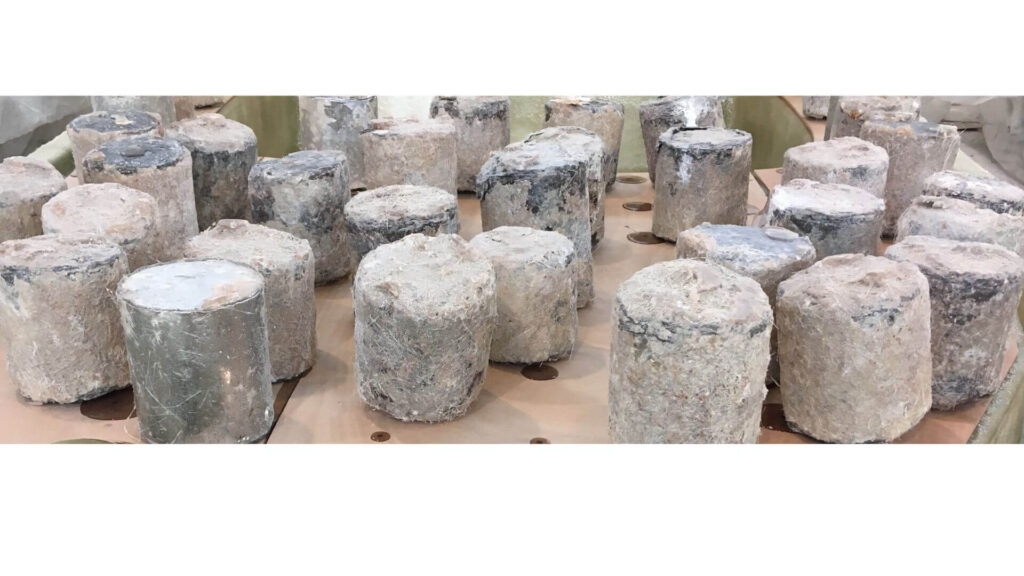
- Marine-grade plywood (3/4″ thickness recommended)
- Fiberglass cloth (1.5 oz and 2.5 oz weights)
- Epoxy resin with hardener
- Fiberglass mat
- Marine polyurethane sealant
- Acetone for cleaning
- Non-skid paint or texture additive
- Thickening agents (silica, microballoons)
What many pros overlook is that material quality can significantly impact durability. Investing in premium marine-grade materials might cost 30% more upfront but can double the lifespan of your repair.
==>>If you’re still unsure about which resin to use for different types of DIY projects, read my guide about Polyester resin vs Epoxy resin here.
Step-by-Step Replacement Process
1. Assessment and Documentation
Before removing anything, document the current layout thoroughly:
Want to avoid costly fiberglass boat repair mistakes?
Learn how to inspect damage properly, decide when to DIY, and prevent expensive fiberglass problems before they start.
- Take photos from multiple angles
- Measure and sketch the existing floor pattern
- Note the location of all fixtures, hardware, and access points
- Create a detailed project plan with timeline
Pro tip: Create a cardboard template of complex shapes or cuts before transferring to your expensive marine plywood.
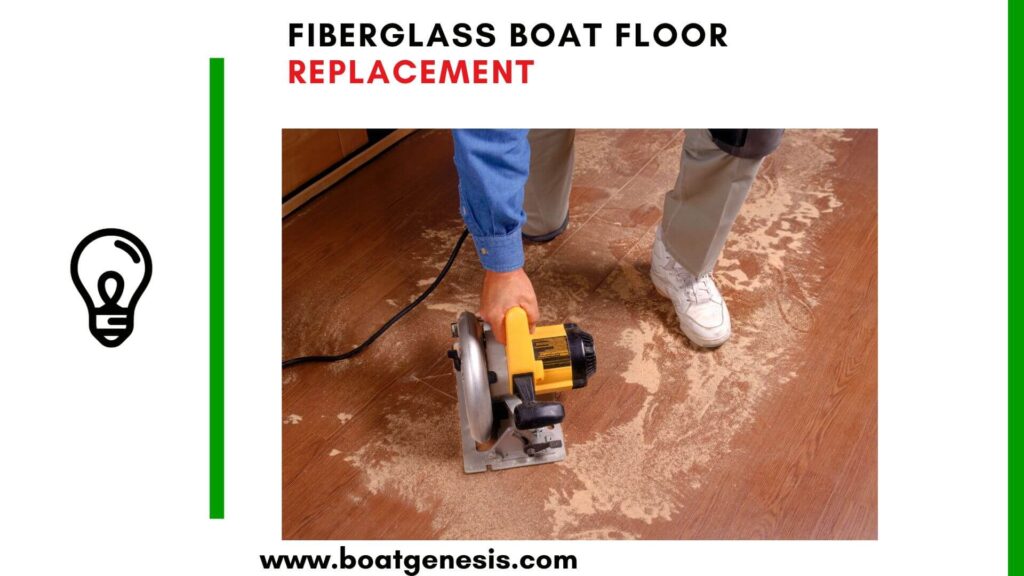
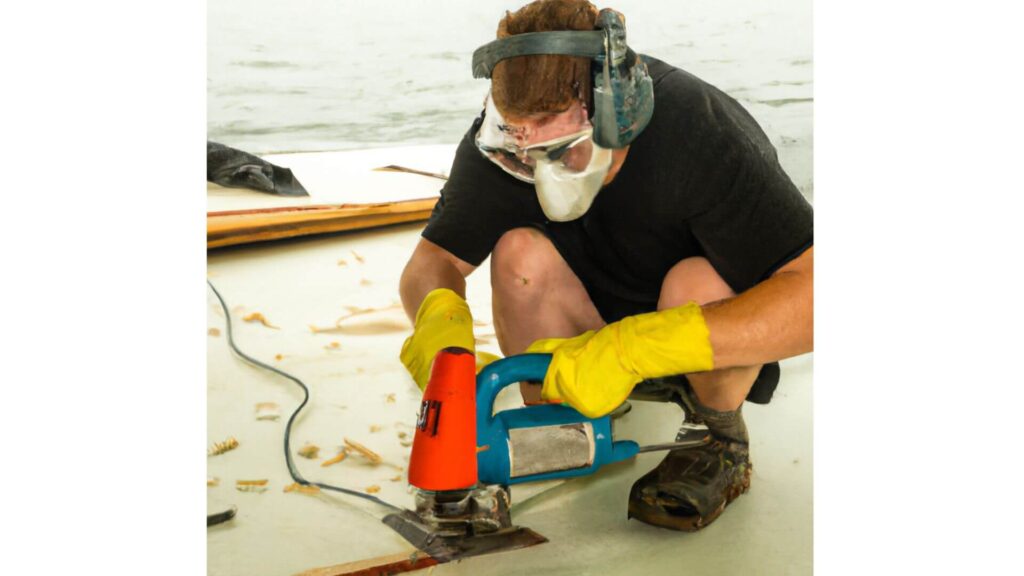
2. Removal of Damaged Materials
This stage is often more challenging than expected:
- Remove all hardware, seats, and fixtures
- Cut through the fiberglass top layer carefully along planned lines
- Pry up and remove the damaged sections
- Document any unexpected issues discovered
- Clean and inspect the exposed stringers and supports
What most guides don’t tell you: During removal, you’ll likely discover additional damage. Budget an extra 20% for materials and 30% more time than initially planned.
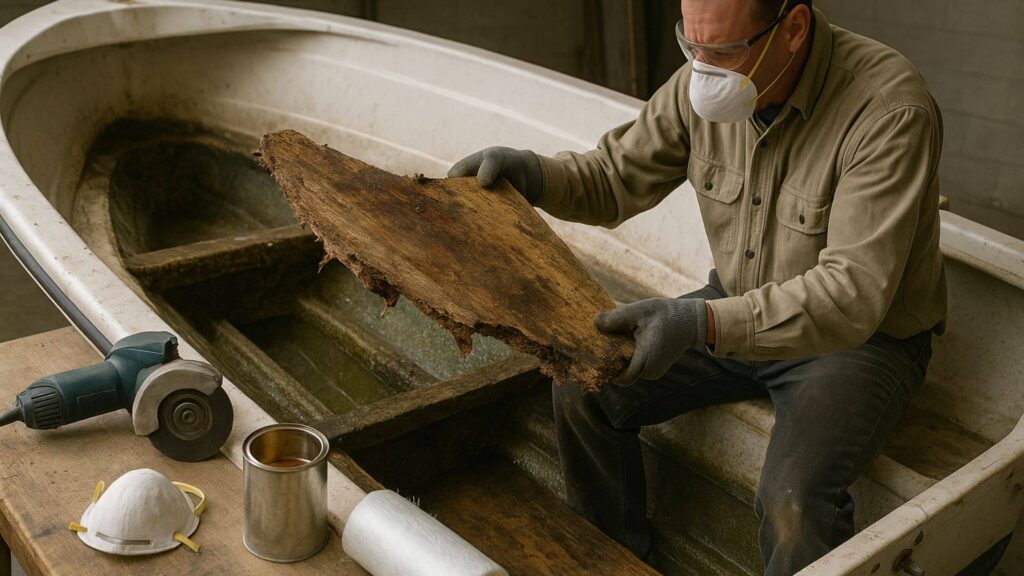
3. Repairing or Reinforcing the Substructure
Before installing the new floor:
- Inspect all stringers for damage
- Replace or reinforce any compromised structural supports
- Apply epoxy coating to seal any exposed wood
- Install additional supports if needed for strength
- Allow proper curing time before proceeding
The hidden truth: Many DIY repairs fail because people rush to install the new floor without properly addressing underlying structural issues.
4. Cutting and Fitting the New Core Material
Precision is key here:
- Transfer your measurements to marine-grade plywood
- Cut slightly oversized (1/8″ larger) to allow for adjustments
- Test fit the pieces without adhesives
- Make necessary trimming adjustments
- Dry fit all pieces together to ensure proper alignment
Learning how to replace a boat floor requires understanding that proper fitting is crucial – rushing this step leads to poor results.
5. Installation of New Core
The core installation process involves:
- Apply a layer of epoxy to the support structure
- Place the new plywood core in position
- Secure with stainless steel screws if needed
- Apply weight evenly until cured
- Fill any gaps with thickened epoxy
Insider tip: Temperature control is critical during epoxy curing. Most epoxy cures best between 70-85°F (21-29°C). Plan your project timing accordingly or use temperature-controlled environments.
6. Fiberglass Layup Process
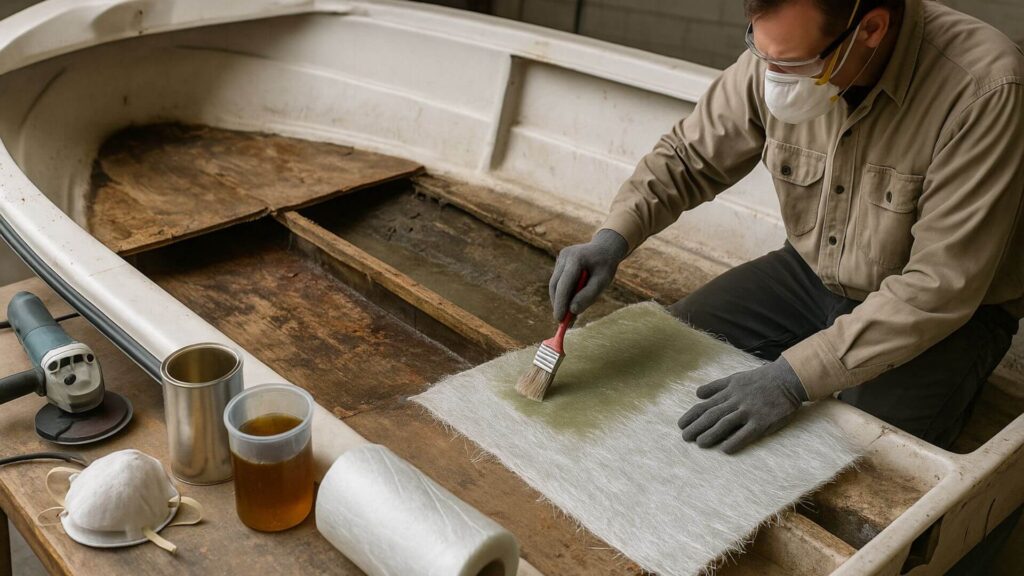
This is where your project takes on professional quality:
- Cut fiberglass cloth to size (with 2″ overlap)
- Mix epoxy resin according to manufacturer specifications
- Apply first resin coat to the plywood
- Lay down fiberglass cloth and wet out with additional resin
- Remove air bubbles with a plastic spreader
- Apply additional layers as needed (typically 2-3 layers)
- Allow proper curing between layers
What’s often overlooked: Humidity control is as important as temperature. High humidity (above 80%) can prevent proper curing and lead to a cloudy finish.
7. Finishing and Texture Application
The final steps include:
- Sand the cured fiberglass surface (80-120 grit, then 220 grit)
- Clean thoroughly with acetone 3
- Apply marine primer if using paint finish
- Add non-skid texture using one of these methods:
- Commercial non-skid additives mixed with paint
- Polymer grit broadcast over wet epoxy
- Textured roller application
- Apply final coatings (2-3 layers recommended)
- Allow full cure (typically 5-7 days) before heavy use
Many DIYers underestimate the importance of proper non-skid application. A beautiful floor without adequate traction becomes dangerous when wet – something rarely emphasized in basic tutorials.
8. Hardware Reinstallation and Sealing
The final phase involves:

This guide helps boat owners understand fiberglass damage clearly — what matters, what doesn’t, and when repairs are truly necessary, so small issues don’t turn into expensive mistakes.
See What Every Boat Owner Should Know →- Carefully measure and mark all hardware locations
- Drill pilot holes for all fasteners
- Apply marine-grade sealant to all penetrations
- Reinstall fixtures, seats, and accessories
- Clean up any excess sealant immediately
Secret to success: Use masking tape around hardware installation areas before applying sealant for clean, professional-looking results.
Common Mistakes to Avoid
Underestimating the Timeline
Most first-time floor replacements take 3-4 times longer than expected. A complete floor replacement typically requires:
- 1-2 days for assessment and removal
- 1-2 days for structural repairs
- 1 day for core installation
- 2-3 days for fiberglass work
- 2-3 days for finishing
- Plus curing time between stages
Skimping on Materials
Using regular plywood instead of marine-grade or household epoxy instead of marine epoxy can lead to premature failure. Marine-specific materials cost more for good reason – they’re engineered to withstand harsh conditions.
Inadequate Ventilation
Working with fiberglass and epoxy produces harmful fumes. Proper ventilation and safety equipment aren’t just suggestions—they’re necessities for your health.
Rushing the Cure Times
Epoxy and fiberglass require proper curing between applications. Rushing this process leads to weak bonds and potential delamination down the road.
Advanced Tips for Professional Results
Custom Drainage Channels
Something rarely covered in standard guides is incorporating drainage channels into your new floor design.
By slightly angling the floor and adding strategic channels, you can direct water to the bilge more effectively, reducing future moisture damage.
Integrated Access Panels
Consider adding access panels during your rebuild. These allow for easier maintenance of wiring, plumbing, and bilge components without having to cut into your beautiful new floor later.
Sound and Thermal Insulation
While the floor is open, consider adding a layer of marine-grade sound dampening material. This reduces engine noise and provides thermal insulation, making your boat more comfortable in all conditions.
Core Material Alternatives
While marine plywood remains the standard, consider these alternatives:
- Coosa board (polyurethane with fiberglass reinforcement)
- Penske board (high-density polymer)
- Nidacore (honeycomb composite)
These materials offer superior water resistance but come at a premium price—often 2-3 times the cost of marine plywood.
Cost Comparison: DIY vs. Professional Replacement
DIY Costs (Average for 20′ Boat)
- Materials: $1,500-$2,500
- Tools (if purchased): $500-$1,000
- Total: $2,000-$3,500
Professional Replacement
- Labor: $75-$150 per hour (40-80 hours)
- Materials (with markup): $2,500-$4,000
- Total: $5,500-$12,000
The DIY approach typically saves 60-70% on costs but requires significant time investment and skill development.
Preventative Maintenance After Replacement
To protect your investment and extend the life of your new floor:
- Regular Inspections: Check for cracks or damage quarterly
- Proper Drainage: Always remove drain plugs when storing
- Cover When Not in Use: UV protection extends floor life significantly
- Prompt Repairs: Address small issues before they become major problems
- Annual Sealing: Apply a fresh coat of UV-resistant sealant yearly
Environmental Considerations
When removing old materials, be mindful of proper disposal:
- Fiberglass dust and chunks are not biodegradable
- Used epoxy and solvents require special handling
- Many marine materials contain chemicals harmful to aquatic ecosystems
Contact your local waste management facility for guidance on proper disposal of boat renovation materials.
Is Fiberglass Boat Floor Replacement Right for You?
Before undertaking this project, honestly assess:
- Your Skill Level: Have you worked with fiberglass before?
- Available Time: Can you dedicate 2-4 weekends to complete the project?
- Workshop Space: Do you have a covered, ventilated area large enough?
- Budget: Can you afford quality materials without cutting corners?
- Boat Value: Does the investment make sense relative to your boat’s value?
Frequently Asked Questions
How long will a replaced fiberglass floor last?
With proper materials and installation, expect 10-15 years of service from your new floor. With exceptional maintenance, many last 20+ years.
Can I replace just a section instead of the entire floor?
Yes, partial replacement is possible, but the transition between old and new sections must be properly reinforced to prevent future problems.
What’s the best season for floor replacement?
Spring and fall offer ideal temperature and humidity conditions for epoxy work. Summer can be too hot (causing rapid curing) and winter too cold (preventing proper curing).
How do I know if the stringers need replacement too?
Tap testing with a small hammer can reveal structural issues—solid stringers produce a sharp, clear sound while damaged ones sound dull or hollow.
Conclusion
Fiberglass boat floor replacement represents one of the most challenging but rewarding DIY boat projects.
While the process requires patience, attention to detail, and some specialized skills, the satisfaction of standing on a solid floor you built yourself—and the thousands saved in professional fees—makes it worthwhile for many boat owners.
Remember that proper preparation, quality materials, and allowing adequate time for each phase will determine your project’s success.
Don’t rush the process, especially during curing times, and always prioritize structural integrity over aesthetics.

Warren is the founder of BoatGenesis and brings practical experience in fiberglass boat repair, marine equipment testing, and powerboat building. He has worked on a range of repair and restoration projects and now focuses on creating clear, research-based guides to help boat owners avoid costly mistakes and make smarter maintenance decisions. Learn more about Warren.