Let’s face it—discovering soft spots or cracks in your boat floor can instantly ruin your day. I’ve been there myself, staring down at a spongy section of fiberglass, calculating the cost of professional repairs, and wondering if my weekend plans were about to sink.
But here’s the good news: fiberglass boat floor repair is absolutely something you can do yourself, even if you’re not a seasoned boat mechanic.
In this guide, I’ll walk you through every step of restoring your boat’s floor to its former glory, drawing from both my own painful learning experiences and professional techniques.
Whether you’re dealing with water damage, impact cracks, or years of neglect, I’ve got you covered with straightforward advice that will save your boat—and your wallet—from taking on water.
Key Takeaways
- Fiberglass boat floor repair is a manageable DIY project with the right tools, materials, and guidance.
- Accurate assessment and preparation are crucial for a lasting repair.
- Beyond the basics, understanding moisture management and structural integrity is vital but often overlooked.
- This guide covers not just the “how,” but also the “why,” giving you the knowledge to prevent future issues.
- Key Takeaways
- Why Fiberglass Boat Floor Repair Matters
- How to Tell If Your Fiberglass Boat Floor Needs Repair
- Tools and Materials You’ll Need
- Fiberglass Boat Floor Repair Instructions
- Pro Tips: What Most Pros Don’t Tell You
- Common Mistakes and How to Avoid Them
- FAQs About Fiberglass Boat Floor Repair
- Final Thoughts
Why Fiberglass Boat Floor Repair Matters
A soft, spongy, or cracked floor isn’t just an eyesore—it’s a safety hazard. Left unchecked, water can seep into the core, causing rot and compromising your boat’s structural integrity.
Timely fiberglass boat floor repair doesn’t just restore your boat—it protects your investment and your safety.
==>>Also read: How to repair a soft fiberglass boat floor?
How to Tell If Your Fiberglass Boat Floor Needs Repair
Before you grab your tools, let’s make sure you actually need a repair. Here’s what to look for:
- Soft Spots: Press down with your hand or foot. If the floor gives way, there’s likely rot or delamination.
- Cracks and Spider Webbing: These can signal flexing or impact damage.
- Water Intrusion: Stains, mildew, or a “musty” smell are telltale signs.
- Visible Holes or Gouges: Obvious damage from dropped gear or collisions.
Don’t ignore small issues—they can become big, expensive problems fast.
Want to avoid costly fiberglass boat repair mistakes?
Learn how to inspect damage properly, decide when to DIY, and prevent expensive fiberglass problems before they start.
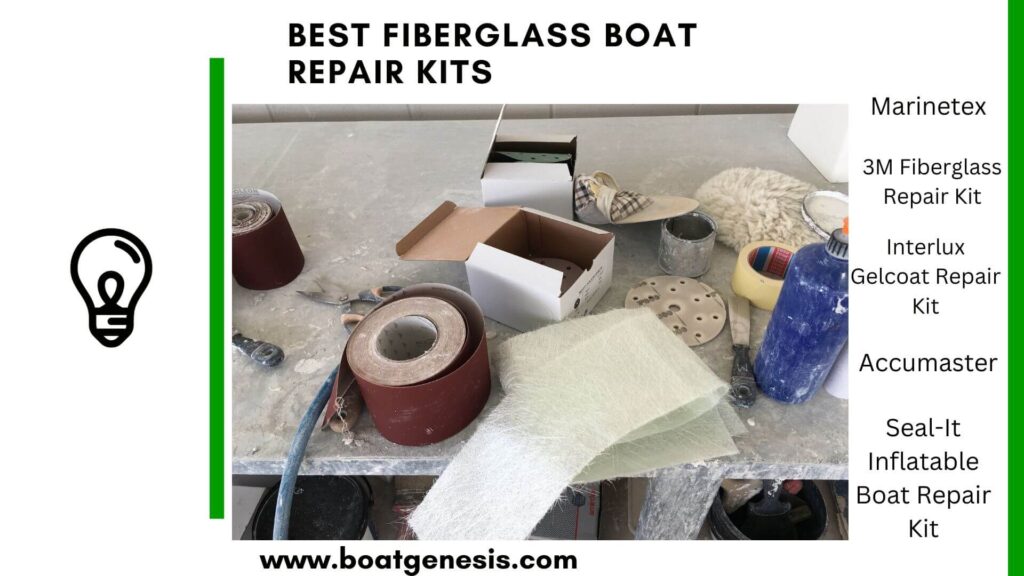
Tools and Materials You’ll Need
Gather these essentials before you start:
- Safety gear: gloves, goggles, mask
- Drill and bits
- Circular saw or oscillating tool
- Pry bar
- Screwdriver
- Fiberglass repair kit (mat, cloth, resin, hardener)
- Marine plywood (if replacing the core)
- Acetone or fiberglass cleaner
- Sandpaper (various grits)
- Paintbrushes and rollers
- Mixing containers and stir sticks
- Measuring tape and marker
Fiberglass Boat Floor Repair Instructions
Step 1: Assess the Damage
Start by removing any carpet or flooring material. Inspect the entire floor for damage. Use a screwdriver to probe for soft or rotten areas.
Mark damaged spots clearly. For a full restoration, it’s wise to inspect the stringers and bulkheads, as these components support the floor and often conceal water damage (source).
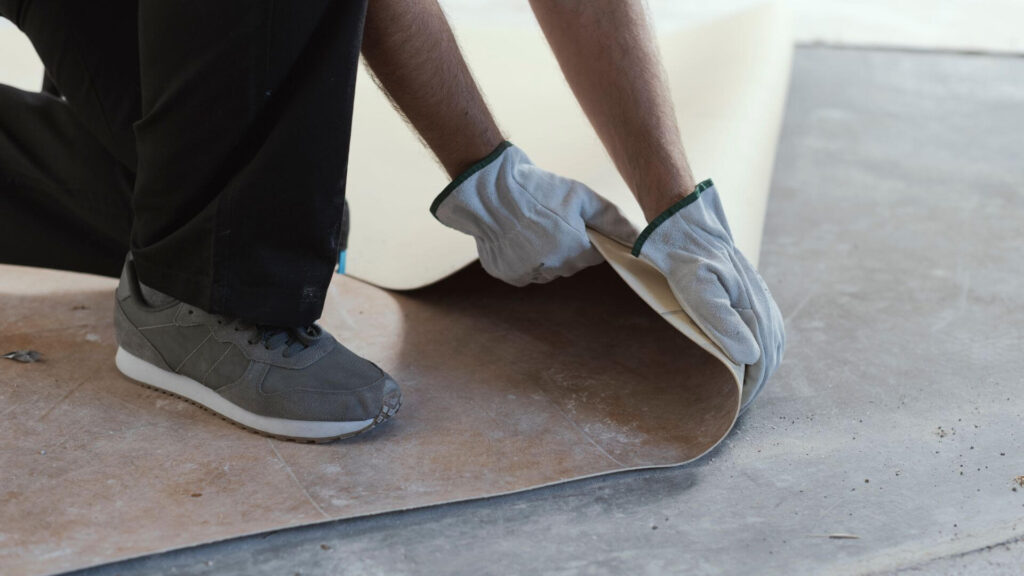
Step 2: Remove the Damaged Floor
Carefully cut out the damaged sections using your saw. If the rot has spread to the stringers or bulkheads, you’ll need to address these too.
Remove all debris and vacuum thoroughly. This part can feel intimidating, but take your time—clean, precise removal makes the repair much easier.
Step 3: Dry Out and Prep the Area
Moisture is the enemy of any fiberglass repair. Use fans or a heat gun to thoroughly dry the area. If you skip this, you risk trapping moisture, which leads to future rot and delamination.
Wipe down the area with acetone to remove any grease, wax, or dust.
Step 4: Replace the Core (If Needed)
If the plywood core is rotten, cut a new section from marine-grade plywood. Test-fit it in place.
Many guides overlook this, but sealing the edges of your new plywood with epoxy before installation can add years to its life by blocking water intrusion.
Step 5: Lay the Fiberglass
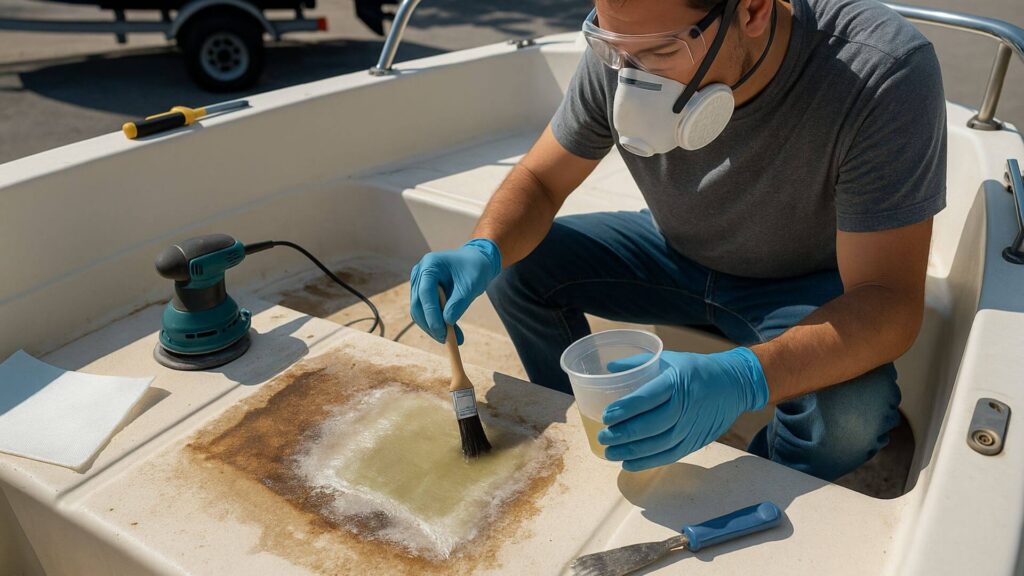
Mix your resin and hardener according to the instructions. Lay down fiberglass mat or cloth, saturate with resin using a brush or roller, and work out any air bubbles.
Layering is key: alternate mat and cloth for strength. Overlap each layer by a couple of inches beyond the repair area for a seamless bond.

This guide helps boat owners understand fiberglass damage clearly — what matters, what doesn’t, and when repairs are truly necessary, so small issues don’t turn into expensive mistakes.
See What Every Boat Owner Should Know →Step 6: Finishing Touches
Let the fiberglass cure completely. Sand the area smooth, starting with coarse and moving to finer grit.
Wipe with acetone, then apply a gelcoat or marine paint for a professional, waterproof finish. If you had carpet, now’s the time to reinstall it.
Pro Tips: What Most Pros Don’t Tell You
1. Moisture Meter Magic
Most DIY pros skip this, but investing in a moisture meter can save you headaches. Before sealing up your repair, check the moisture content of the area. Anything above 15% is too wet—keep drying!
2. Ventilation is Crucial
Epoxy and fiberglass fumes are no joke. Always work in a well-ventilated area, and take regular breaks. Your lungs will thank you.
3. Don’t Skimp on Materials
Marine-grade plywood and quality resin cost more, but they last longer and resist water better than cheaper alternatives. Cutting corners here means you’ll be repeating this process sooner than you’d like.
4. Structural Integrity
If your stringers (the “bones” under your floor) are rotted, repairing just the floor is a band-aid fix. Take the time to inspect and replace any damaged stringers for a truly safe and lasting repair.
5. Prevent Future Problems
After your repair, regularly inspect your bilge and deck for water pooling. Consider adding non-skid paint for safety and longevity. Install scuppers or drains if your design allows.
Common Mistakes and How to Avoid Them
- Rushing the Drying Process: Trapped moisture leads to future rot.
- Poor Surface Prep: Skipping sanding or cleaning reduces bond strength.
- Not Overlapping Fiberglass Layers: Weak seams can crack under stress.
- Ignoring Underlying Damage: If you only fix the floor, but not the stringers, the problem will return.
FAQs About Fiberglass Boat Floor Repair
Here are answers to some frequently asked questions about fiberglass boat floor repair:
Plan for at least a weekend, especially if you need to replace the core and allow for curing time.
For minor surface cracks, resin may fill in adequately. But deeper cracks and larger holes require fiberglass cloth patches for reliable structural repairs.
While messier to work with, auto-body filler putty will bond well for temporary emergency patches. But don’t use household epoxy – it won’t adhere properly long-term to fiberglass boat floors.
Getting gelcoat color matches can be tricky. Bring a sanded floor sample to a marine store. Alternately, paint the entire floor with anti-skid paint compatible with the resin used.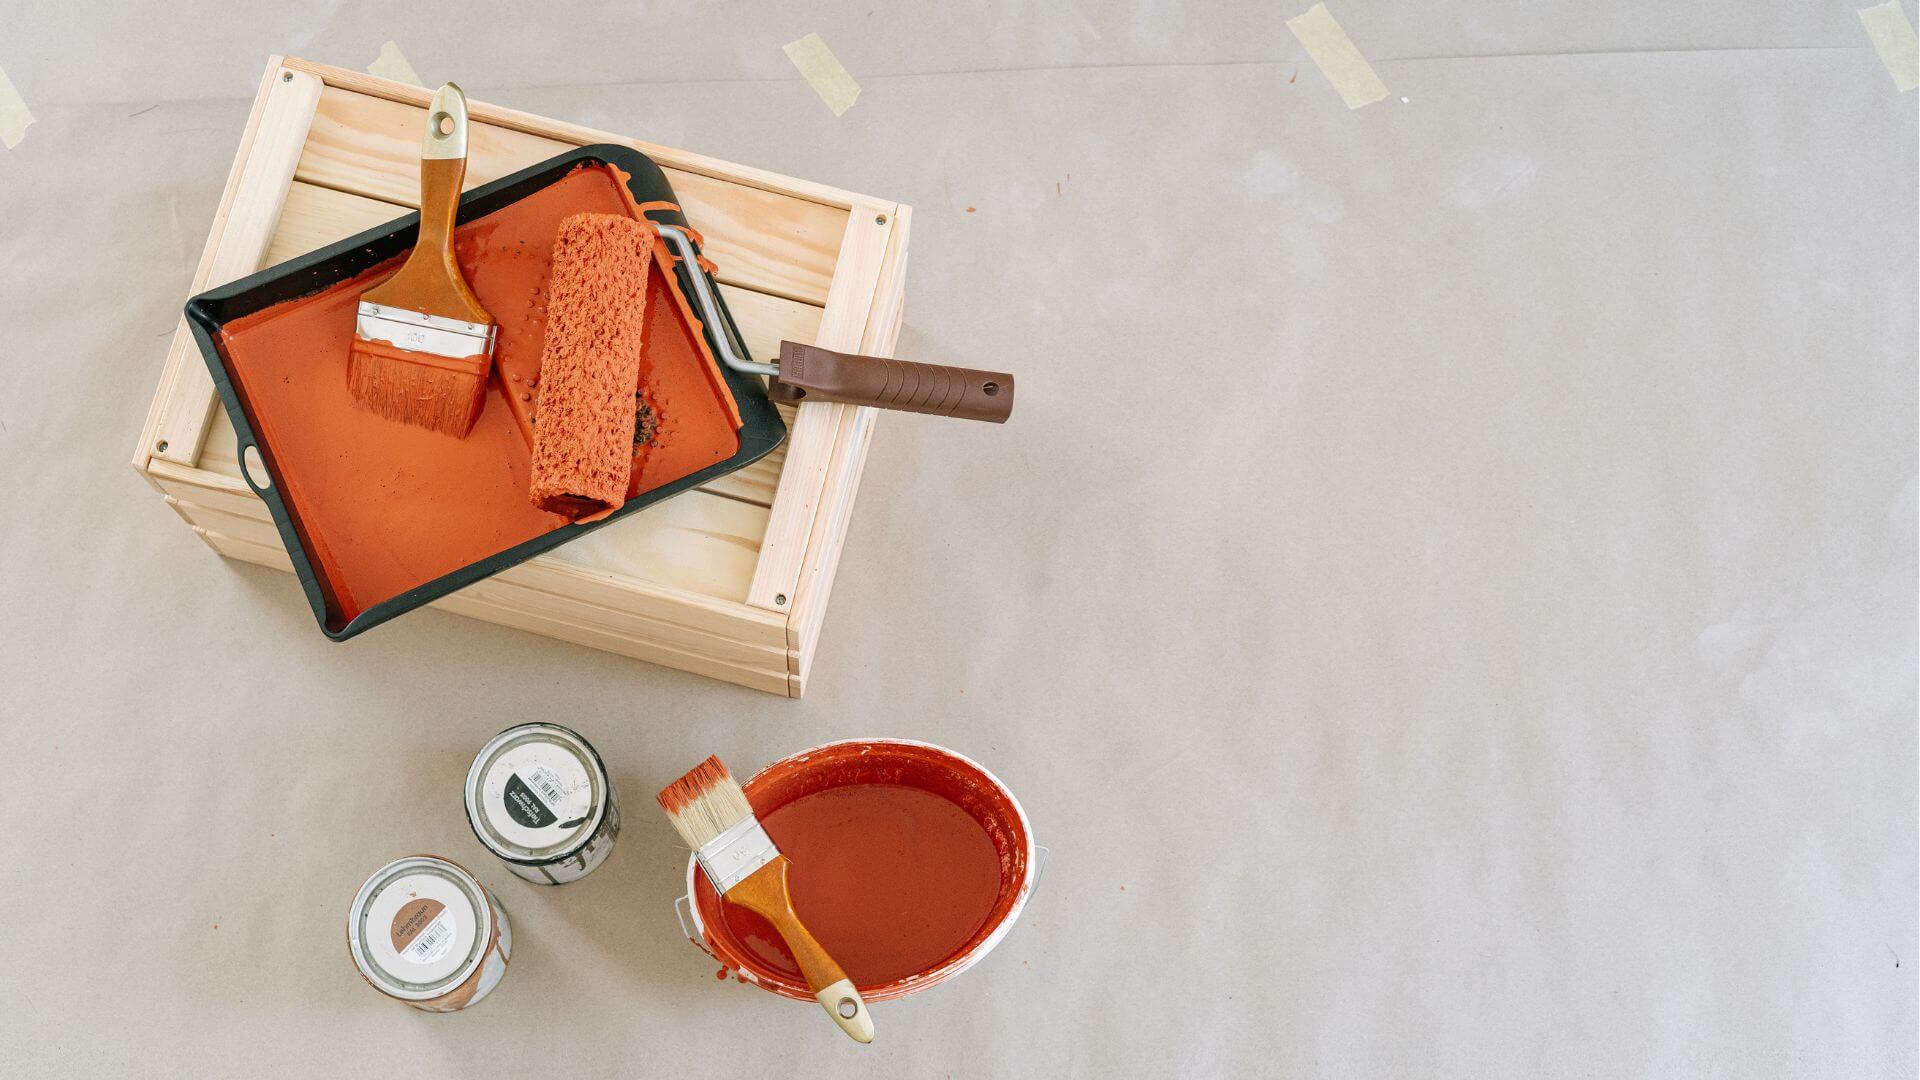
Yes, adding layers of fiberglass cloth set in epoxy resin will strengthen the floor against flexing. This is especially important for cracks near bolts or hardware. Ensure no future hull movement before reinforcing.
Yes, for minor cracks or holes. But always check for hidden damage beneath the surface.
With patience and the right tools, yes! Just follow each step carefully and don’t rush.
Final Thoughts
Fiberglass boat floor repair is more than just a maintenance task—it’s an investment in your boat’s safety, performance, and value.
With these step-by-step instructions, you can confidently repair your boat and maybe even enjoy the process. Remember, the key is preparation, patience, and using quality materials
Hope you have gained value from it.
If you have any questions, you can leave a comment below and I will get back to you ASAP!

Warren is the founder of BoatGenesis and brings practical experience in fiberglass boat repair, marine equipment testing, and powerboat building. He has worked on a range of repair and restoration projects and now focuses on creating clear, research-based guides to help boat owners avoid costly mistakes and make smarter maintenance decisions. Learn more about Warren.