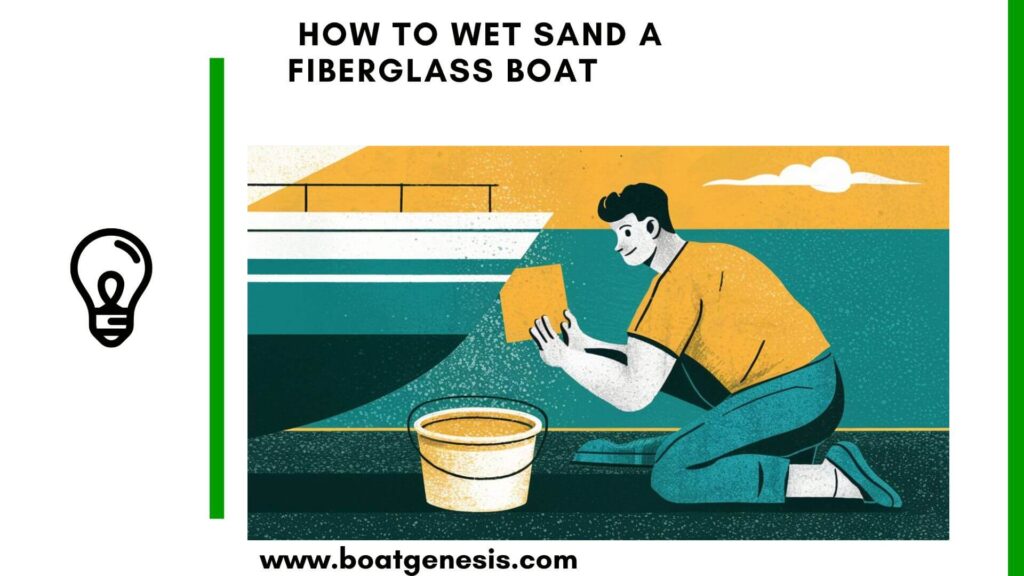
Don’t let a dull-looking fiberglass boat ruin your day on the water. With the power of wet sanding, you can restore that showroom shine and impress everyone on the marina.
Get ready to show off your boat with confidence!
In this guide, you will learn how to wet sand a fiberglass boat simply.
Let’s get started.
Understanding Wet Sanding
Wet sanding is a method used to refine and smooth the surface of your boat’s fiberglass. It involves using a combination of water and abrasive materials to gently remove a thin layer of the gelcoat, revealing a fresh, vibrant layer beneath.
This technique is perfect for eradicating oxidation, small scratches, and other imperfections.
Gather Your Supplies

Before diving in, make sure you have the following:
Want to avoid costly fiberglass boat repair mistakes?
Learn how to inspect damage properly, decide when to DIY, and prevent expensive fiberglass problems before they start.
- Wet/dry sandpaper in various grits (start with around 600 and work up to 2000)
- A sanding block or a dual-action sander
- A bucket of water with a few drops of dish soap for lubrication
- A hose or spray bottle to keep the surface wet
- Towels for drying and clean-up
- Protective gear (gloves, mask, and goggles)
How to Wet Sand a Fiberglass Boat?
Step 1: Prepare the Surface
Begin by thoroughly cleaning your boat’s hull. Remove any debris, dirt, or salt residue. A clean surface ensures your sanding is effective and even.
Step 2: Start Sanding

Attach your chosen grit sandpaper to the sanding block or sander. Dip it into the soapy water solution to prevent the paper from clogging and reduce dust.
Start with a gentle, circular motion if sanding by hand, or a slow, steady motion if using a machine.
Remember, it’s a marathon, not a sprint—patience is key.
Step 3: Rinse and Inspect
Regularly rinse the area with fresh water to remove any build-up and inspect your progress. Look for a uniform matte finish before moving on to a finer grit.
Step 4: Move to Finer Grits
Gradually progress to higher grit sandpapers, repeating the process.
This step is crucial for achieving that smooth, flawless finish.
Step 5: Buff and Polish
Once you’ve achieved a smooth surface with your highest grit sandpaper, it’s time to bring out the shine.
Apply a quality marine-grade polishing compound to a clean buffing pad.

This guide helps boat owners understand fiberglass damage clearly — what matters, what doesn’t, and when repairs are truly necessary, so small issues don’t turn into expensive mistakes.
See What Every Boat Owner Should Know →Work in sections, using a slow, overlapping motion to ensure even coverage. The compound will fill in any remaining microscopic scratches and enhance the shine.
Step 6: Wax On, Wax Off
The final step in your wet sanding journey is to protect your hard work.
For optimal protection, apply a layer of high-quality marine wax to the gelcoat to seal it from the elements.
Use a clean, soft cloth or a mechanical buffer to apply the wax in circular motions. Allow it to haze, then buff it out to a brilliant shine.
Tips for Wet Sanding Success
- Always keep the surface wet to prevent damage to the gelcoat.
- Don’t press too hard—let the abrasive do the work.
- Be consistent with your sanding pattern to avoid uneven areas.
- Take your time moving through the grits for the best results.
- Always finish with polish and wax to protect your boat’s appearance.
Conclusion
Wet sanding your fiberglass boat may seem like a daunting task, but with the right approach and a bit of elbow grease, you can achieve professional-looking results.
Not only will your vessel look spectacular, but you’ll also extend the life of your gelcoat and retain the value of your boat. So, grab your supplies and get yourself to work.
Remember, your boat is more than a vessel—it’s a reflection of your passion for the water. Treat it with care, and it will shine for years to come.
Frequently Asked Questions About Wet Sanding a Fiberglass Boat
Wet sanding is not a regular maintenance task and should only be done when necessary, such as when you notice significant oxidation or scratches. Typically, this might be every few years or when you’re restoring an older boat.
If done correctly, wet sanding will not damage the gelcoat. It’s essential to use the right grit sandpaper and keep the surface wet to avoid gouging or scratching the gelcoat. Always start with a finer grit and only move to a coarser grit if necessary.
Both methods can be effective. Hand sanding gives you more control and is less likely to cause damage if you’re new to the process. However, a dual-action sander can save time and effort on larger surfaces, providing a more uniform finish.
You should move to a finer grit once you’ve achieved an even, matte finish with no glossy spots. Each grit’s purpose is to remove the scratches from the previous one, so inspect the surface carefully before progressing.
Polishing uses a compound to remove fine scratches and create a high-gloss finish. Waxing applies a protective layer that enhances the shine and provides a barrier against environmental factors like UV rays and saltwater.
You can polish immediately after the surface is dry from the final wet sanding pass. Waxing should be done after polishing and once the polish has been buffed to a shine. Ensure the surface is clean and free of any polish residue before waxing.

Warren is the founder of BoatGenesis and brings practical experience in fiberglass boat repair, marine equipment testing, and powerboat building. He has worked on a range of repair and restoration projects and now focuses on creating clear, research-based guides to help boat owners avoid costly mistakes and make smarter maintenance decisions. Learn more about Warren.


