If you’re a boat owner or a DIY enthusiast, learning how to use fiberglass tape on a boat can save you time, money, and a lot of future headaches.
Whether you’re reinforcing seams, repairing cracks, or beefing up corners, fiberglass tape is a must-have material for strong, long-lasting boat repairs.
In this guide, we’ll break down everything you need to know about using fiberglass tape on your boat, step by step. We’ll also cover insider tips no one else is talking about, so you can get professional results even if it’s your first time.
Key Takeaways
- Fiberglass tape is essential for reinforcing seams, joints, and corners on boats.
- Proper surface prep and resin application are crucial for a strong bond.
- Using the right techniques can prevent common issues like air bubbles and weak bonds.
- This guide includes expert tips and tricks to help you achieve a flawless finish.
- Key Takeaways
- What is Fiberglass Tape and Why Use It on Boats?
- Tools and Materials You’ll Need
- Step-by-Step: How to Use Fiberglass Tape on a Boat
- Pro Tips for a Perfect Finish
- What Most Pros Don’t Tell You
- Common Mistakes to Avoid
- When to Use Fiberglass Tape vs. Cloth
- Advanced Tips: Getting a Pro-Level Finish
- Maintenance After Repair
- Frequently Asked Questions
- Final Word
What is Fiberglass Tape and Why Use It on Boats?
Fiberglass tape is a narrow strip of woven fiberglass cloth, usually with finished edges to prevent fraying.
It’s designed to reinforce areas that experience stress, like hull seams, deck joints, and transoms. Unlike full sheets of fiberglass cloth, tape is perfect for targeted repairs and reinforcement, making it a staple in boat building and repair.
Why use fiberglass tape on a boat?
Because it adds strength exactly where you need it, without adding unnecessary weight, it’s flexible, easy to work with, and compatible with both polyester and epoxy resins.
When applied correctly, it creates a waterproof and durable bond that withstands the harsh marine environment.
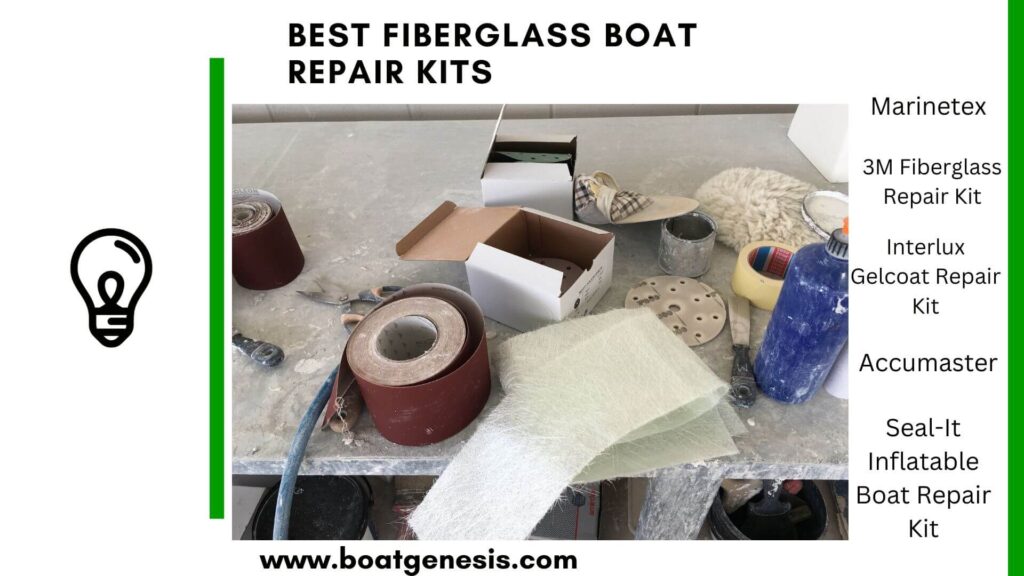
Tools and Materials You’ll Need
Before you dive in, gather these essentials:
- Fiberglass tape (width depends on your repair area, typically 2″-6″)
- Epoxy or polyester resin (epoxy is preferred for most DIY repairs)
- Hardener
- Mixing cups and stir sticks
- Disposable gloves
- Respirator or mask
- Sandpaper (80-120 grit)
- Acetone (for cleaning)
- Plastic spreader or squeegee
- Scissors or a utility knife
- Painter’s tape or masking tape
- Clean rags
Step-by-Step: How to Use Fiberglass Tape on a Boat
1. Prep the Surface Like a Pro
Proper prep is the secret sauce to any great fiberglass repair. Start by cleaning the repair area thoroughly—remove all dirt, grease, wax, and old paint.
Use acetone for a final wipe-down. Sand the area with 80-120 grit sandpaper until you reach a dull, matte finish. This gives the resin something to grip.
Pro Tip:
If you’re repairing a seam or joint, use a sanding block to create a slight bevel along the edges. This increases the surface area for the tape to bond and results in a smoother, stronger finish.
Want to avoid costly fiberglass boat repair mistakes?
Learn how to inspect damage properly, decide when to DIY, and prevent expensive fiberglass problems before they start.
2. Dry Fit the Tape
Before mixing any resin, cut the fiberglass tape to the desired length. Dry-fit it over the repair area to ensure it covers the seam or joint completely.
If you need to layer tape, cut each strip about an inch wider than the last for a smooth transition.
3. Mask Off the Area
Use painter’s tape to mask off the area around the repair. This keeps resin from spreading where you don’t want it and gives you a crisp edge when you’re done.
4. Mix the Resin
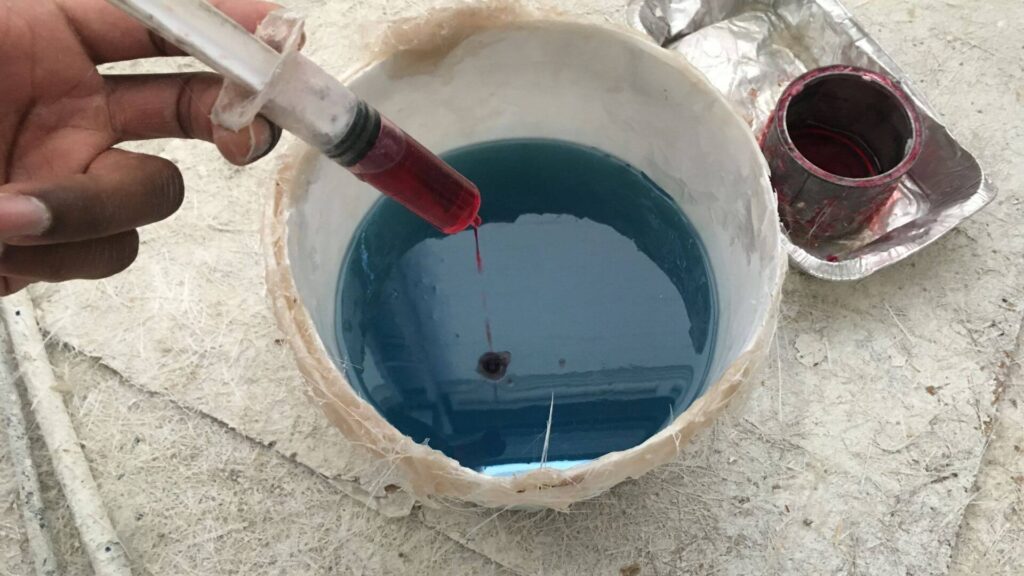
Follow the manufacturer’s instructions for mixing resin and hardener. Only mix as much as you can use in 10-15 minutes, as the resin sets quickly.
Stir thoroughly to avoid sticky spots.
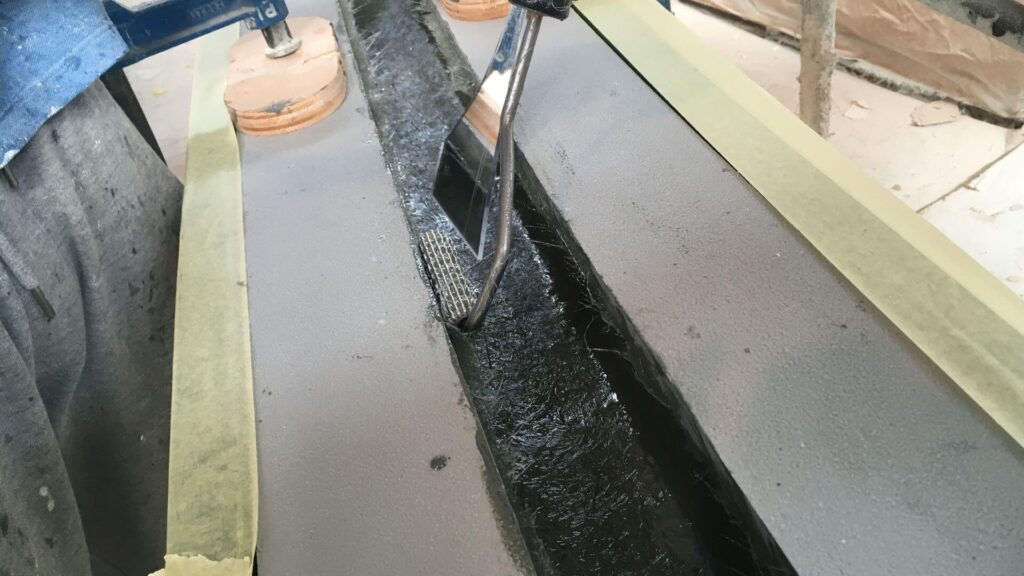
5. Wet Out the Surface
Using a plastic spreader or disposable brush, apply a thin layer of resin to the repair area. This is called “wetting out” and helps the tape bond tightly to the surface.
6. Apply the Fiberglass Tape
Lay the fiberglass tape onto the wet resin. Press it down gently with your gloved fingers or a plastic spreader, making sure it’s fully saturated.
Add more resin on top as needed, working it through the tape until it turns translucent and you don’t see any white, dry spots (source).
Insider Tip:
Work outwards from the center to the edges to push out air bubbles. Use a squeegee for a smooth finish.
7. Layer Up (If Needed)
For extra strength, apply additional layers of tape, each slightly wider than the last. Wet out each layer thoroughly before adding the next.
8. Remove Excess Resin
Before the resin gels, use your spreader to remove any excess. Too much resin can make the repair brittle and heavy.
9. Let It Cure
Allow the repair to cure fully. Curing times depend on temperature and resin type, but most epoxies take 6-24 hours.
Avoid disturbing the area during this time.
10. Sand and Finish
Once cured, sand the repair smooth with 120-grit sandpaper. Remove any sharp edges or high spots.

This guide helps boat owners understand fiberglass damage clearly — what matters, what doesn’t, and when repairs are truly necessary, so small issues don’t turn into expensive mistakes.
See What Every Boat Owner Should Know →If needed, apply a finishing coat of resin or gelcoat for UV protection and a polished look.
Pro Tips for a Perfect Finish
Avoiding Air Bubbles
Air bubbles are the enemy of a strong repair. To avoid them:
- Always wet out the surface before applying tape.
- Use a squeegee or spreader to press the tape down and push bubbles outwards gently.
- If bubbles appear after curing, sand them out and apply another thin layer of resin.
Getting Clean Edges
Masking tape is your friend. Remove it before the resin fully cures for the cleanest edge. If you miss your window and the tape gets stuck, use a sharp utility knife to trim the cured resin.
Working in Tight Spaces
For inside seams or corners, pre-fold the tape or use a fillet of thickened epoxy as a base. This helps the tape conform to tight angles without wrinkling.
What Most Pros Don’t Tell You
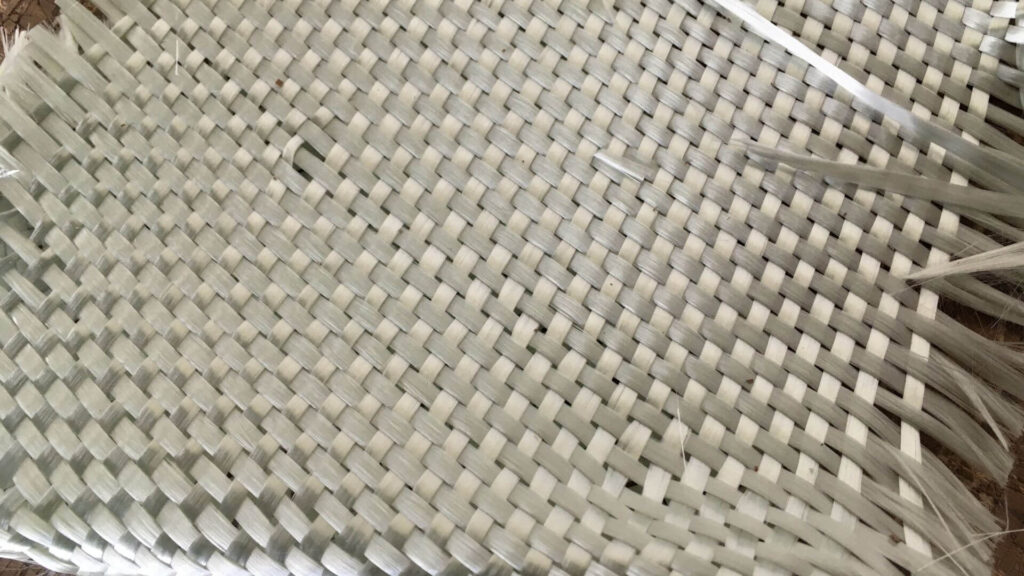
Choosing the Right Tape Weave
Most pros don’t mention that fiberglass tape comes in different weaves—plain, twill, and bias.
Plain weave is great for straight seams, while bias tape (cut at a 45-degree angle) is perfect for curves and corners.
Using the right weave makes your repair stronger and easier to work with.
Temperature and Humidity Matter
Resin cures best at 60-80°F (15-27°C) with low humidity. High humidity can cause “blushing”—a greasy film on cured epoxy that must be scrubbed off before sanding or recoating.
Always check the weather before starting your repair.
Don’t Forget About Safety
Wear gloves, eye protection, and a respirator. Resin fumes and fiberglass dust are no joke. Work in a well-ventilated area and clean up thoroughly.
Re-Coating and Painting
Once your fiberglass tape repair is fully cured and sanded smooth, you’ll want to protect it from UV rays and moisture.
Epoxy resin isn’t naturally UV resistant, so leaving it exposed can lead to yellowing and breakdown over time. Here’s what to do:
- Apply a UV-resistant varnish or marine paint over the cured repair. This not only protects the resin but also blends the repair with the rest of the boat for a seamless look.
- For gelcoat finishes, apply a matching gelcoat over the repair. Sand and buff for a glossy, professional appearance.
Common Mistakes to Avoid
Even seasoned DIYers slip up. Here are some mistakes to watch for:
- Not prepping the surface enough: Skipping thorough cleaning or sanding will cause poor adhesion and weak repairs.
- Using too much resin: Excess resin can pool and crack. The goal is to saturate the tape, not drown it.
- Rushing the cure: Don’t sand or paint until the resin is fully hard. Premature handling can ruin your hard work.
- Ignoring safety: Always wear protection. Fiberglass dust and resin fumes are harmful if inhaled or if they come in contact with skin.
When to Use Fiberglass Tape vs. Cloth
A lot of guides gloss over this, but it’s important:
- Use fiberglass tape for seams, joints, and corners where you need a narrow, strong reinforcement.
- Use fiberglass cloth for large, flat areas or when you need to cover a wide surface.
For most boat repairs, a combination of both gives the best results. Start with tape for the seam, then overlay with cloth for added strength.
Advanced Tips: Getting a Pro-Level Finish
Fairing Your Repair
If you want your repair to be invisible, fair it with a marine filler after the resin cures. Sand it smooth, then finish with paint or gelcoat. This extra step is what separates a DIY patch from a pro-level job.
Dealing with Complex Shapes
For curved or irregular surfaces, cut slits in the tape so it can flex and lay flat. Or use bias-cut tape, which naturally conforms to curves. Don’t force the tape—let it follow the shape for the best bond.
Maintenance After Repair
- Inspect repairs periodically for cracks, bubbles, or signs of delamination.
- Clean the area regularly to prevent salt and grime buildup.
- Touch up paint or gelcoat as needed to maintain UV protection and appearance.
Frequently Asked Questions
Can I use fiberglass tape with polyester resin?
Yes, but epoxy resin generally provides a stronger bond and better water resistance, especially for DIY repairs on boats.
How many layers of tape should I use?
It depends on the stress the area will face. For most seams, two to three overlapping layers are sufficient. For high-stress joints, add more layers or reinforce with cloth.
How do I know if the repair is strong enough?
After curing, the surface should be hard and free of soft spots. Tap around the repair—if it sounds solid, you’re good to go.
==>> How to repair a fiberglass boat yourself?
Final Word
Learning how to use fiberglass tape on a boat is an essential skill for every boat owner.
With the right prep, materials, and technique, you can tackle repairs and reinforcements that will last for years.
Remember to focus on surface preparation, use the right type of tape, and always prioritize safety. And don’t be afraid to take your time—rushing leads to mistakes.

Warren is the founder of BoatGenesis and brings practical experience in fiberglass boat repair, marine equipment testing, and powerboat building. He has worked on a range of repair and restoration projects and now focuses on creating clear, research-based guides to help boat owners avoid costly mistakes and make smarter maintenance decisions. Learn more about Warren.