If your boat’s gunnels are cracked, soft, or starting to look like they’ve been through a storm (or ten), you’re in the right place. Fiberglass boat gunnel replacement sounds intimidating at first, but with the right approach and materials, it’s a project most boat owners can tackle — and one that pays off big in both looks and longevity.
In this guide, you’ll learn exactly when to replace your gunnels, how to do it step by step, and what to watch out for so you don’t waste time or money.
- Why Gunnels Matter More Than You Think
- Key Takeaways
- Signs Your Gunnels Need Replacing
- What "Gunnel Replacement" Actually Means
- Tools and Materials You'll Need
- Step-by-Step: Fiberglass Boat Gunnel Replacement
- How Long Should Fiberglass Gunnels Last?
- Common Mistakes to Avoid
- When to Call a Professional
- Seasonal Maintenance to Protect Your Gunnels
- FAQ: Fiberglass Boat Gunnel Replacement
- How much does fiberglass boat gunnel replacement cost?
- Can I replace just part of a gunnel, or does it have to be the whole thing?
- How long does the repair take?
- Is fiberglass boat gunnel replacement the same as fiberglass boat gunnel repair?
- What's the difference between fiberglass cloth and fiberglass mat?
- Do I need to remove fittings before replacing gunnels?
- Can I do this job solo?
- Final Word
Why Gunnels Matter More Than You Think
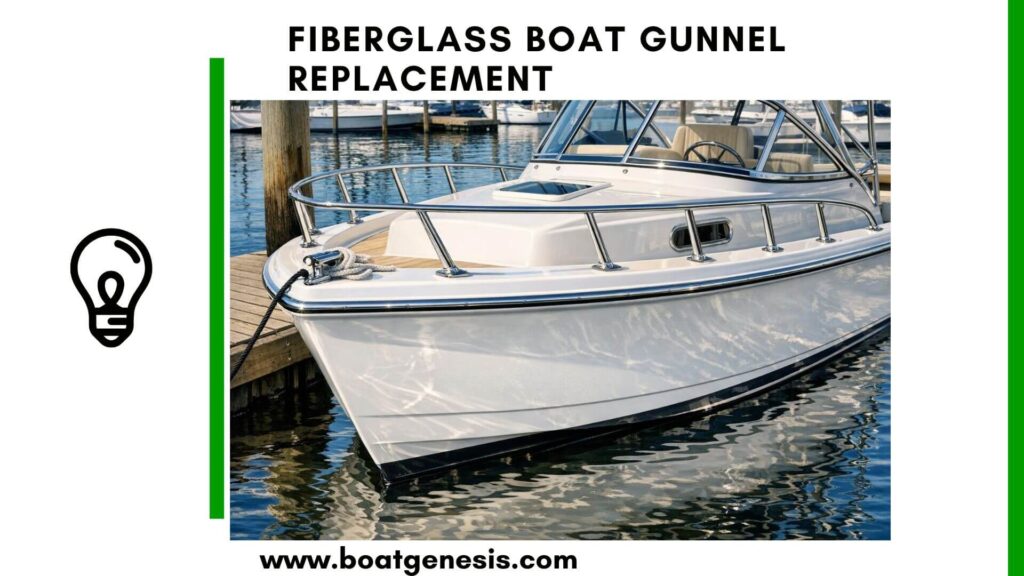
The gunnels run along the top edge of your boat’s hull. They’re not just decorative — they’re structural. Gunnels seal out water, absorb impact, and hold the whole upper section of your boat together.
When they fail, water sneaks in. That moisture works its way into the core, weakens surrounding material, and turns a minor cosmetic issue into a major structural headache.
The good news? Catching it early makes the repair far simpler.
Key Takeaways
- Fiberglass gunnel replacement means rebuilding the gunnel with fiberglass sheets and resin — not buying a pre-made part.
- Soft spots are your biggest warning sign. Don’t ignore them.
- The job requires patience, but no professional-level skills.
- Quality materials make or break the repair’s lifespan.
- Gel coat at the end isn’t optional if you care about long-term protection.
Signs Your Gunnels Need Replacing
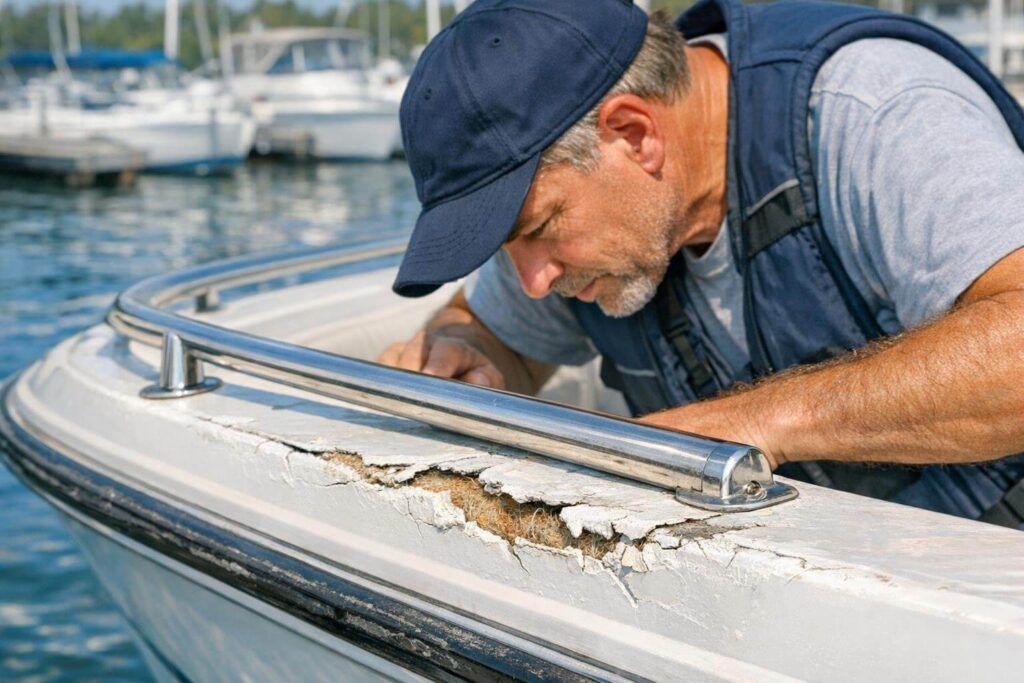
Not sure if it’s time? Here’s what to look for:
Visible damage:
- Cracks or chips in the fiberglass surface
- Discoloration or fading that won’t come clean
- Delamination (layers of fiberglass separating)
Hidden damage:
- Soft spots when you press on the gunnel — this means water got in
- A hollow sound when you tap along the surface
- Flexing or movement that wasn’t there before
Any soft spot is a red flag. Fiberglass should feel solid. If it doesn’t, moisture has already compromised the material and you’re on borrowed time.
What “Gunnel Replacement” Actually Means
Here’s something that trips people up: you won’t find a “gunnel replacement kit” at a marine shop. Fiberglass gunnel replacement is a rebuilding process — you remove the damaged material and rebuild using fiberglass cloth and epoxy resin.
Think of it like patching drywall, but for your boat. You’re not swapping a part; you’re restoring the original structure.
Want to avoid costly fiberglass boat repair mistakes?
Learn how to inspect damage properly, decide when to DIY, and prevent expensive fiberglass problems before they start.
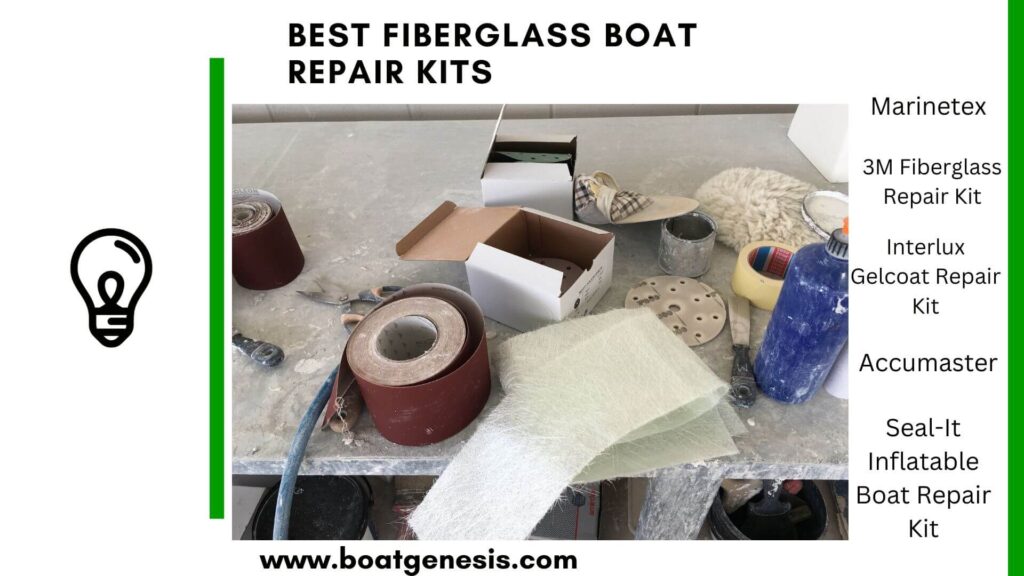
Tools and Materials You’ll Need
Before you start, get everything together. Running out of epoxy mid-layup is not a fun situation.
| Item | What It’s For |
|---|---|
| Fiberglass cloth/sheets | The structural layer |
| Epoxy resin + hardener | Bonds and waterproofs |
| Orbital sander + sandpaper (80–220 grit) | Surface prep and finishing |
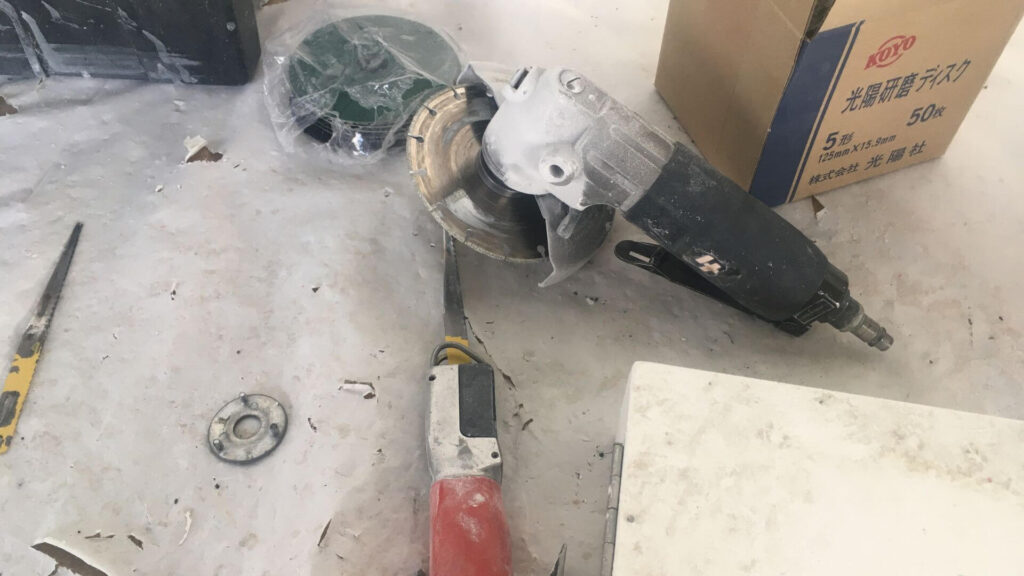
| Angle grinder or oscillating tool | Removing old gunnels |
| Gel coat | Final protective layer |
| Mixing cups and brushes | Applying resin |
| Gloves, goggles, respirator | Protecting yourself |
| Tape measure + pencil | Accurate cutting |
Buy marine-grade epoxy — not hardware store stuff. It handles the flexing, UV exposure, and moisture that a boat faces every season.
Step-by-Step: Fiberglass Boat Gunnel Replacement
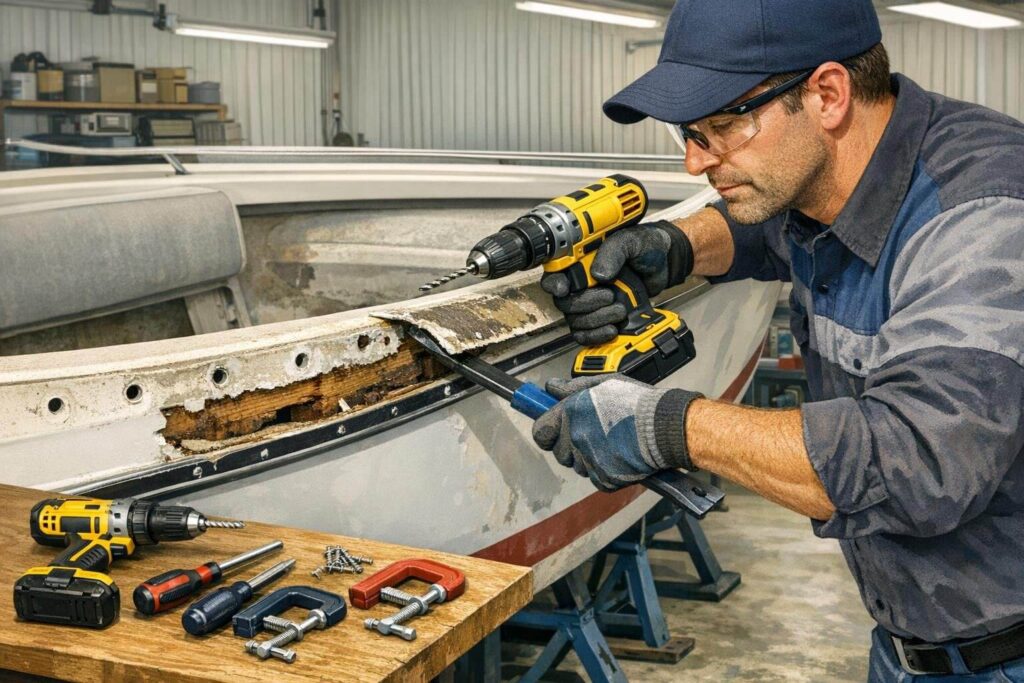
Step 1 — Remove the Old Gunnels
Use a saw, angle grinder, or oscillating tool to cut away the damaged fiberglass. Work carefully along the hull edge to avoid cutting into good material underneath.
Once the old gunnel is off, you’ll likely see staining or soft core material. Remove any compromised material completely — leaving it behind will cause the repair to fail.
Step 2 — Prep the Surface
Sand the exposed area thoroughly with 80-grit sandpaper, then move up to 120-grit. You want a rough, clean surface — not smooth. Fiberglass bonds mechanically, so the texture is what makes the epoxy stick.
Wipe everything down with acetone to remove dust and grease. Don’t skip this step.
Step 3 — Measure and Cut the Fiberglass
Measure the gunnel area and cut your fiberglass cloth to fit. Plan for at least 3–4 layers — more for areas that take heavy impact, like the bow.
Cut a few pieces slightly oversized. You can always trim after curing; you can’t add material back.
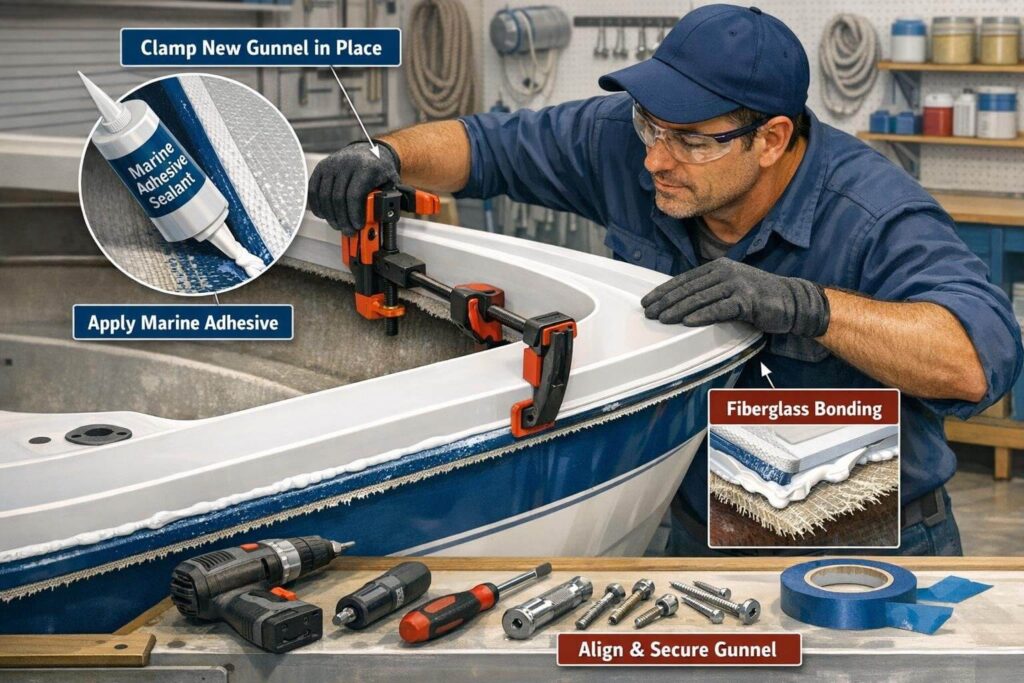
Step 4 — Apply the First Layer of Epoxy
Mix your epoxy according to the manufacturer’s ratio. Apply a wet coat to the hull surface, then lay your first piece of fiberglass cloth into it. Work out air bubbles with a roller or squeegee from the center outward.
Pro tip: Apply epoxy “wet on wet” between layers. You get a much stronger bond than waiting for each layer to fully cure before adding the next.
Step 5 — Build Up the Layers
Repeat the process — epoxy, cloth, roll out bubbles — until you’ve reached the desired thickness. Let each layer tack up (sticky but not fully cured) before adding the next.
Step 6 — Cure and Shape
Allow the final layer to fully cure per the epoxy manufacturer’s instructions. This typically takes 24 hours at room temperature.
Once cured, use an orbital sander to shape and smooth the gunnel profile. Start with 80-grit and work up to 220-grit for a smooth base.
Step 7 — Apply Gel Coat
Gel coat is the finishing layer that protects your repair from UV damage and water. Apply it in thin coats, allow it to cure, then wet sand starting at 400-grit and finishing at 1000-grit for a polished result.
Match the gel coat color to your hull as closely as possible. Most marine suppliers can tint gel coat to order.
How Long Should Fiberglass Gunnels Last?
Done correctly, a fiberglass gunnel repair should last 10–20 years with basic seasonal maintenance. Here’s what affects longevity:

This guide helps boat owners understand fiberglass damage clearly — what matters, what doesn’t, and when repairs are truly necessary, so small issues don’t turn into expensive mistakes.
See What Every Boat Owner Should Know →| Factor | Impact on Lifespan |
|---|---|
| Quality of epoxy used | Very high |
| Number of fiberglass layers | High |
| Surface prep quality | Very high |
| UV protection (gel coat) | High |
| Seasonal inspection | Moderate |
The repair won’t fail on its own — it usually fails because water finds a gap at an edge or fitting, and nobody notices until it’s done damage. A quick seasonal check takes ten minutes and catches problems early.
Common Mistakes to Avoid
These are the ones that turn a good repair into a redo:
1. Rushing the surface prep If the surface isn’t properly sanded and clean, the epoxy won’t bond. The whole repair can delaminate under stress.
2. Skipping layers to save time Thin layups flex and crack. Build the thickness — especially at corners and edges.
3. Using polyester resin instead of epoxy Polyester is cheaper but absorbs more moisture. For structural repairs, always use epoxy.
4. Not wearing a respirator Epoxy fumes and fiberglass dust are genuinely harmful. Work in a ventilated area and protect your lungs.
5. Applying gel coat too thick Thick gel coat cracks. Apply thin coats and build up gradually.
When to Call a Professional
Gunnel replacement is a DIY-friendly project — but not always. Consider hiring a marine repair shop if:
- The damage extends into the hull structure below the gunnel line
- You find soft, wet core material that spans a large area
- The transom or stringers show damage at the same time
- You’re not comfortable working with epoxy in a confined space
A structural problem that looks like a simple gunnel issue can be much more involved. A quick inspection from a boatyard is worth the diagnostic fee if you’re unsure.
For more on evaluating structural fiberglass damage, West System’s fiberglass repair guide is one of the most thorough free resources available.
Seasonal Maintenance to Protect Your Gunnels
After you’ve done the work, keep it in good shape:
- Spring: Inspect the gunnel edge and all fittings for cracks or gaps. Check for soft spots.
- After every season: Wash with mild soap, inspect for chips, apply a UV protectant wax.
- Every 2–3 years: Lightly wet sand and reapply gel coat if the surface has dulled.
The BoatUS Foundation also has solid seasonal maintenance checklists worth bookmarking.
FAQ: Fiberglass Boat Gunnel Replacement
How much does fiberglass boat gunnel replacement cost?
DIY materials run roughly $100–$300 depending on the size of the repair. Professional repairs typically cost $500–$2,000+ depending on the extent of damage and labor rates in your area.
Can I replace just part of a gunnel, or does it have to be the whole thing?
You can replace just a section. As long as you properly feather the edges and prep the surrounding surface, a partial repair bonds just as well.
How long does the repair take?
Expect 2–4 days total — one day for removal and prep, one for layup, and one for curing and finishing. Don’t rush the cure time.
Is fiberglass boat gunnel replacement the same as fiberglass boat gunnel repair?
Not exactly. Repair usually refers to small cracks or chips. Replacement means removing and fully rebuilding the gunnel structure. The process in this guide covers full replacement.
What’s the difference between fiberglass cloth and fiberglass mat?
Fiberglass cloth (woven) is stronger and bonds better with epoxy. Mat (chopped strand) is cheaper and works with polyester resin. For structural gunnel work, use woven cloth with epoxy.
Do I need to remove fittings before replacing gunnels?
Yes. Remove cleats, grab rails, and any hardware mounted to the gunnel before starting. Reinstall them after the gel coat has fully cured.
Can I do this job solo?
Yes, though having a second pair of hands when laying fiberglass cloth makes the job easier and reduces air bubble problems.
Final Word
Fiberglass boat gunnel replacement is one of those jobs that looks harder than it is. The steps are straightforward, the materials are widely available, and the results — a solid, watertight, good-looking gunnel — are genuinely satisfying.
The key is patience. Don’t rush the prep, don’t skip the layers, and let everything cure properly. Do it right once, and you won’t be doing it again for a very long time.
Your boat deserves it — and honestly, so does your peace of mind out on the water.
Looking for more fiberglass repair guides? Check out the related articles on stringer replacement, deck replacement, and transom repair.
==>> Also read my article about removing rust stains from fiberglass boats here!

Warren is the founder of BoatGenesis and brings practical experience in fiberglass boat repair, marine equipment testing, and powerboat building. He has worked on a range of repair and restoration projects and now focuses on creating clear, research-based guides to help boat owners avoid costly mistakes and make smarter maintenance decisions. Learn more about Warren.